Disassembly/Reassembly Procedures: Radio Reassembly Sec 1: 8-33
8.9.1.2 Assemble Knobs and Top Bezel Assembly (G)
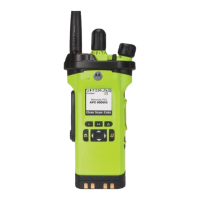
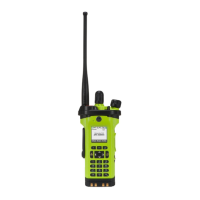
Figure 8-44. Top Bezel Assembly
1. With the Secure Lever (25) in place, slide the Control Top Bezel onto the Control Top. Ensure
that the Secure Lever is keyed correctly on the Frequency outer shaft. Use the Secure Lever
Setter to fully set the lever into place.
2. While holding down the bezel, place the Volume Washer (32) onto the Volume Shaft. See
Figure 8-44.
3. Tighten the Volume Spanner Nut (31) by hand first to avoid cross threading. Then, torque the
nut with the Volume Spanner Bit at 8 in-lbs.
4. Place the Antenna washer (26) onto the antenna threaded hub as shown in Figure 8-44.
5. Tighten the Antenna Spanner Nut (27) by hand first to avoid cross threading. Then, torque the
nut with the Antenna Spanner Bit at 16 in-lbs.
6. Slide and ensure the Torque Adder (30) is fully seated onto the Volume Potentiometer's Hub.
7. Align the D-shaped part of the Volume Shaft with the D-shape hole in the Volume Knob (29)
and press the Volume Knob into place.
8. Align the D-shaped part of the Frequency Shaft with the D-shape hole in the
Frequency Knob (28) and press the Frequency Knob into place.
Volume Knob (29)
Torque Adder (30)
Volume Spanner Nut (31)
Frequency Knob (28)
Antenna Spanner Nut (27)
Antenna Washer (26)
Volume Washer (32)
 Loading...