BATTERY AND CHARGER
FEATURES
English
18
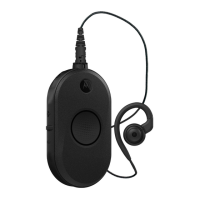
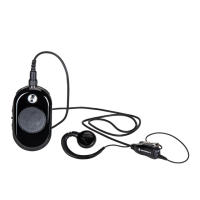
Charging the Bluetooth Headset
Refer to your Bluetooth headset leaflet for charging
instruction.
Charging Bluetooth Headset with CLP
Series Drop-In Tray Multi-Unit Charger
and Cloning Cable (Optional Accessory)
You can also charge your Bluetooth headset with
CLP Series Multi Unit Charger (MUC) P/N
HKPN4007 (optional accessory) and Cloning
Cable P/N HKKN4026 (optional accessory).
• Plug one side of the cloning cable
microconnector to the USB port of the Multi-Unit
Charger (there are 6 USB port on top of the
accessory pockets)
• Plug the other end of the cloning cable to the
USB port of the Bluetooth headset for charging
Note: Refer to the charging status light on your Bluetooth
headset leaflet.
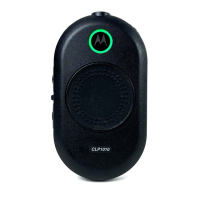
Checking Battery Status
When powered on, short press and release the
Power/Battery button, the Smart Status Glow and
Voice Assisted Operation features
(*)
will give you
the battery status of the radio.
After the Smart Status Glow and Voice Assisted
Operation
features
(*)
indicate the BATTERY
STATUS, it will return to the current channel color.
Note:
(*)
May not be available on certain previous shipping
radios.
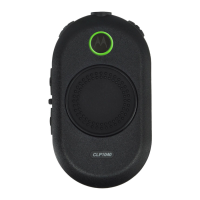
Battery Status
Level
LED
Status
Color
Battery Level High (70 –100%) Green
Battery Level Medium (30 – 70%) Yellow
Battery Level Low (10 – 30%) Red
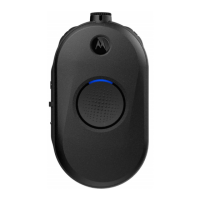
Battery Level Critical (0 – 10%)
Blinking
Red
 Loading...