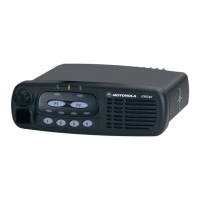
24 Remote Mounting
4. Connect the Data cable to the junction box (if required).
Figure 23 Connections to Junction Box
Table 4 Mechanical Parts for FLN2451 Junction Box and FLN2483 Data Junction Box
Optional HLN6372 Keylock Installation
To install optional Keylock HLN6372 (see Figure 24), proceed as follows:
1. Place the two keylocks on each side of the transceiver mounting trunnion to cover
the two wing screws holding the transceiver.
2. Secure the keylocks with the lock key.
Figure 24 Optional Keylock Installation
Callout No. Motorola Catalogue No. Description
1 0300139773 Screw (4)—not shown
2 1586069C01 Base Housing
3 1586070C01 Cover Housing
4 5486489F01 Raw Material Label
5 FLN8930A
FCN5969B
PCB Assembly—not shown
PCB Assembly, Data Junction Box—not
shown
6 0300140338 Screw (4)
7 3108509G22 Connector
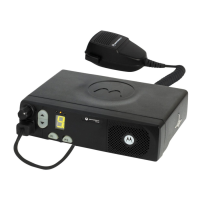
Visor Microphone
Accessories
Transceiver-to-Junction Box
Connection
Control Head-to-Junction Box
Connection
Screws for securing the
junction box to the
mounting surface
Data Connection (available only
with Data Junction Box FLN2483)
Connection
Connection
3
2
4
7
6
Wing Screw
Key
Lock
Keylock
Mounting
HLN6372
Trunnion
 Loading...