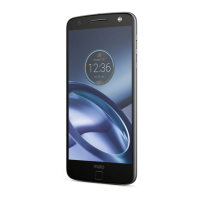
Application Tray
From the home screen, touch the Launcher icon to
open the Application Tray. Open an application simply by
touching it.
Enjoy preloaded applications such as Google Maps, Google Talk,
YouTube™, Gallery, Skype Mobile™, and Visual Voicemail.
HD Video
To take HD quality videos:
1. From your Application Tray, touch Camcorder.
2. Enhance the video quality by adjusting these setting
options: Scenes, Eects, and Light.
3. Press the Camera Key (see Device Layout page) to start
recording and press it again to stop.
To play your videos on a TV, monitor or projector
over HDMI:
1. Switch the input mode of your display device to HDMI.
2. Connect your phone to your display device using an
HDMI cable (Type D required; sold separately).
3. From your Application Tray, touch Gallery and select a
video to play.
NOTE: You can only play DRM-free videos over HDMI. HD support is 720p.
1. Manage your battery life:
From your home screen, touch the Menu Key
>
Settings > Battery Manager > select a battery prole
that suits your usage habits.
2. Watch YouTube™ videos in high resolution:
While a video is loading to play, touch HQ which is on
the lower right corner of the screen.
3. Set up your phone on a Wi-Fi network:
From your home screen, touch the Menu Key
>
Settings > Wireless & networks > Wi-Fi (to turn on
Wi-Fi) > Wi-Fi settings > select the Wi-Fi network that
you wish to connect to > Connect > enter security code
if applicable.
4. Use SWYPE for super-fast text entry:
At any text entry box, touch and hold the box > Input
method > SWYPE
5. Use Media Share to share content with other devices
or transfer les to or from your PC:
From the Application Tray, touch Media Share to launch.
A USB cable may be required.
6. Use Skype Mobile on your phone:
From your Application Tray, touch Skype Mobile to
launch. Calling minutes will be used.
7. Turn your phone into a 3G Mobile HotSpot:
From your Application Tray, touch 3G Mobile Hotspot
to launch. Subscription rates apply. To secure your
network against unwanted users, follow these steps:
uncheck 3G Mobile Hotspot > press the Menu Key
>
Advanced > Wi AP mode > Security > select type of
security > set Wireless password > Save.
8. Capture the clearest audio with Audio Scenes:
From the Application Tray, touch Camcorder > Scenes,
choose the appropriate scene type.
9. Watch full movies on your phone:
From the Application Tray, touch Blockbuster® to
launch application. You can purchase or rent movies,
download them wirelessly, then watch them on
your phone.
10. Manage and Transfer Media:
Your phone is compatible with V CAST™ Media Manager.
The application allows you to transfer photos, music
and videos between your phone and computer. Once
the desktop application is installed, simply connect
your phone and computer with a USB cable, and V CAST
Media Manager will do the rest. The application also
includes a media player and an array of intuitive features
to help you manage and enjoy your media.
To get started visit
www.verizonwireless.com/vmm/downloadnow.
Top 10 Tips and Features
To add a new contact:
1. From your home screen, touch Contacts
.
2. Touch the Menu Key .
3. Touch Add contact.
4. Continue to follow the on-screen prompts then touch
Done when you are nished. (When lling out data
elds, touch the eld to bring up the touchpad so
you can enter data. When you are done with a eld,
touch Next.)
Transferring contacts:
For existing Verizon Wireless customers that have used
Back Up Assistant and would like to transfer their contacts
from their phone to the DROID
X, go to the Application
Tray and touch Backup Assistant.
For other options to sync your contacts from your
previous phone or PC to your Google contacts, (which
will sync to your phone) check out Google’s Sync Services
at www.google.com/sync.
NOTE: When you set up your Gmail account and social network account(s) the contacts from
those accounts will automatically be transferred to your phone.
To pair and connect to a Bluetooth headset:
1. From your home screen, touch the Menu Key
.
2. Touch Settings.
3. Touch Wireless & networks.
4. Touch Bluetooth to turn on Bluetooth power.
5. Touch Bluetooth settings.
6. Touch Scan for devices (make sure your headset is in
pairing mode).
7. Touch on the device name that you want to pair with
(if prompted to enter a passcode, enter 0000 or the
code provided by the headset manufacturer).
8. Touch again on the device name to connect to it.
To set up voicemail:
1. From your home screen, touch
.
2. Touch *86 then
.
3. Touch so you can enter numbers.
4. If you hear a system greeting, touch # to interrupt it, if
applicable.
5. Follow the setup tutorial.
6. Create a password.
7.
Record a voice signature and greeting for your Voice Mailbox.
NOTE: You can also use Visual Voicemail to retrieve your voice messages. The Voicemail icon is
located in the Application Tray. Subscription rates apply.
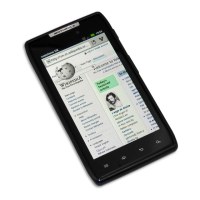
To make a call:
1. From your home screen, touch
.
2. Touch Dialer and enter the phone number, then
touch
.
OR
touch Contacts tab, touch the contact you want to call,
then touch
.
Calling & Contacts
Voice Dial
Call
Voicemail
Android Market
Tens of thousands of applications and games, many free,
are available for download on Android Market.
NOTE: You will need to have your Google account set up before you can download
apps from Android Market. To set up your Google account, touch Gmail
in the
Application Tray.
To download an application:
1. From your home screen, touch Market
.
2. Browse for an application or game.
3. Complete the purchase process, if applicable. (You will
need a credit card account to make a purchase.
Paid applications can be returned for a full refund
within 24 hours of purchase).
4. Touch Install.
NOTE: You will receive a notification when your application is fully downloaded. You can
find your application in alphabetical order on the Application Tray.
To remove an application:
1. From your home screen, touch Market
.
2. Touch Menu Key
.
3. Touch Downloads.
4. Touch the application that you want to remove.
5. Touch Uninstall, then conrm by touching OK.
Your phone will provide instant access to your Gmail,
Google Contacts, and Google Calendar as soon as you set
up your Google account during activation. Linking all
of your other email addresses to your phone is quick
and easy.
If you did not setup your Google account during initial set
up, from the home screen, open the Application Tray by
touching
, touch Gmail
and follow the on screen
instructions.
To set up other accounts follow the instructions below.
See the Tips and Additional Information section for more
information.
Many consumer email accounts can be set up following
these steps. From the Application Tray, touch My
accounts
> Add account.
Tips and Additional Information
• From your Inbox, you can select Menu
, Settings and
explore your options.
You can set how often you want the DROID
X to check
for new email (longer intervals can be used to extend
battery life), your default email account, how you are
notied of new email, and more.
• If an email account is unable to be congured, as an
alternative it may be possible to access it via the Web
Browser. Contact your email provider for additional
information.
Enterprise Email Account Setup
DROID X by Motorola supports the capability to sync with
Microsoft® Exchange. In order to connect your DROID
X
phone with your Exchange server, please contact your
administrator.
For more information on how to set up your email,
visit smartphones.verizonwireless.com. Click on the
Smartphone Support tab and select your phone.
Touch the email account type that you would like to add.
You can choose from these types: Google, Email, Yahoo!
Mail. In most cases, your email address and password
should be enough to complete the setup.
To conrm a successful setup, please send a test email
to email@vzw.com. The 10-digit number of your phone
must be included in the email subject line and you will
receive a conrmation email.
* If you receive an error message stating “Setup Could Not Finish” check with your mail provider
to confirm incoming server settings and settings to access their outgoing server from other
networks. Also see the Tips and Additional Information.
Email Setup
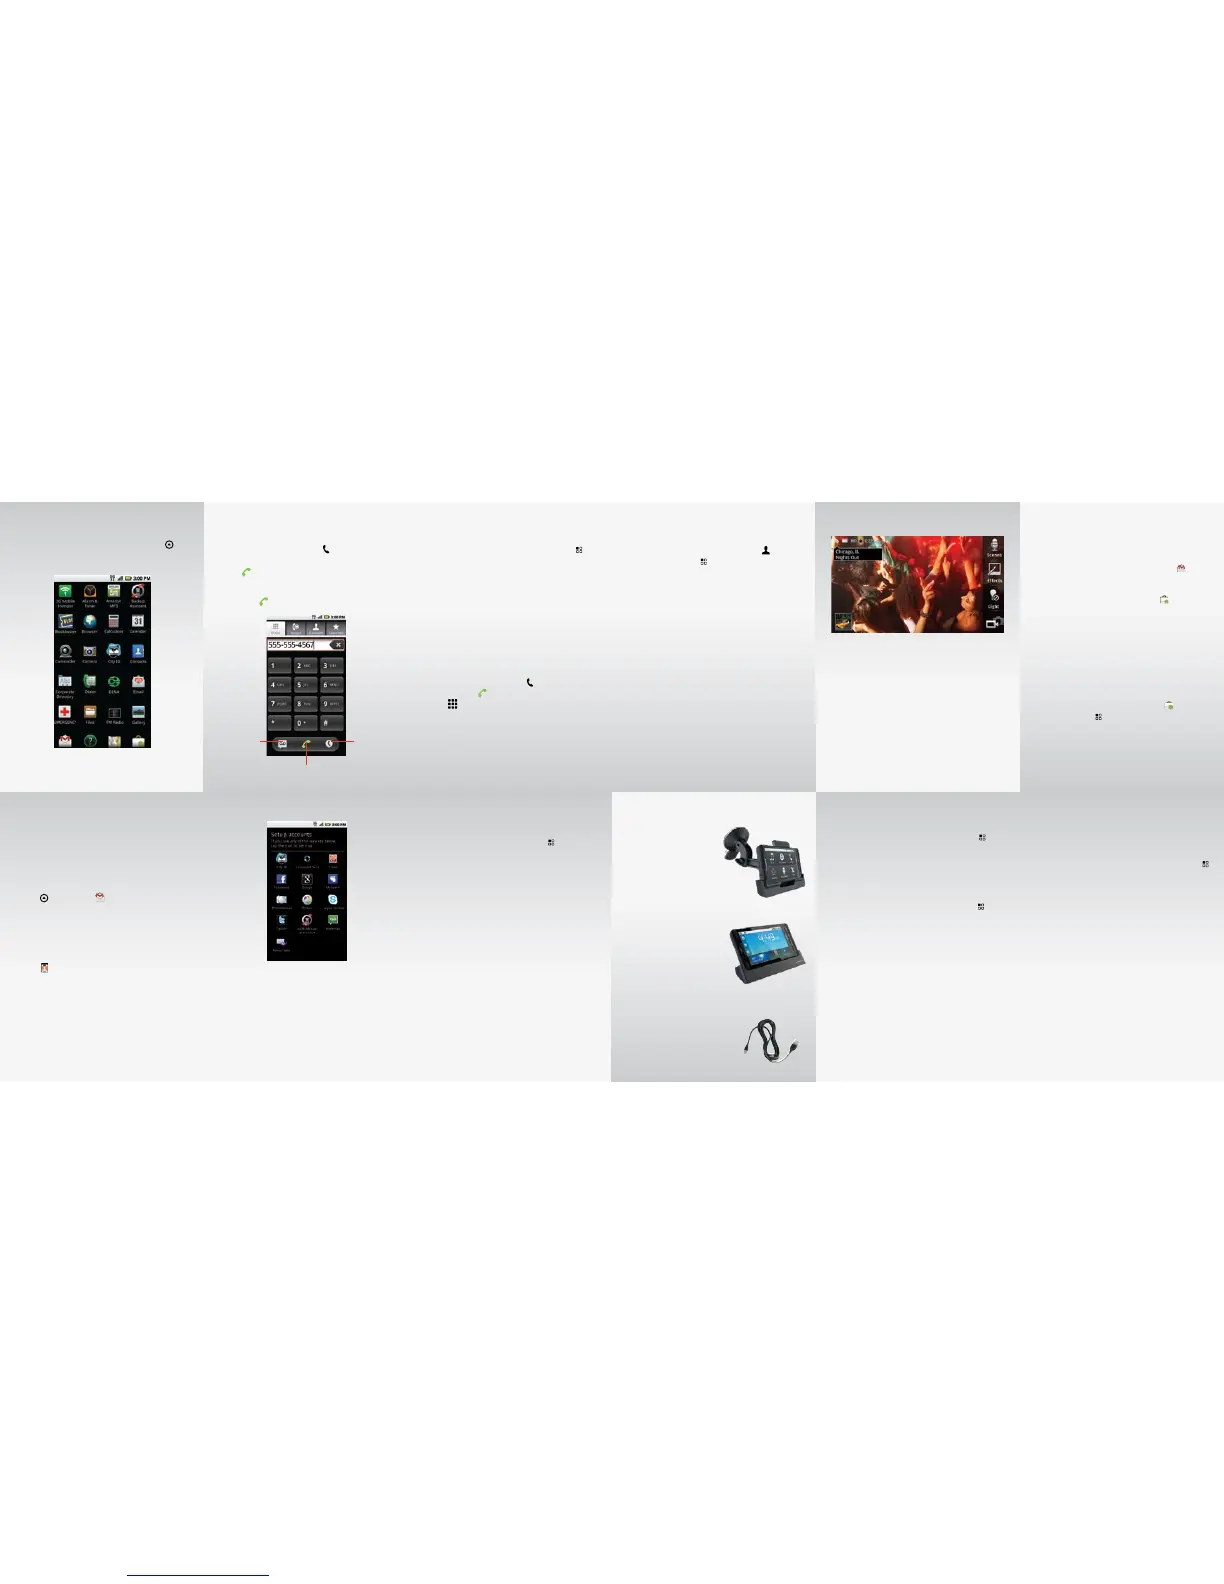
Essential Accessories
Car Mount Phone Holder*
• Automatically triggers your
favorite driver focused phone
applications like music,
Google Navigation™, or your
favorite Android apps.
• Drive smarter by taking your
calls hands-free.
HDMI Multimedia Station*
• Instantly turns phone into an
HD multimedia experience,
and doubles as a charger
when used with included
power supply.
• Brilliantly displays your
captured photos and movies
in HD, plays music with album art, displays weather and
time, and can be used as an alarm clock – all when you
dock your phone.
HDMI Cable*
Connect your phone directly to a
compatible HD TV to experience
captured pictures and video.
* Optional accessories available for purchase at Verizon Wireless locations.
 Loading...