For more instructional repair guides for other makes or models, view our full catalog of Repair Guides!
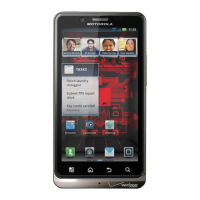
This is an in depth repair guide for the Motorola Droid X2.Following this guide will allow you to safely and quickly
disassemble your Droid X2 and replace the LCD screen and touch screen glass digitizer. While the phone is
disassembled you may also repair or replace other internal parts not listed below. This guide will walk you through all
necessary steps for completing your repair.
This guide will help you to install the following Motorola Droid X2 part(s):
• Motorola Droid X2 Touch Screen Digitizer Replacement
• Motorola Droid X2 LCD Screen Replacement
• Other Motorola Droid X2 Replacement Parts
Tools:
• Torx T5 Screwdriver
• Torx T3 Screwdriver
• Adhesive Strips (For Touch Screen Replacements)
• Heat Gun/Hair Dryer
Motorola Droid X2 Take Apart Repair Guide:
• To begin, remove the back battery cover.
• Next, using the battery pull tab to remove the battery.
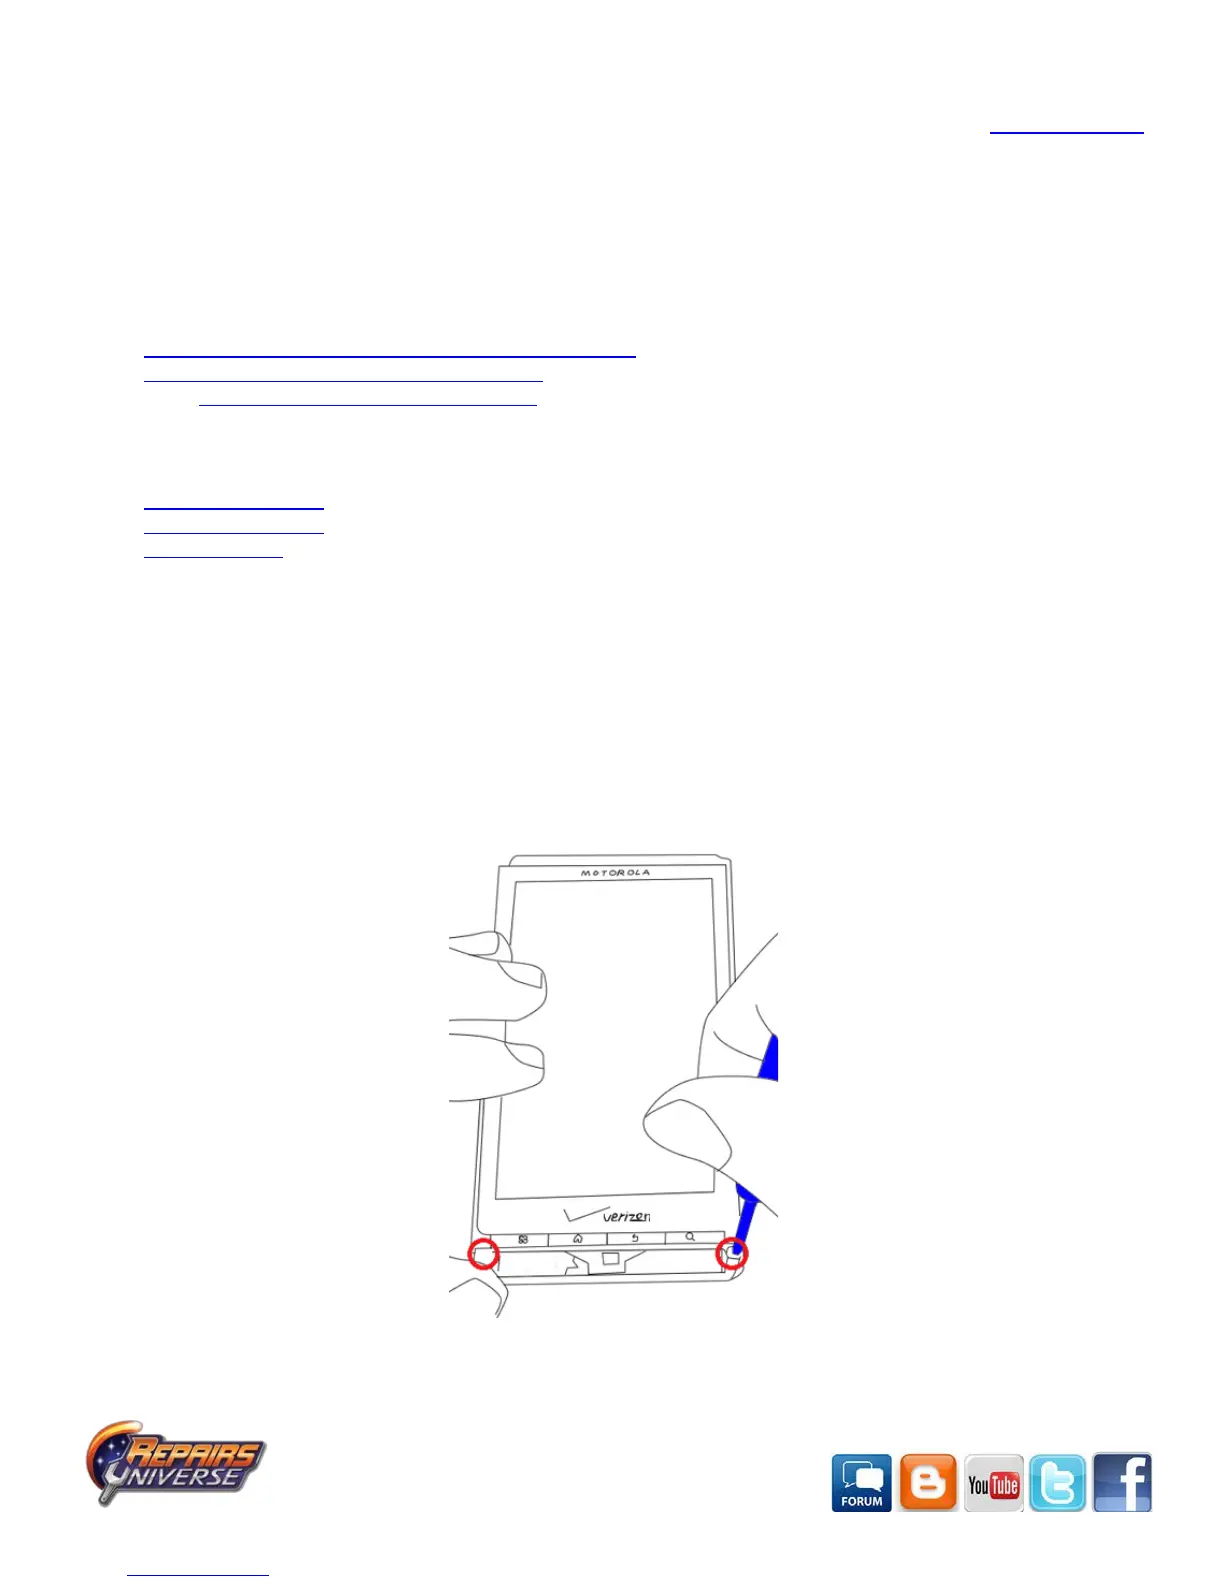
• Next, you’re going to one to remove the top and the bottom brackets from the front of the phone.
• Using a safe open pry tool, gently run the tool along its sides of these brackets and they will come right off.
• Next, you’re the one to remove the following (4) four screws first, two on the bottom of the phone, and two on the
top. These are T5 torx screws.
Figure 1



 To Next Page