8
• DO ensure that the cable is not placed under stress, is not exposed to weather, and is
not subjected to damage due to engine heat.
• DO retain the in-line cable fuse when trimming the cable to fit. Locate the in-line fuse
as close as practical to the supply voltage connection.
• DO check the opposite sides of all mounting surfaces before drilling, to insure that
there are no obstructions, such as vehicle wiring and fluid lines.
• DON’T attach the unit to any part of the vehicle that is not rigid or is subject to
excessive vibration.
• DON’T install the unit in an area where rain or snow can easily get into it, such as next
to a vehicle window which may be left open.
• DON’T install the unit in a location where it could interfere with the vehicle’s operator
or operating controls.
• DON’T dress the cable over sharp edges that could cause wear or tearing of cable
insulation.
• DON’T install the unit in a location where it may be difficult for the operator to reach.
• DON’T install the unit where it may interfere with the vehicle safety air bag
deployment.
• DON’T install the unit where the LED indicators and switch may become physically
damaged.
2. Using the trunnion bracket as a template, mark the mounting surface drilling locations. It
is recommended that at least four screws be used, with 1/4 inch being the preferred
fastener diameter.
3. Re-verify that there are no wires, fluid lines, or other obstructions on the other side of the
mounting location, and drill appropriate sized holes for the mounting screws to be used.
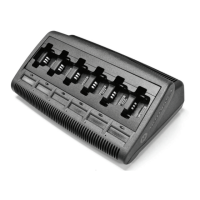
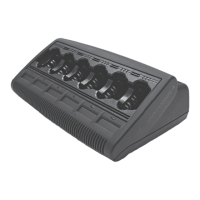
4. Referring to Figure 4, mount the bracket using appropriate screws, washers, lock washers,
and nuts.
5. Insert the unit into the bracket, and install the threaded knobs into the housing, as shown.
 Loading...