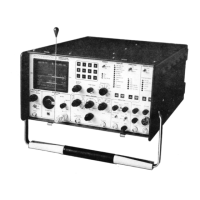
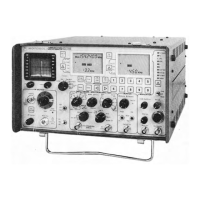
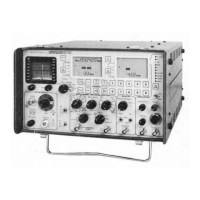
RF PRESELECTOR SHAPE & BANDWIDTH
Use this test to insure proper preselector alignment for multi-frequency receivers. Tune the preselector for greater rejec-
tion
of
an interfering frequency from nearby transmitters.
1.
Connect the Analyzer's
RF
In/Out
to the antenna connector
of
the receiver under test. Connect the Analyzer's
Vert/Sinad/Dist
to
the RF probe. Connect the probe to the first available low impedance point foHowing the prese-
lector, as shown in figure 4-5.
2. Disable the receiver's mixer injection.
3.
Set DISPLAY to Scope DC,
FUNCTION
to
SWP
1-10
MHz
with switch in Generate, and Dispr/Sweep control fully
clockwise to
10
MHz.
4. Enter the proper receiver frequency.
5.
Set RF Step
attenuator
to
OdB
and
RF Variable control to mid-range.
6. Use the
OSCILLOSCOPE
Vertical control to move the
horizontaljwee
p
line to the bottom
of
the graticule. Set the
Ext V
/Div
control to 0.01 and its inner knob fully clockwise to C I position.
7. Adjust the RF
output
level to produce a
CRT
display
at
the lowest eadable level to minimize the possibility
of
over-
loading the circuits being tested.
8.
The 3db (.707
of
peak) and 6db (.50
of
peak) bandwidth points can be checked. Each
major
horizontal division cor-
responds to 1
MHz
with dispersion control fully clockwise and to
.1
MHz
with dispersion control fully
counterclockwise. The response should be checked for uniformity and symmetry. Tuning adjustments can be made
accordingly.
4-11
 Loading...