Quick Reference Guide 9
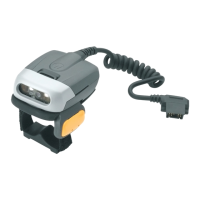
2. Tighten the Finger Strap.
NOTE When using the Imager for the first time, after power up, press and release
the Scan Trigger to enable the manual triggering mode (this operation
disables the default auto triggering mode).
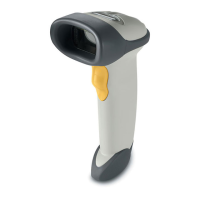
Getting Started - Corded Configuration
In order to start using the Imager you must install the Corded Adapter.
Connect Corded Adapter
1. Align the Corded Adapter on top of the
Imager.
2. Push the Corded Adapter all the way
into the Locking Slots of the Imager.
3. Firmly press the Corded Adapter into the
Imager until a “click” is heard ensuring
the Adapter Release Latch is fully
engaged with the Imager.
Remove the Corded Adapter
1. Hold the Imager in one hand.
2. Press the Adapter Release Latch.
3. Pull up the Corded Adapter to release
from the Locking Slots of the Imager.
aaaaaaaaaaaaaaa
aaaaaaaaaaaaaaa
aaaaaaaaaaaaaaa
aaaaaaaaaaaaaaa
aaaaaaaaaaaaaaa
aaaaaaaaaaaaaaa
aaaaaaaaaaaaaaa
aaaaaaaaaaaaaaa
aaaaaaaaaaaaaaa
aaaaaaaaaaaaaaa
aaaaaaaaaaaaaaa
aaaaaaaaaaaaaaa
aaaaaaaaaaaaaaa
aaaaaaaaaaaaaaa
aaaaaaaaaaaaaaa
aaaaaaaaaaaaaaa
aaaaaaaaaaaaaaa
Locking Slots
Adapter Release
Latch
Corded
Adapter
 Loading...