EN
- Before using for the first time, wash all the accessories in hot water and
washing up liquid. Rinse and dry them.
- Place the motor unit (a) on a flat, clean and dry surface.
- Plug in your appliance.
- Pulse: turn button (a3) to the Pulse position in successive ‘pulses’ for
improved control of certain preparations.
- Continuous operation: turn button (a3) to position 1 or 2.
- Stop: turn button (a3) to position 0.
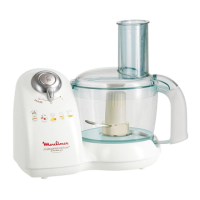
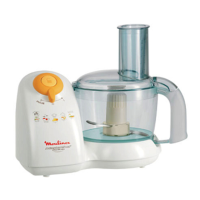
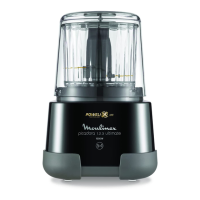
DESCRIPTION
a Motor unit
a1 Motor unit slow accessory drive
a2 Motor unit rapid accessory drive
a3 Speed selector: Pulse position –
0 – 1 – 2
a4 Power cable storage cavity
b Chopping bowl assembly
b1 Pusher with measuring section
b2 Lid with feeder tube
b3 Bowl
c Spindle
d Stainless steel chopping blade
e Dough blade (depending on
model)
f Emulsifying disk
g Vegetable cutting disks
C/H Coarse grating or Slicing
A/D Fine grating or Slicing
(depending on model)
G Reibekuchen (depending on
model)
E Chip cutter (depending on
model)
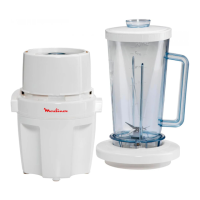
h Blender jug (depending on
model)
h1-1 Measuring cap
h2-1 Lid with filter
h3 Blender jug
h4 Pestle
h5 Juice filter
OR
h1-2 Measuring cap
h2-2 Lid
h3 Blender jug
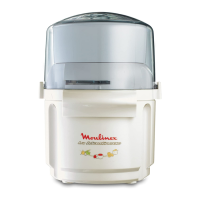
i Fine Herb Mill (depending on
model)
i1 Lid
i2 Bowl for fine herb mill
j Adapter for mincer head (de-
pending on model)
k Mincer head (depending on
model)
k1 Pusher
k2 Detachable tray
k3 Body
k4 Food guide
k5 Screw
k6 4-blade cutter
k7* Grilles
k7-1 Small hole grille: fine mincing
k7-2 Large hole grille: coarse mincing
k8 Nut
l Spatula
m Storage box
USING YOUR APPLIANCE
The numbering of the paragraphs corresponds with the numbering of
the accompanying illustrations.
23