Charging
2
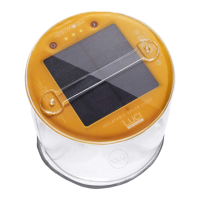
Charge case via solar
• With solar panel side up, place in direct
sunlight for a full charge. When charging via
solar, the Charging Indicator will turn red.
• Press battery level indicator button at any
time to check battery level. See illustration
on previous page for more info.
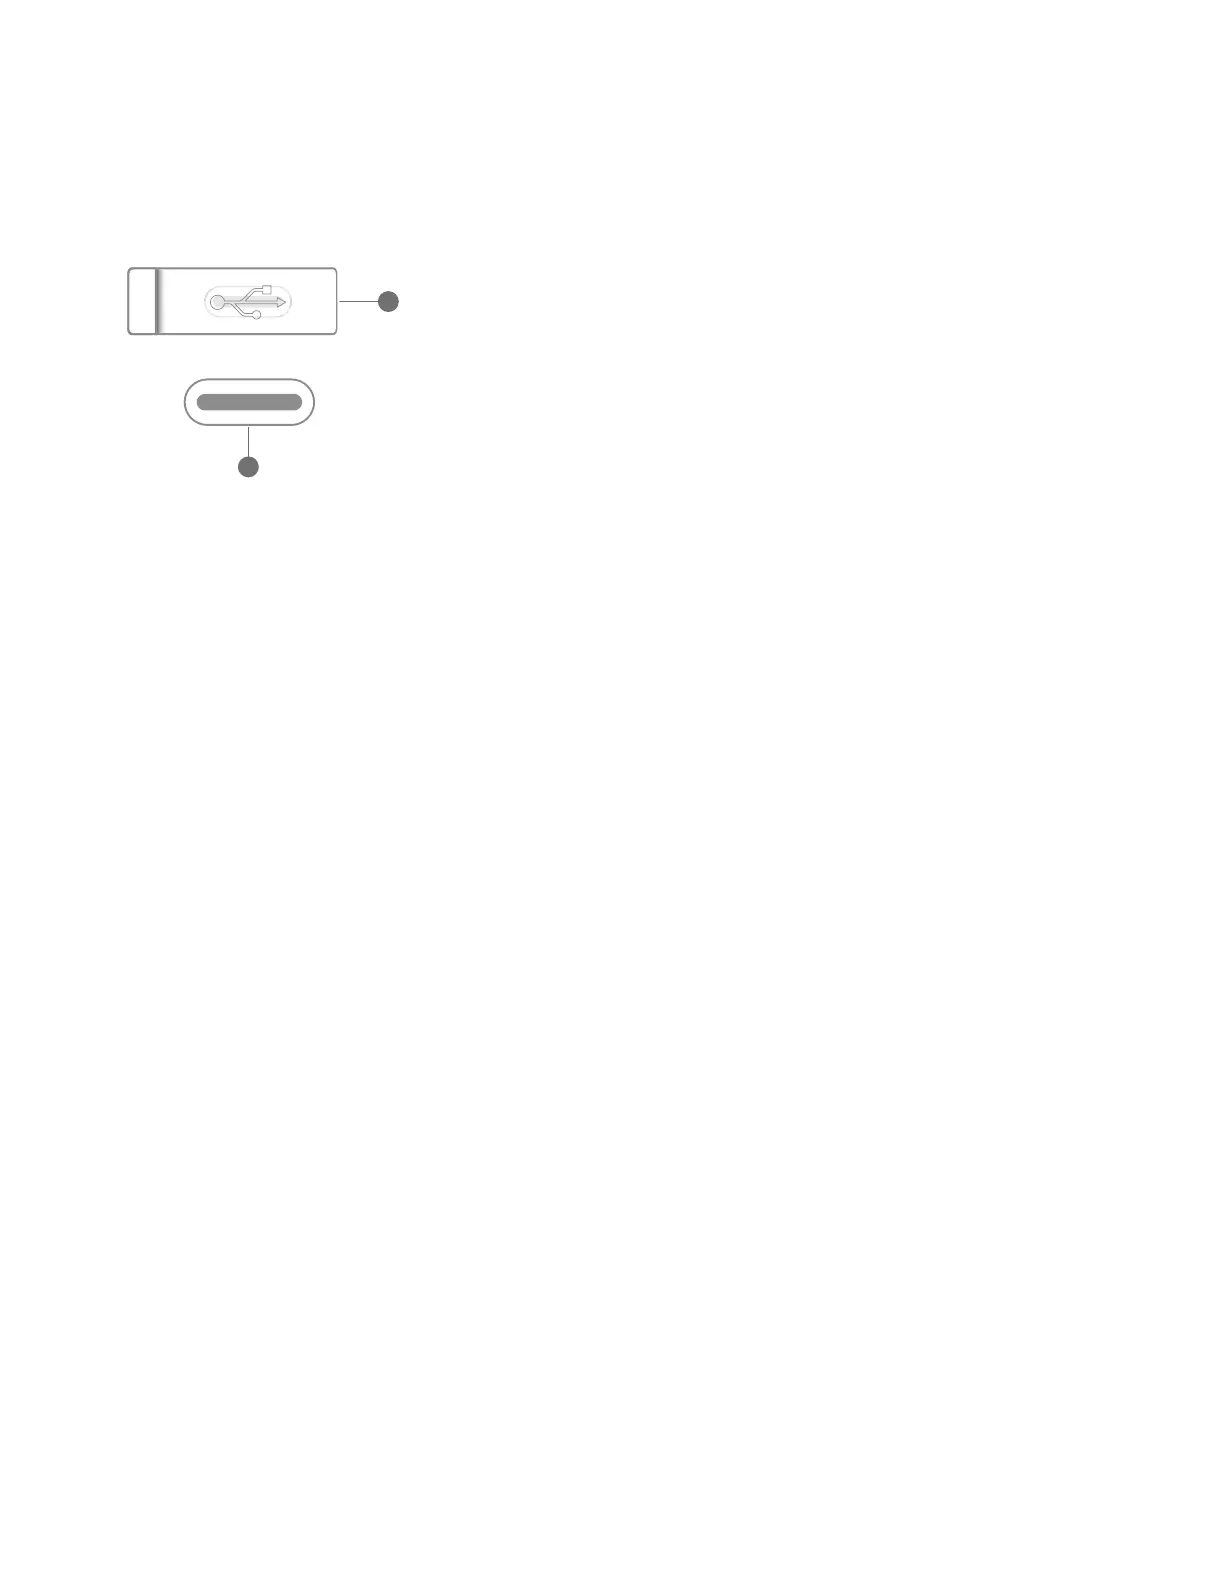
Charge case via USB-C
• Insert the USB cord provided into the USB
port on the Charging Case, and then insert
the other end into a USB outlet for 4 hours.
• Ensure the cord is firmly in position and
check that the Charging Indicator light is on
- this means it's charging.
Charge lights
• To charge the lights, place them into the
Charging Pockets and the magnetic snap will
guide them into position for charging.
• When the lights illuminate orange, it means
they are charging, and green means that the
light is fully charged.
USB Port
A
B
A. Lift cap to reveal port
B. USB-C to charge Solar Site Lights
• To turn the lights on, simply twist the bulb
in either direction and cycle through the
modes.
• 1 click for low, 2 for medium, 3 for high,
and 4 to turn off.
• The dual-directional swivel makes it easier
to adjust brightness while the lights are
staked in the ground or hanging overhead.
• To string up the lights, firmly insert your string
or rope into the String Notch until secure.
• The tapered notch caters to different
string thicknesses, and once in place, will
remain in position.
• Alternatively, you can loop the string
through the top of the bulb connector and
bite it into the circle.
• Any rope less than 2.5mm diameter should
be looped through the bulb connector, as
the rope will be too thin for the notch.
• Any rope more than 5.5mm diameter will
not fit through the bulb connector or be
able to fit into the notch.
• When storing the stakes, they should be
placed into the Stake Storage Pocket in
alternate directions. This helps secure them
more firmly in the case.
• Secure the Stake Storage Strap to ensure
that the stakes are secure while transporting.
How to turn on
How to string up
How to store
stakes
 Loading...