32
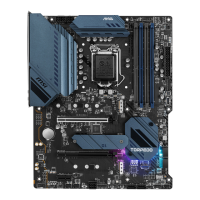
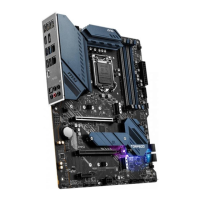
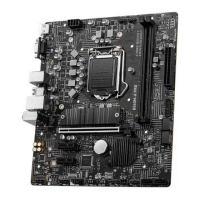
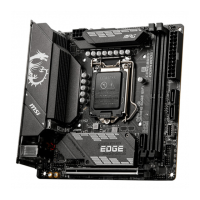
Overview of Components
6. Put the M.2 SHIELD FROZR heatsink back in place and secure it.
6
6
3. Secure the supplied M.2 standoff according to your M.2 SSD length if need.
4. Insert your M.2 SSD into the M.2 slot at a 30-degree angle.
5. Secure the M.2 SSD in place with the supplied M.2 8.5H screw.
⚠
Important
∙
Skip step 3 and step 5, if you install 22110 M.2 into M2_1 slot or 2280 M.2 into M2_2
slots.
30º30º
5
4
3
8.5H screw
Standoff
 Loading...
