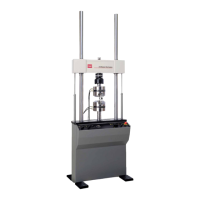
318 Load Unit
48
Installation
2. Inspect the load unit for shipping damage.
Look for the following:
• Scratches in the load unit or lift cylinder columns
• Damaged electrical connections
• Damaged hydraulic connections
• Dents and other structural damage
• Torn, kinked, or breaking hoses
Report any damage found to both the carrier and MTS. In the U.S. and
Canada, call the MTS HELPLine at 1-800-328-2255. Elsewhere, contact
your local MTS office.
3. Move the load unit to its final location.
Before you move the load unit, check that:
• The floor where the load unit will sit can bear its weight.
• The path to where the load unit will sit is clear and uncluttered.
• The area where the load unit will sit is clean and well lit, with all hoses and
cables moved out of harm’s way.
• The eyebolts are tight.
• The crosshead is manually locked.
Lift the load unit only as high as necessary. Move it slowly to its installation
site.
4. Place the load unit onto the isolation pads or airmounts.
• If your load unit has isolation pads, and the load unit does not sit level,
install stock metal shims between the pads and the floor.
• If your load unit has airmounts, inflate each airmount in 5 mm (0.20 in)
increments to level the load unit.
– Check the airmounts’ pressures often to ensure they do not exceed 0.55
MPa (80 psi).
– Check the airmounts’ inflated heights to make sure that they are all
between 83 and 88 mm (3.25 and 3.5 in).
– Adjust the air pressure to level the load unit.
 Loading...