5
• This product may only be serviced by a qualied technician
for maintenance to reduce the risk of electric shock.
• Disconnect the product from the electrical outlet and other
equipment if problems occur.
• Close supervision is necessary when the product is used by
or near children, animals or inrm persons. Do not allow
children to play with it or touch it.
• Keep the product away from heat sources. Do not place the
product on hot surfaces or near open ames.
• Do not remove the top lid while the brewing cycle is in
progress.
• Do not cover the product.
• Do not use solvents to clean the product.
• Use distilled or clean tap water to ll the tank.
• Unplug the product when not in use and before cleaning.
• Do not place any objects on the product.
• Do not move the product during operation.
• Never immerse the product in water or place it in a
dishwasher.
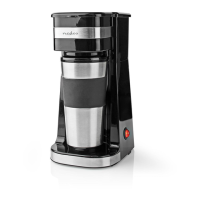
Before rst use
• Clean the mug A
9
, mug lid A
8
, the lter A
5
and the
funnel A
6
with soap and rinse with water.
4
When you rst use this product, perform two full brewing
cycles without coee to clean the inside of the product.
Brewing coee
4
This coee maker comes with a reusable lter.
4
A paper lter is not required.
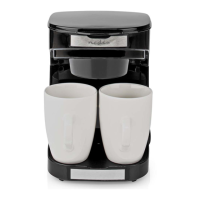
1. Open the top lid A
1
.
2. Put 3 tablespoons of nely ground coee or 4 tablespoons
of regular ground coee into A
5
.
3. Distribute the ground coee evenly.
4. Place A
5
into A
6
.
5. Place A
56
into the brewing chamber A
7
.
6. Fill the water tank A
2
with clean water.
7. Close A
1
.
8. Place A
9
under the coee spout A
3
.
9. Plug the power cable A
4
into the power outlet.
10. Press the power button A
t
to start the brewing cycle.
4
The brewing indicator LED A
u
switches on to indicate the
brewing cycle had started.
-
Do not remove the top lid A
1
while the brewing cycle is
in progress.
11. Wait a few minutes after the brewing cycle has nished to
allow all the coee to drip into the mug.
 Loading...