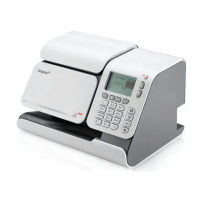
Do you have a question about the Neopost IS-280 iMeter and is the answer not in the manual?
Navigate the installation process by pressing 'OK' to initiate the setup of your mailing system.
Choose the desired connection method by pressing 'OK' to confirm your selection of connection type.
Ensure the USB modem or cable is properly connected and press 'OK' to proceed with configuration.
Highlight 'Modem' using arrow keys and press 'OK' to confirm it as the selected connection type.
Press 'OK' to select 'Yes' if a prefix is needed for external calls, then enter it.
Press 'OK' to select 'Continue' and allow the system to verify the established connection.
Select 'No' using the 'BACK' button to defer postage addition to a later stage of the process.
Press 'OK' to activate the mailing system for online services, initiating server communication.
Press 'OK' to proceed with the declaration process after the activation is confirmed by the system.
Confirm successful server activation by pressing 'OK' when the 'Server call successful' message appears.
Proceed with the ink cartridge installation phase by pressing 'OK' to continue the setup.
Open the cover, ensure the ink cartridge is installed, and press 'OK' to signal completion.
Press 'OK' to initiate the print alignment process after confirming the cartridge installation.
Insert an item to print a test imprint, or press 'EXIT' to quit the alignment procedure.
| Brand | Neopost |
|---|---|
| Model | IS-280 iMeter |
| Category | Measuring Instruments |
| Language | English |