3. Identify the SP/BMC address of all nodes:
system service-processor show -node * -fields address
4.
Exit the cluster shell:
exit
5. Log into SP/BMC over SSH using the IP address of any of the nodes listed in the output from the
previous step.
If your’re using a console/laptop, log into the controller using the same cluster administrator
credentials.
Open an SSH session to every SP/BMC connection so that you can monitor progress.
6. Halt all nodes in the cluster:
system node halt -node * -skip-lif-migration-before-shutdown true -ignore
-quorum-warnings true -inhibit-takeover true
.
For clusters using SnapMirror synchronous operating in StrictSync mode: system
node halt -node * -skip-lif-migration-before-shutdown true
-ignore-quorum-warnings true -inhibit-takeover true -ignore
-strict-sync-warnings true
7.
Enter y for each controller in the cluster when you see
Warning: Are you sure you want to
halt node "cluster name-controller number"?
{y|n}:
8. Wait for each controller to halt and display the LOADER prompt.
9. Turn off each PSU or unplug them if there is no PSU on/off switch.
10. Unplug the power cord from each PSU.
11. Verify that all controllers in the impaired chassis are powered down.
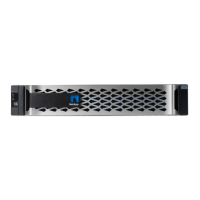
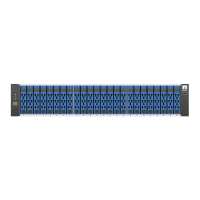
= Replace hardware - ASA C250
:icons: font
:relative_path: ./asa-c-250/
:imagesdir: /tmp/d20231020-12297-25s5m0/source/./asa-c-250/../media/
To replace the chassis, you move the power supplies, hard drives, and controller
module from the impaired chassis to the new chassis, and swap out the impaired
chassis from with the new chassis of the same model as the impaired chassis.
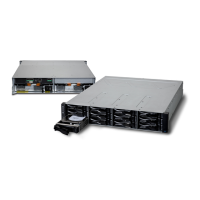
== Step 1: Remove the controller modules
To replace the chassis, you must remove the controller modules from the old chassis.
Use the following video or the tabulated steps to replace the chassis; it assumes the removal and
replacement of the bezel:
Animation - Replace the chassis
1. If you are not already grounded, properly ground yourself.
37
 Loading...