c. Remove the replacement battery from the antistatic shipping bag.
d. Note the polarity of the RTC battery, and then insert it into the holder by tilting the battery at an angle
and pushing down.
4. Visually inspect the battery to make sure that it is completely installed into the holder and that the polarity is
correct.
5. Close the air duct.
Step 4: Reinstall the controller module and sett time/date after RTC battery replacement
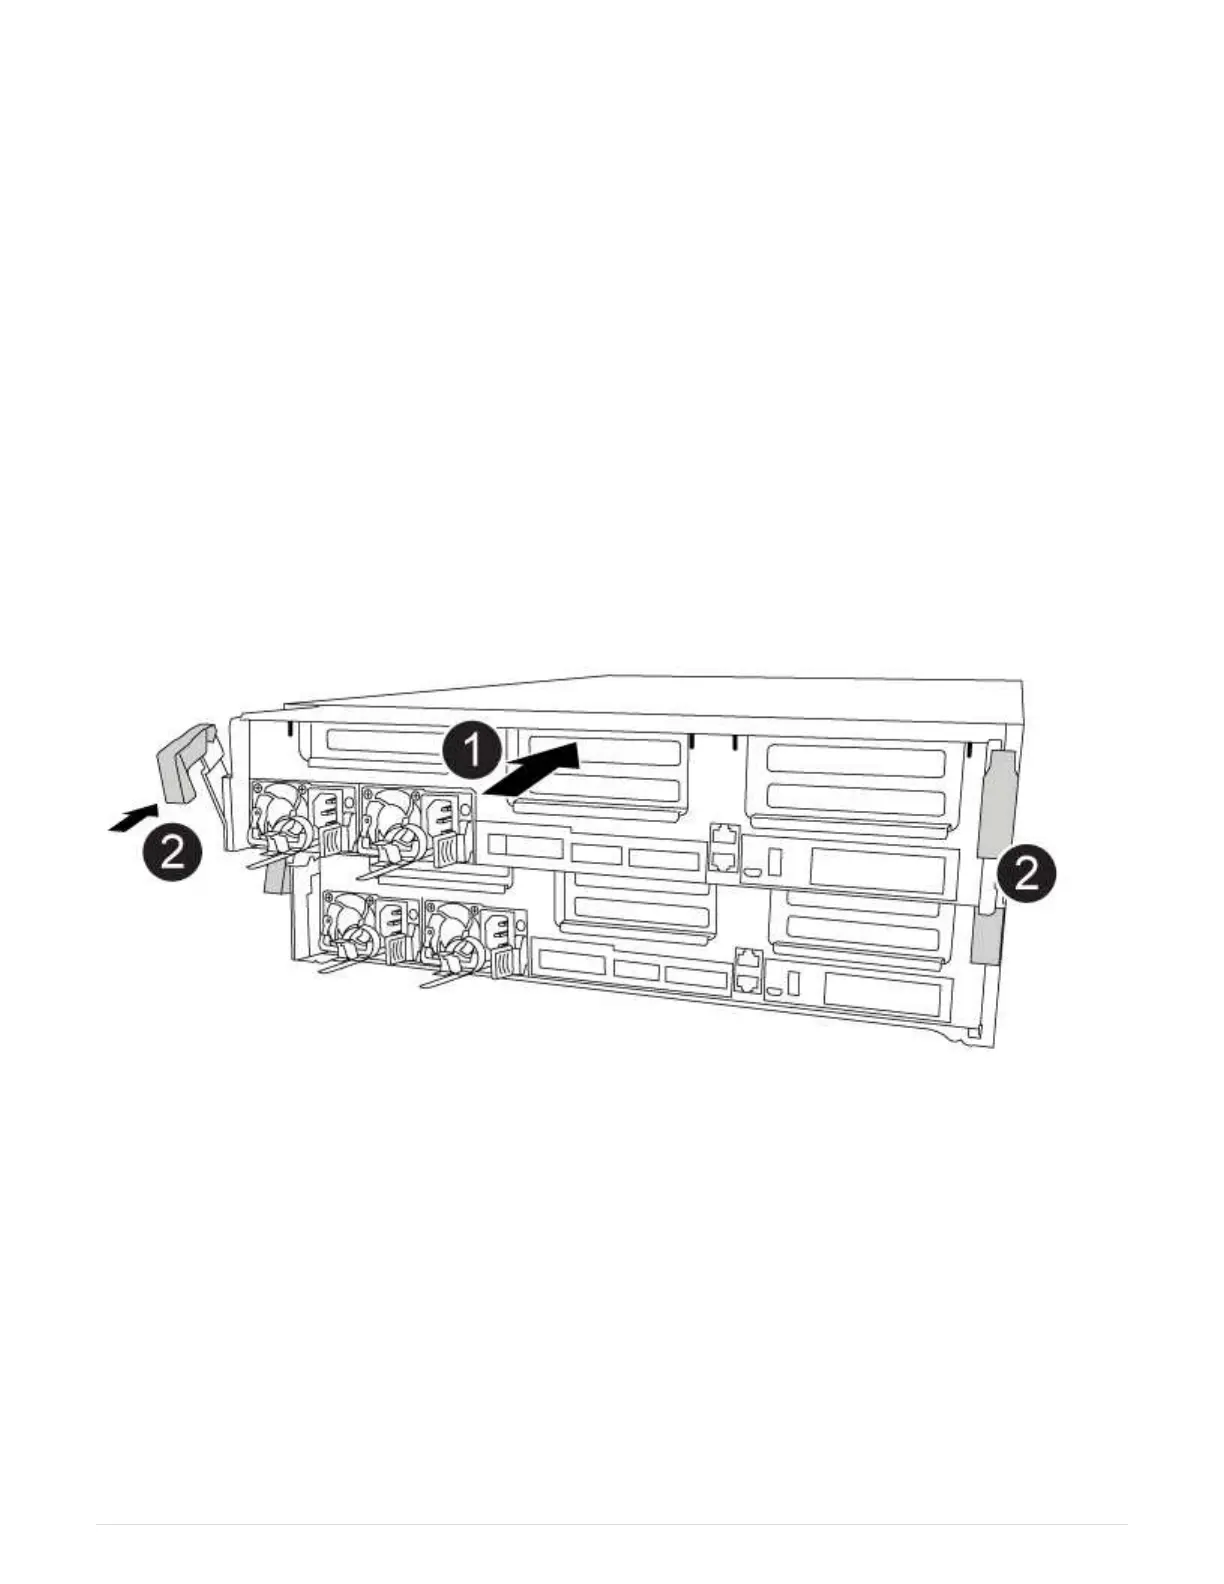
After you replace a component within the controller module, you must reinstall the
controller module in the system chassis, reset the time and date on the controller, and
then boot it.
You can use the following animation, illustration, or the written steps to install the controller module in the
chassis.
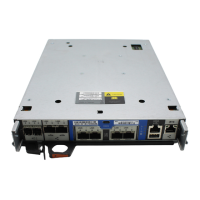
Installing the controller module
Steps
1. If you have not already done so, close the air duct or controller module cover.
2. Align the end of the controller module with the opening in the chassis, and then gently push the controller
module halfway into the system.
Do not completely insert the controller module in the chassis until instructed to do so.
3. Recable the system, as needed.
If you removed the media converters (QSFPs or SFPs), remember to reinstall them if you are using fiber
optic cables.
4. If the power supplies were unplugged, plug them back in and reinstall the power cable retainers.
5. Complete the installation of the controller module:
551
 Loading...