In Vehicle Installation (contd.)
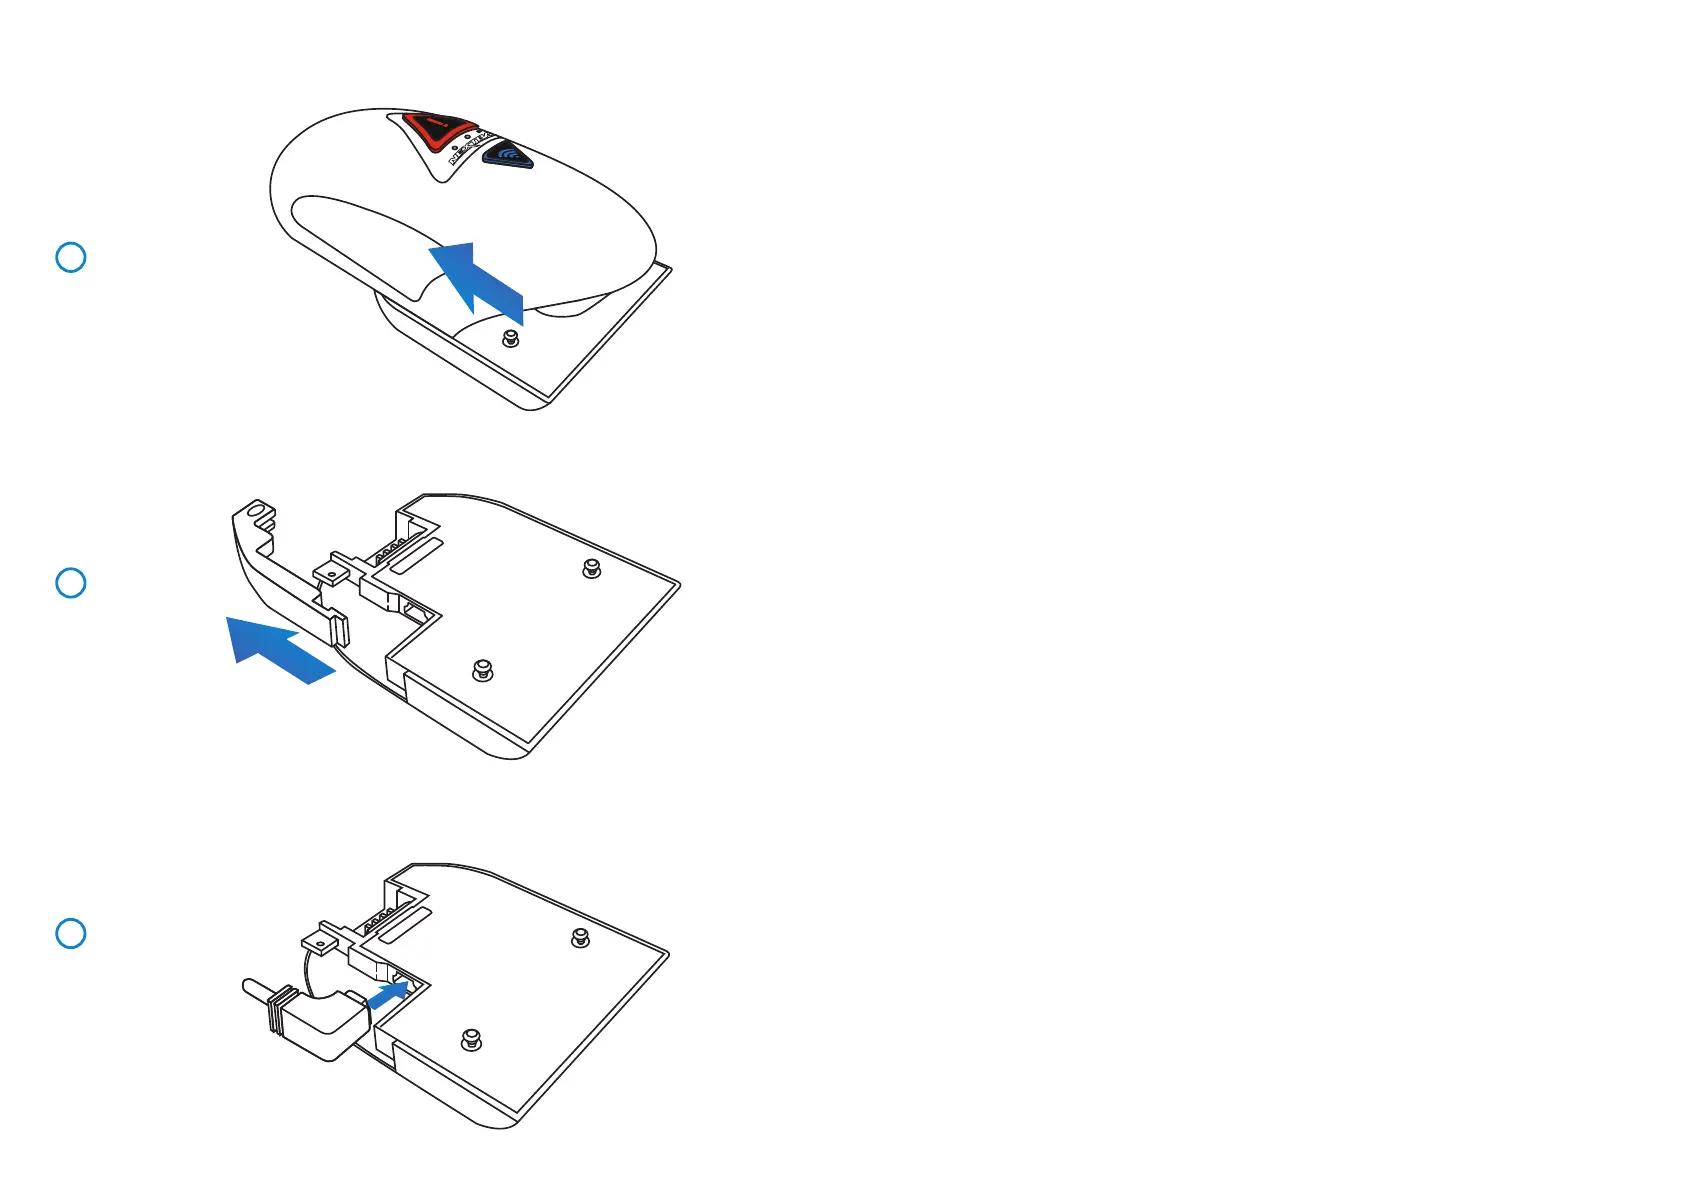
4 Remove Camera From Mount
Slide the mount towards the camera lens to disengage the mount.
5 Remove Cable Lock
The cable lock is in the corner of the mount and can be twisted away from the mount
itself and then disengaged completely from the mount.
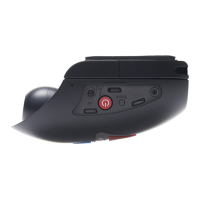
6 Connect Power
Connect the supplied Car Power cable in to the Mini USB socket marked ‘For use with 90
connector’.
Note:
- The Nextbase hardwire kit connector will utilize the mini USB socket marked ‘For use
with straight connector’.
- Once the Car Power is connected to the Dash Cam mount, do NOT connect it to the
12-24Vdc power supply in your vehicle until the Rear Facing Camera has also been
connected. ALWAYS make sure your Dash Cam is powered OFF before connecting or
dis-connecting the Rear Facing Camera.
4
5
6
19
 Loading...