Hex Nut
Elongated Washer
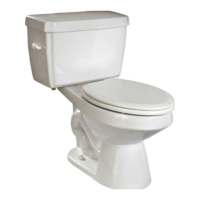
Niagara Flapperless™ Toilet
Installation Instructions
Vitreous china plumbing products are heavy and fragile. To avoid injury or damage, ask
for assistance and handle with extreme care.
You have just purchased the best gravity-fl ush, 1.6-gallon-per-fl ush (6.0 LPF) toilet one
can purchase. To insure proper installation, carefully read these instructions and be sure you
have the proper tools to complete the job.
When installing a 1.6-gallon-per-fl ush (6.0 LPF) toilet, make sure the plumbing system is
vented adequately and that the soil pipe is clean.
Be very cautious when working with vitreous china plumbing products. Vitreous china
can break and chip if you overtighten mounting bolts or nuts. Such breaks and chips are as
sharp as glass and should be handled with care. Take care when handling these products.
Recommended Tools
•
1/2" × 9/16" box or open-end wrench
•
Level
•
Adjustable wrench
•
Putty knife
•
Caulking
•
Screwdriver
•
Hacksaw
•
Tape measure
TO START, TURN OFF THE MAIN WATER SUPPLY.
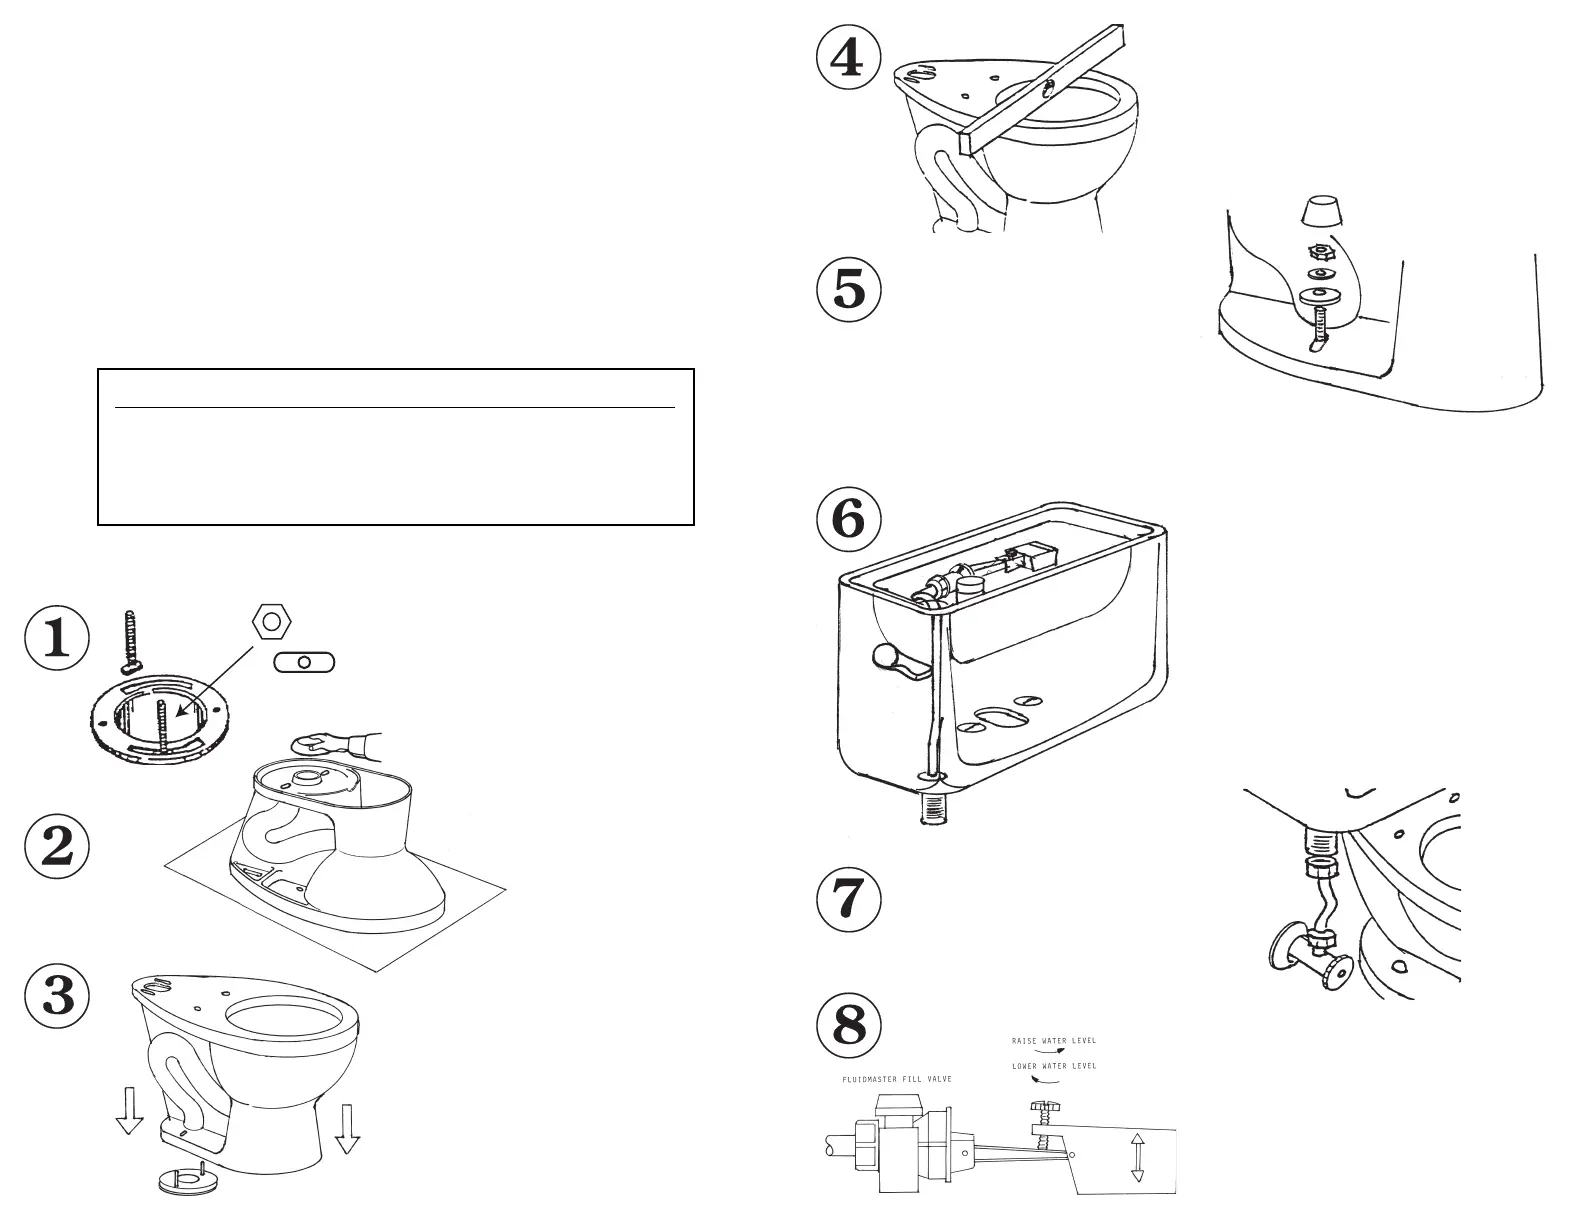
Remove the toilet from the
box and set the toilet upside-
down on a soft surface. (You
may use the box for this
purpose.) Set the wax ring
fi rmly in place around the
outlet of the toilet.
Carefully lower the toilet bowl onto the
fl oor fl ange while aligning the “T” bolts
through the two holes in the toilet bowl
foot.
Install new “T” bolts with elongated
brass fl at washers and thin brass hex-head
(jam) nuts.
Make sure that the toilet bowl is level. If
the toilet tilts or is rocking, insert shims
under the base.
Install the toilet tank. (The tank has been
factory assembled and has the gasket seal
between the bowl and the bottom of the
tank and is ready to set in place.) Place
the tank on the toilet bowl. Slide the
tank toward the front or back of the bowl
until the desired gap is obtained between
the tank and the wall. (Note: the gap is
normally 1/2- to 1-inch.) Secure the tank
in place with the two (2) metal washers
and (2) wing nuts provided. DO NOT
OVERTIGHTEN.
Open the shut-off valve slowly and check
for leaks. Fill the Flapperless™ dump
bucket to the water line. Adjust the level,
if necessary, by turning the black screw
on top of the fl oat. Turn the screw to the
right to lower the water level or to the left
to raise the level.
Install the plastic washer (be sure
that the side marked “top” is facing
up), round metal washer, and full
hex nut. DO NOT OVERTIGHTEN. Cut
off any excess bolt length and snap the bolt
cap in place. Run a bead of caulk around
the base of the toilet for a fi nished look and
to meet plumbing codes.
Connect the water supply to the
toilet fi ll valve and hand tighten.
Carefully connect the water
supply to the shut-off valve.
 Loading...