Mounting
Before installation, check that the motor's direction of
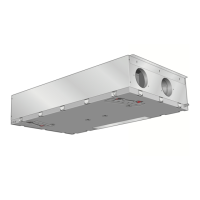
rotation is set according to the image:
1.
Make a hole in the cable grommet using an appro-
priate tool and push it into place in the side of the
damper. Then press the temperature sensor
through the grommet into the damper.
2.
Disconnect the power from the heat pump.
3.
Connect the damper motor electrically, see page
13.
4.
Connect the supply to OEK 20-160. Check that the
miniature circuit breaker (FA1) has not tripped.
5.
Power F730, the unit box and activate the OEK 20-
160 accessory in menu 5.2, see page 15.
6.
The damper motor now runs to the limit position
for closed damper.
7.
Check that the damper is closed.
8.
Install the damper motor on the outdoor air
damper (QN38) using the enclosed screws.
9.
Install the outdoor air damper in the duct.
Caution
The damper is turned so that the cable
gland is turned towards the incoming air.
The damper must be in the closed posi-
tion when it is installed in the duct.
NOTE
It is important that the damper closes fully in
order for OEK 20-160 to function optimally.
11OEK 20-160 | GB
 Loading...