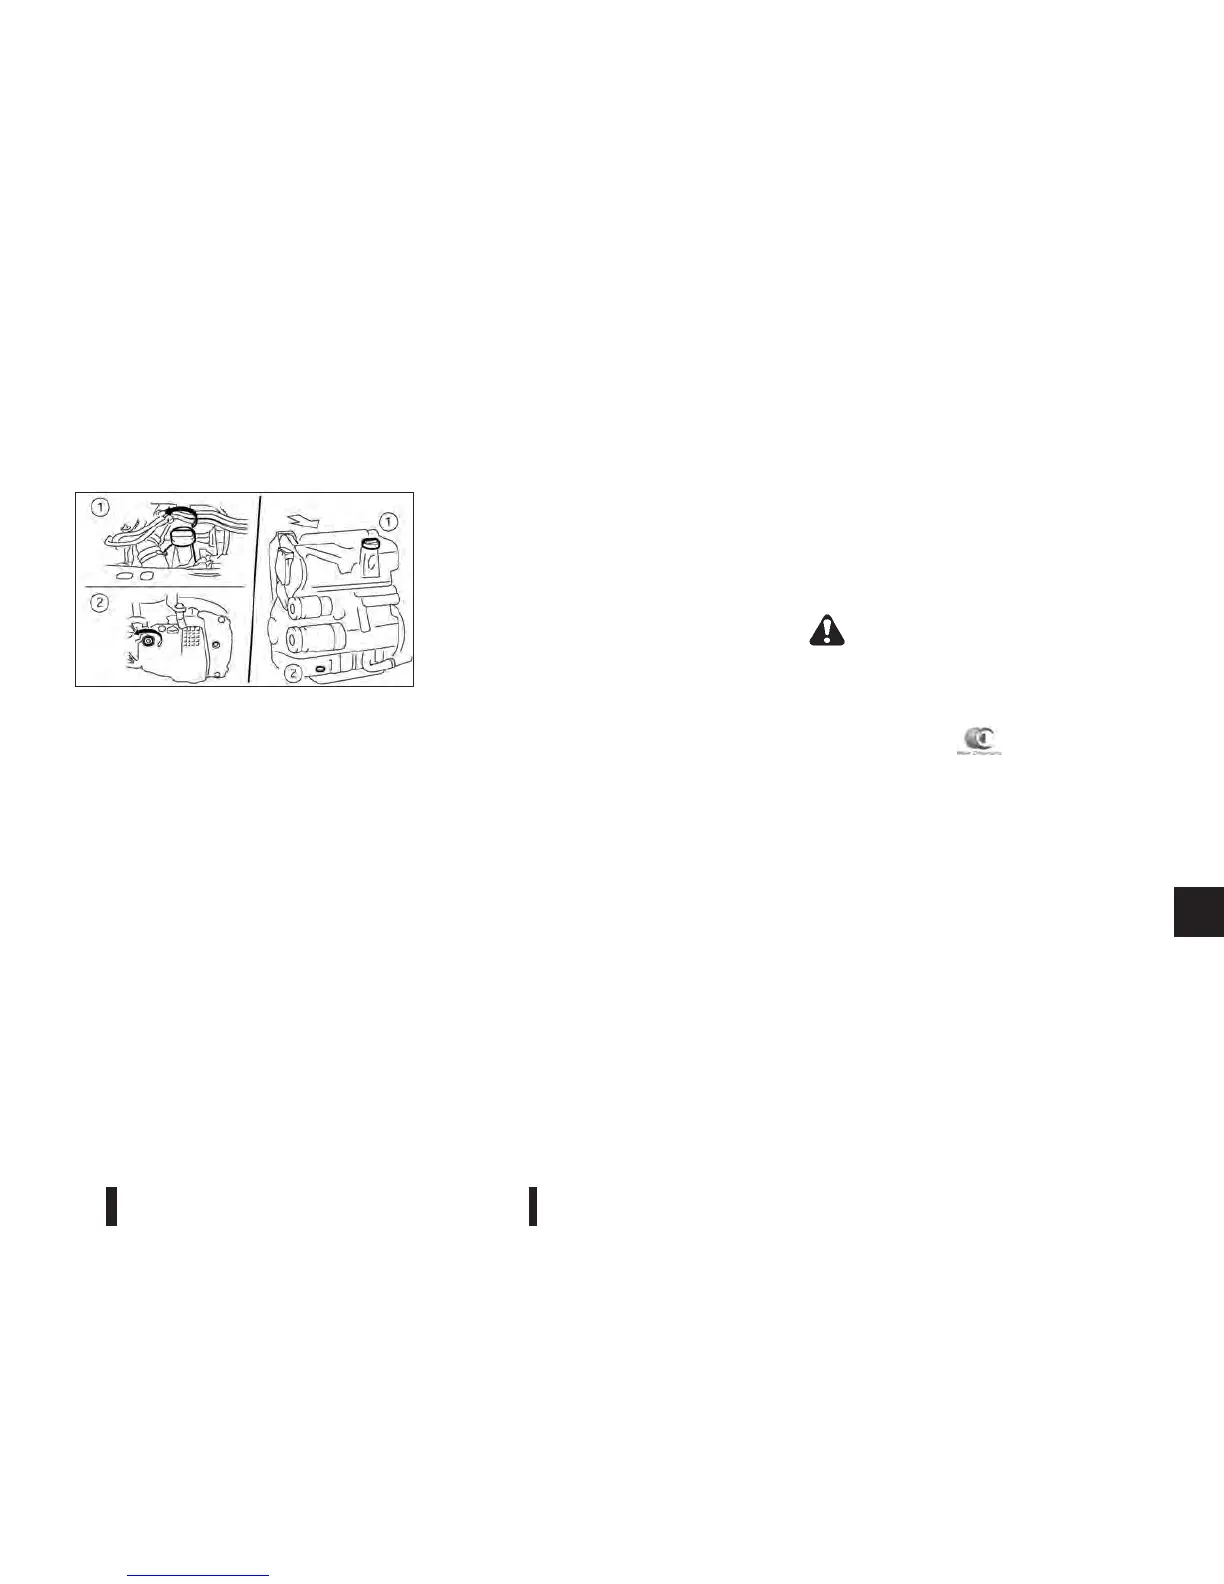
j1
Oil filler cap
j2
Oil drain plug
1. Park the vehicle on a level surface and apply the
parking brake.
2. Start the engine and warm it up until the engine
temperature reaches the normal operating tem-
perature (approximately 5 minutes).
3. Stop the engine.
4. Wait at least 10 minutes for the engine oil to
drain back to the oil pan.
5. Open the bonnet. For details, see “Bonnet” in
the “3. Pre-driving checks and adjustments” sec-
tion.
6. Remove the engine oil filler cap.
7. Raise and support the vehicle using a suitable
floor jack and safety jack stands.
Place the safety jack stands under the vehicle
jack-up points.
For details, see “Flat tyre” in the “6. In case of
emergency” section.
8. Place a large drain pan under the oil drain plug.
9. Remove the drain plug with a wrench and com-
pletely drain the oil.
If the engine oil filter needs to be changed, re-
move and replace it at this time. See “Engine oil
filter replacement” later in this section.
10. Clean and reinstall the drain plug and new
washer. Securely tighten the drain plug with a
wrench. Do not use excessive force.
Drain plug tightening torque:
HR12DE, HR12DDR
34.3 N•m
(3.5 kg-m, 25 ft-lb)
K9K:
20 N•m (2.1 kg-m, 15 ft-lb)
11. Refill the recommended engine oil and quantity.
(See “Recommended fluids/lubricants and
capacities” in the “9. Technical information”
section.)
12. Check the oil level with the dipstick. If neces-
sary, add engine oil.
13. Install the engine oil filler cap securely.
14. Securely install the oil filler cap.
15. Start the engine.
16. Check the drain plug for any sign of leakage.
Correct as required.
17. Turn the engine off and wait several minutes.
18. Check the oil level again with the dipstick. If
necessary, add engine oil.
19. Lower the vehicle carefully to the ground.
20. Close the bonnet.
Engine oil filter replacement
WARNING
•
NISSAN recommends contacting a NISSAN
dealer or qualified workshop for engine oil fil-
ter servicing.
•
A used oil filter should be disposed of at a
rubbish tip having proper facilities.
NDI1367
K9K Diesel engine
Maintenance and do-it-yourself 8-9



 To Next Page