Do you have a question about the NOCO Genius G15000 and is the answer not in the manual?
For charging 12-volt lithium-ion batteries, including lithium iron phosphate.
For charging advanced 12-volt AGM batteries requiring higher voltage.
Converts to a 12VDC power supply for devices or memory retention.
Advanced recovery mode for repairing old, idle, or sulfated batteries.
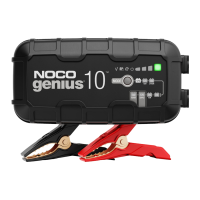
Feature for jumpstarting low-voltage or dead vehicle batteries.
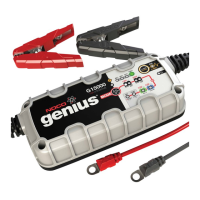
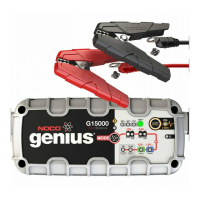
Connect positive and negative terminals correctly to the battery.
Check battery voltage, chemistry, connections, and AC power.
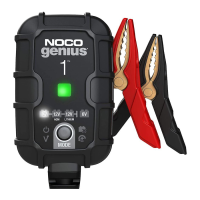
Press button to toggle modes, hold for 3 seconds for advanced modes.
Battery will not hold a charge; requires professional check.
Possible battery short; requires professional check.
Battery voltage too high for selected charge mode.
Reverse polarity detected; reverse battery connections.
Battery voltage too low; jumpstart battery to raise voltage.
Checks battery condition, voltage, and health before charging.
Finalizes charging to maximum capacity, optimizing performance.
| Operating Temperature | -4°F to 122°F (-20°C to 50°C) |
|---|---|
| Display Type | LED Indicators |
| Type | Battery Charger |
| Input Voltage | AC 120V |
| Output Voltage | 12V, 24V |
| Charging Current | 15A |
| Storage Temperature | -22°F to 140°F (-30°C to 60°C) |
| Charger Type | Smart Charger |
| Voltage Compatibility | 12V, 24V |
| Battery Chemistry Compatibility | Lead-Acid, Lithium-Ion |
| Charging Modes | Bulk, Absorption, Maintenance |
| Safety Features | Spark-proof, Reverse Polarity Protection |
| Warranty | 3 years |
| Protection | Reverse Polarity |