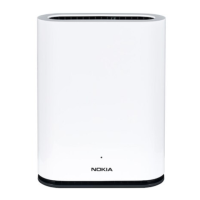
Install an E-240W-A indoor ONT
56
7368 ISAM ONT E-240W-A Product Guide
3FE-46974-AAAA-TCZZA Issue: 01
7 Install the power supply according to manufacturer specifications.
8 Connect the power cable to the power connector.
9 Power up the ONT unit by using the power switch.
10 If used, enable the Wi-Fi service.
i Locate the WLAN button on the ONT; see Figure 14 for location of the WLAN button.
ii Press the WLAN button to change the status of the Wi-Fi service.
11 Verify the ONT LEDs, voltage status, and optical signal levels; see the 7368 Hardware and
Cabling Installation Guide.
12 Activate and test the services; see the 7368 Hardware and Cabling Installation Guide.
13 If used, configure the SLID; see the 7368 ISAM ONT Configuration, Management, and
Troubleshooting Guide.
14 If necessary, reset the ONT.
i Locate the Reset button on an E-240W-A indoor ONT as shown in Figure 14.
ii Insert the end of a straightened paper clip or other narrow object into the hole in the
Reset button to reset the ONT.
15 STOP. This procedure is complete.
Note — Fiber cable preparation varies depending on the type and size
of the inside or outside plant fiber cable being spliced to the SC/APC or
SC/UPC fiber optic pigtail cable.
Note — Observe the following:
• Units must be powered by a Listed or CE approved and marked
limited power source power supply with a minimum output rate of
12VDC, 2.5 A.
Release 06.00.00h | January 2019 | Edition 08

 Loading...