EasyManuals Logo

Nokia 8210 Quick Guide

Nokia 8210
6 pages
To Next Page IconTo Next Page
To Previous Page IconTo Previous Page
Page #2 background imageLoading...
Page #2 background image
Copyright ã 1995 - 2000. Nokia. All rights reserved. 2(6)
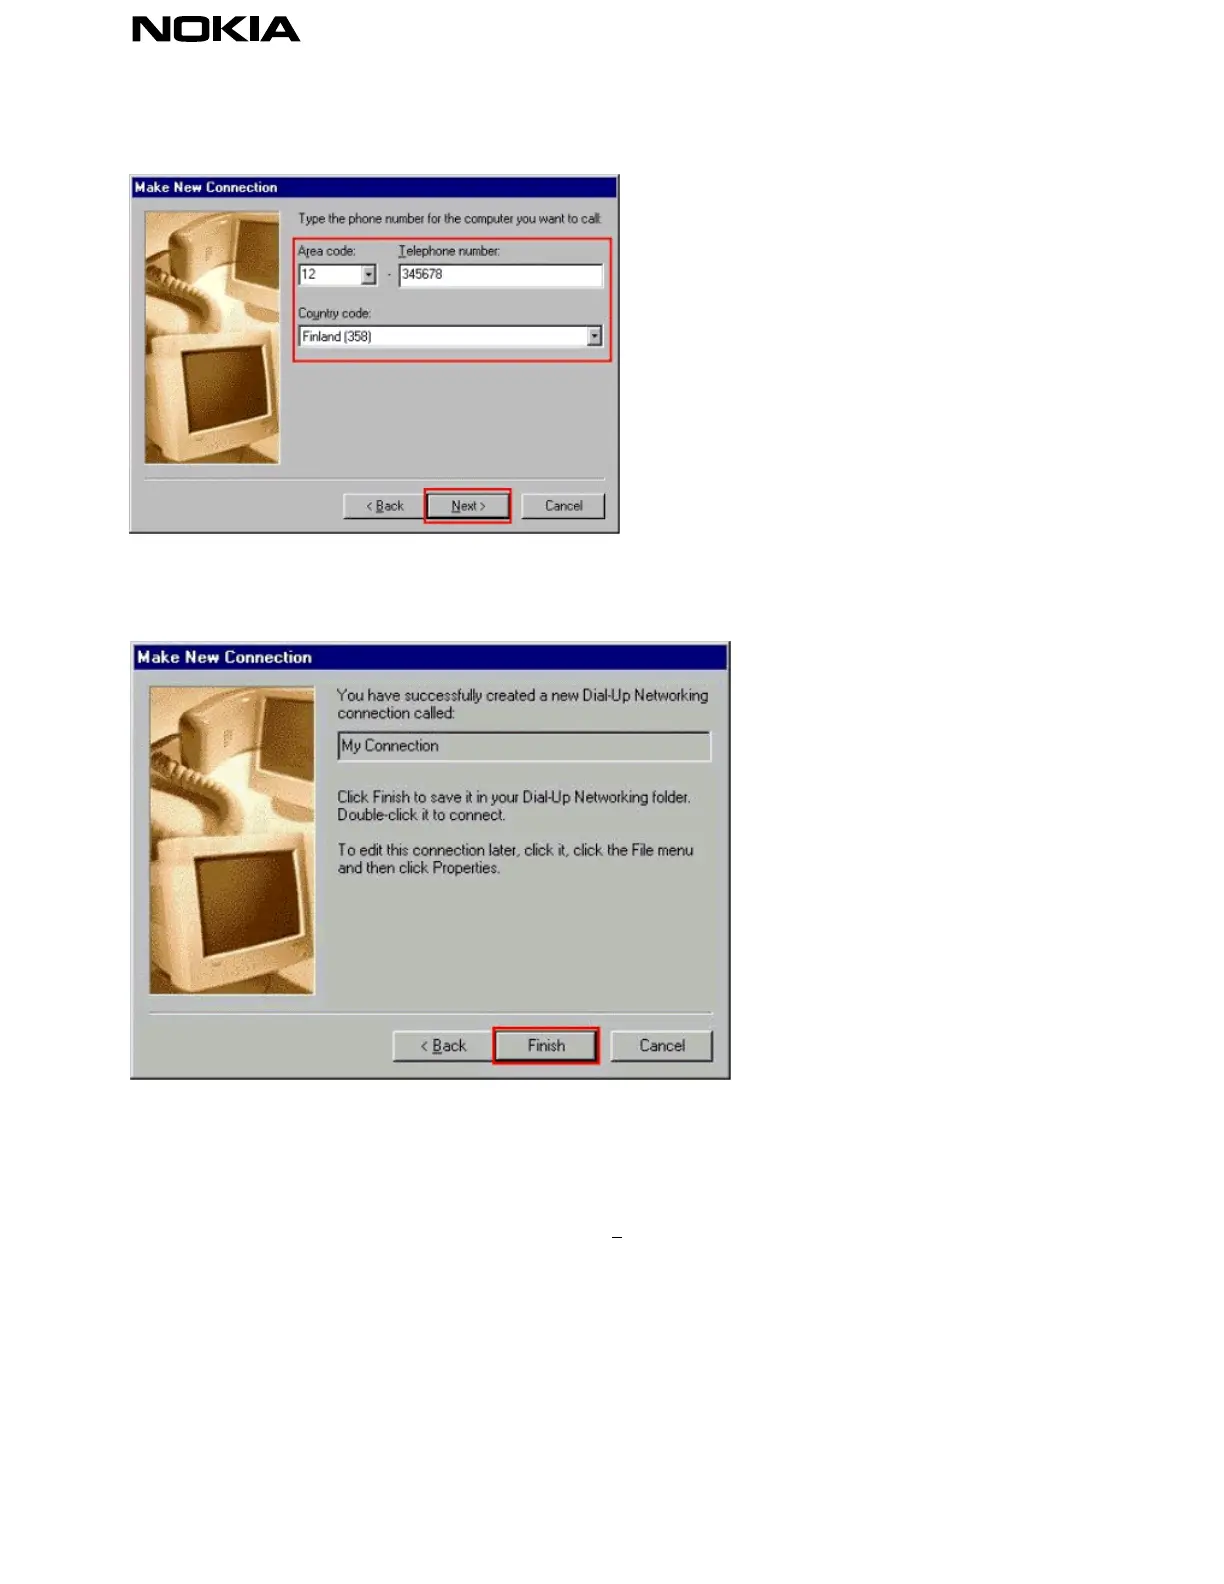
Figure 2. Number and codes.
Choosing the Finish- button will close the setup and create an icon for the dial-up networking folder (Figure 3).
Figure 3. Finishing the creation of a new connection.
Click the newly created icon with the right button of the mouse and choose the Properties (Figure 4). (NOTE: If you
are going to connect to an ISDN number you must add the following line to the extra settings option: S35=0. This can
be done by choosing Configure… à
àà
à Connection à
àà
à Advanced… à
àà
à Extra settings). If you want to change this
connection to a “normal” line please remember this.

Other manuals for Nokia 8210

Questions and Answers:

Question and Answer IconNeed help?

Do you have a question about the Nokia 8210 and is the answer not in the manual?

Nokia 8210 Specifications

General IconGeneral
DisplayMonochrome graphic
Resolution5 lines
Weight79 g
BatteryRemovable Li-Ion 650 mAh battery (BLB-2)
Stand-byUp to 150 h
Talk timeUp to 3 h
Released1999
Announced1999
StatusDiscontinued
SIMMini-SIM
Alert typesVibration; Monophonic ringtones
2G bandsGSM 900 / 1800
MessagingSMS
Phonebook250 entries
GamesMemory, Snake
ColorsRed, Blue, Green
Dimensions101.5 x 44.5 x 17.4 mm, 69 cc (3.98 x 1.75 x 0.69 in)

Related product manuals