11
English
11
Fig. 10
Model
Maximum Power
O N
O F F
7. Operating Procedures
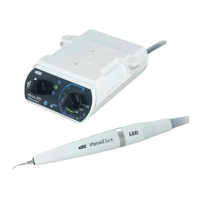
7-1 Power On (Fig. 9)
Connect the AC Cord to the wall outlet. Rotate the Power/
Volume Knob on the Control Unit.
(
Power indicator will
light.
)
7-2 Power Level Setting
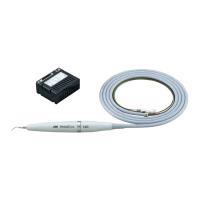
DO ENSURE Power setting does not exceed the recommended Power Level (Tip-Power Guide or Tip case label (Fig.10)
included in the package.)
Set the power level with the Power/Volume Knob on the Front Panel. Make sure the power level is set in the appropriate
range for the attached Tip.
Power
Indicator
Fig. 9
Power Level for each mode
NOTICE
• Rotate the Power/Volume Knob to increase or decrease the Power Level.
• If the Power Level is set to 0
(
zero
)
, Tip will not oscillate but water comes out from the
handpiece.
 Loading...