NIBBLE 0x3 Assembly Instructions Rev03 10.22.20
2.9 INSERT ICS INTO IC SOCKETS
Orientation matters! Make sure that the round mark on the IC is aligned with the round
mark on the IC socket before inserting.
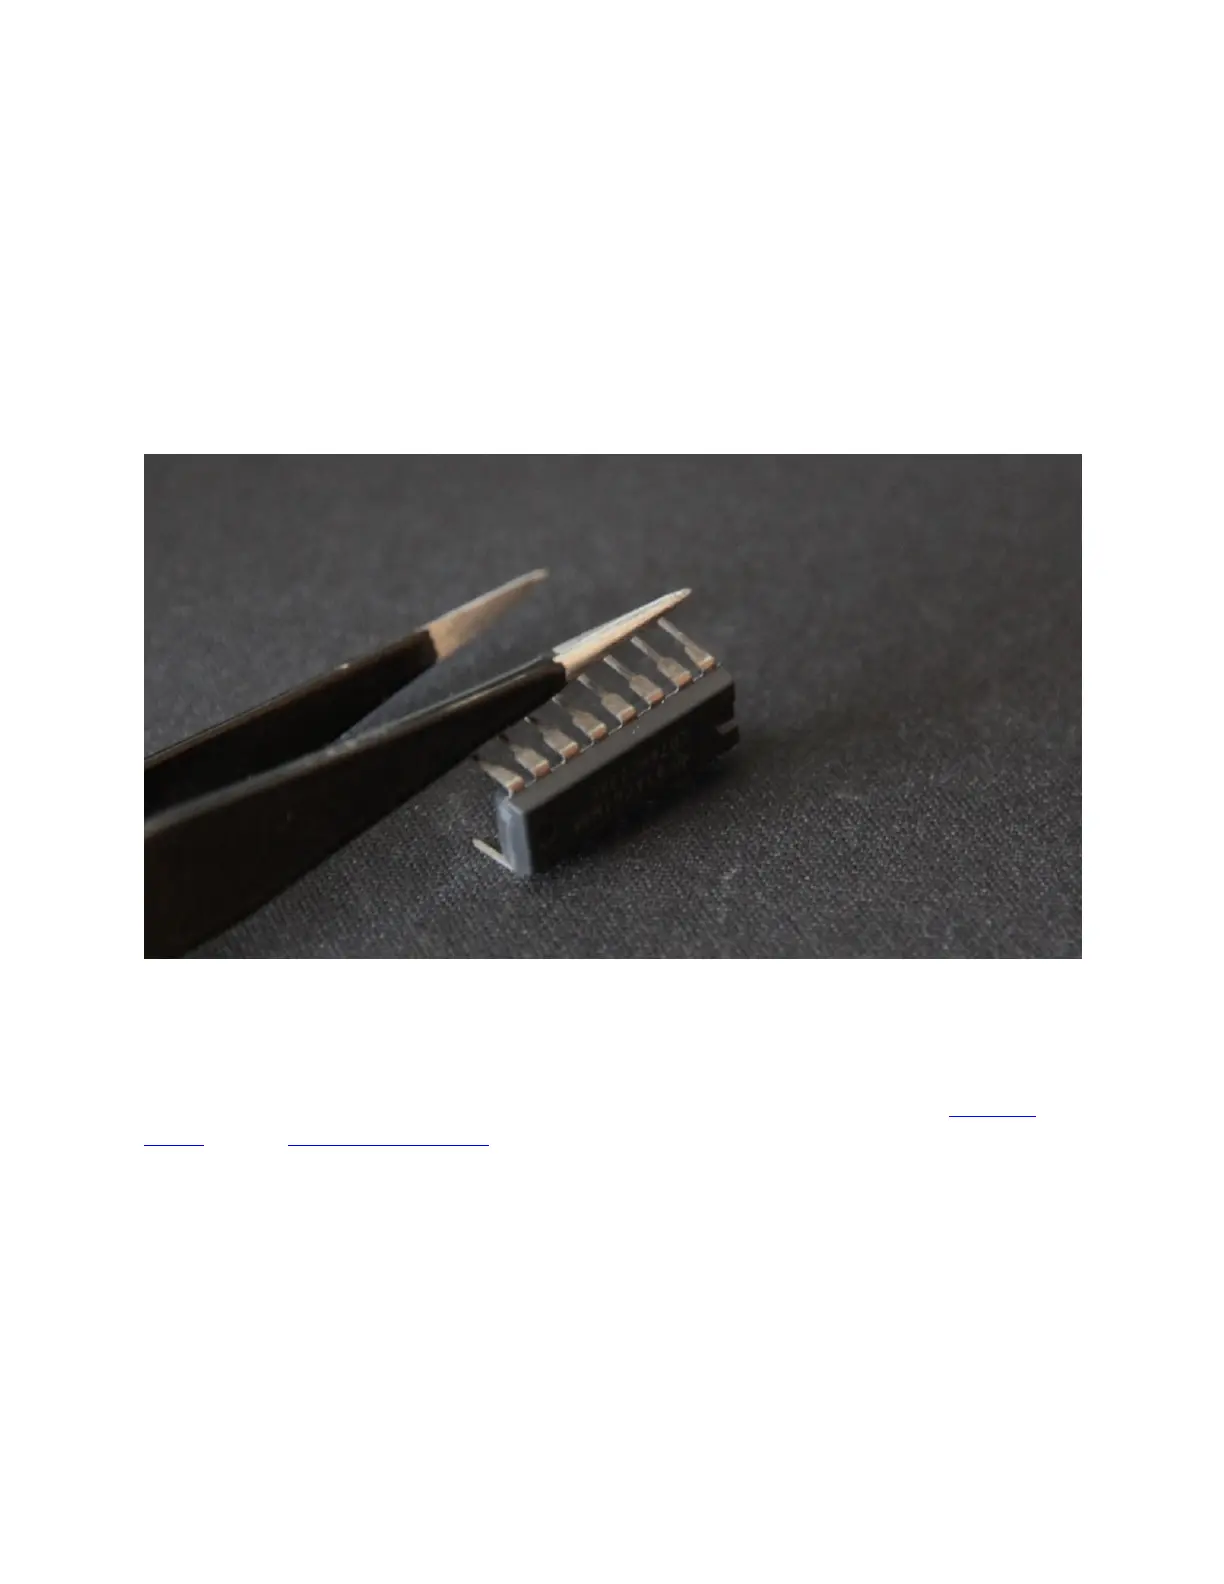
Carefully bend the IC leads inward so that they are the width of the socket. It helps to set the IC
on its side on a flat surface and use a tool to bend all leads at once.
While supporting the back of the PCB with one hand, push on the top of the IC using your thumb
until it sits flush in the socket. If you feel leads bending, stop and carefully straighten them
before continuing.
2.10 CHOOSE KEY LAYOUT AND CONFIGURATION
The NIBBLE includes guide marks for switches and stabilizers to make their placement easier.
The center of each switch lines up with a letter for a particular layout. The tables below show
which markings to follow based on key configuration. Familiarize yourself with the standard
layout and the function row options.
Compatibility note: Not all combinations are compatible with each other. See the
compatibility notes in the table. Double-check that the chosen configuration matches your
keycaps before soldering.
 Loading...