Add Oco2 Camera to Your Account
1. Wait until the orange-light indicator
on the
camera starts blinking.
2. Connect your smartphone or tablet to the same
Wi-Fi network that you are going to use with the
Oco2 camera.
3. Click the Add a new camera or + icon in the
Oco app to add the camera, and follow the
instructions.
Connecting the camera can take up to 1 minute.
The status light will glow a steady green
when the
configuration procedure is successfully completed.
Note: To make the camera work in another
Wi-Fi network, it is necessary to reset the
settings, and repeat the setup procedure.
To reset the settings, hold down the RESET
button on the back panel of the camera for
3 seconds until the camera beeps.
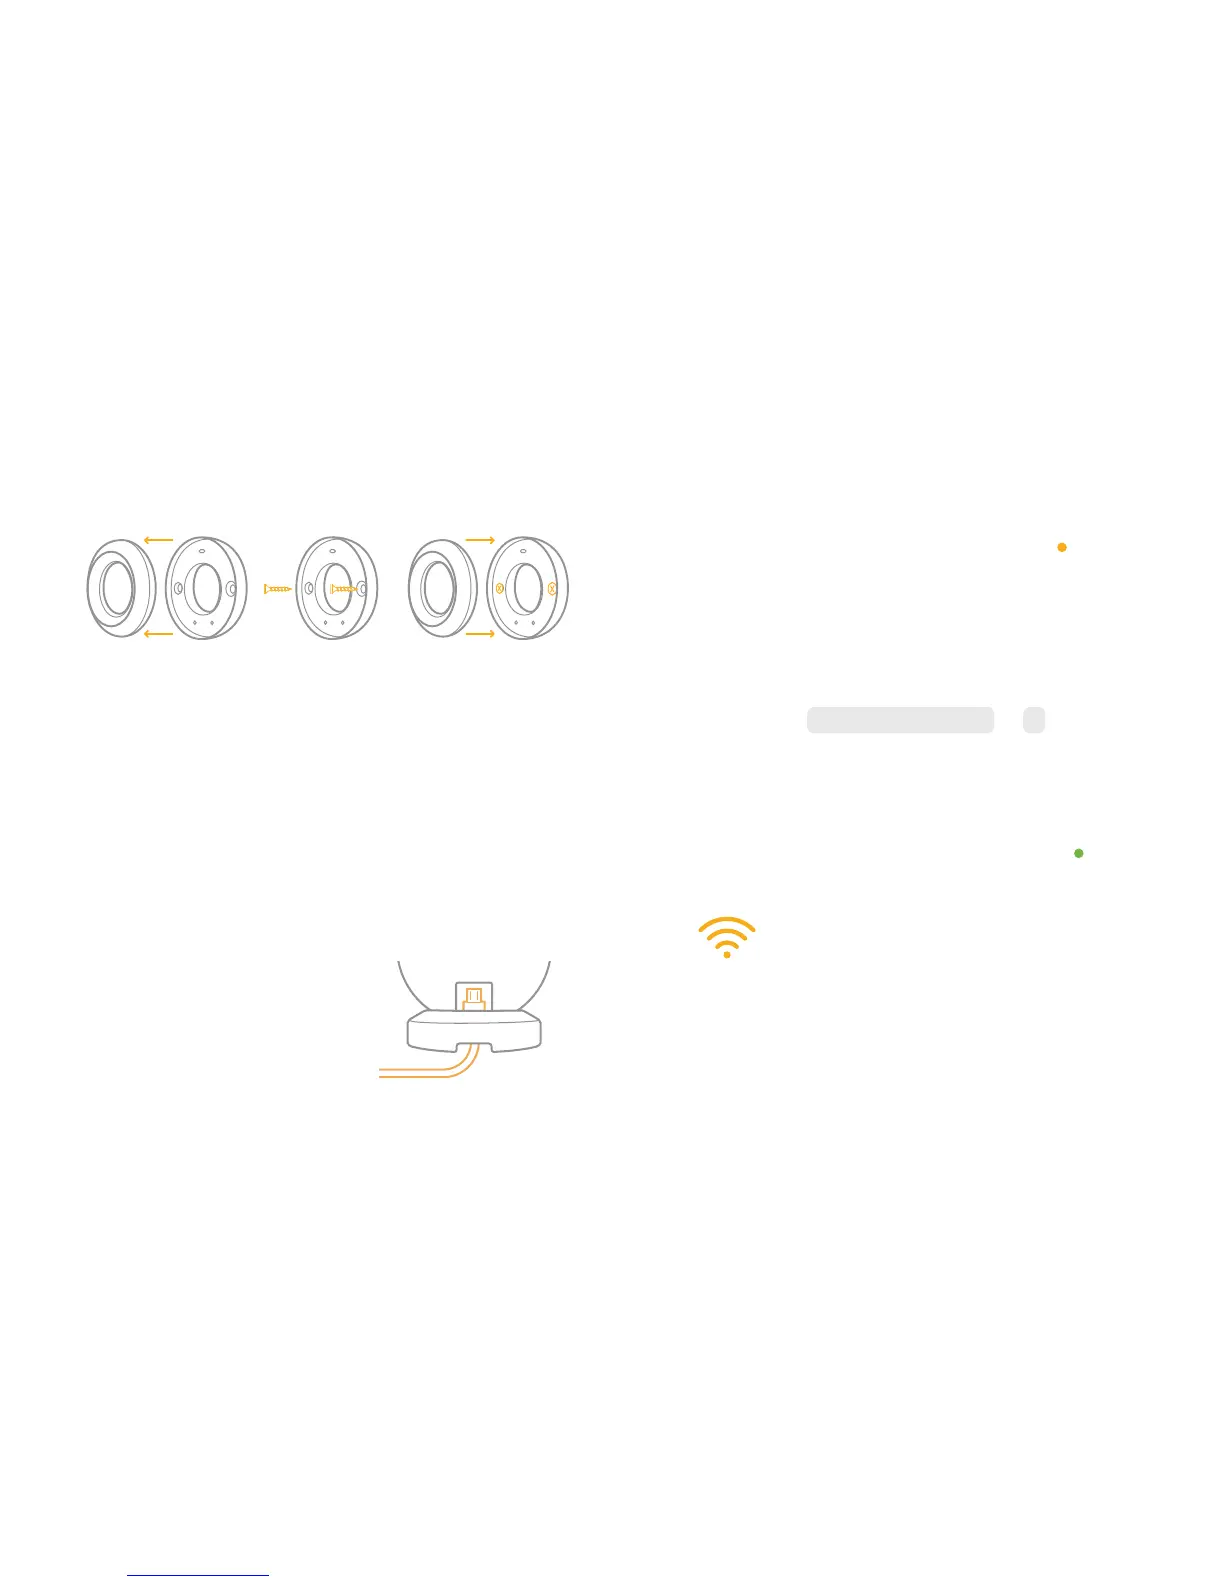
— Separate the mount into two parts.
— Screw the mount to the wall using the enclosed
screws and dowels.
— Put the second part of the magnetic stand over
the wall mount.
— Attach the camera by the back or side part.
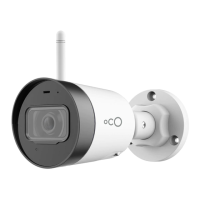
3. Connect the camera to
the power outlet using the
enclosed power adapter
and Micro-USB cable.