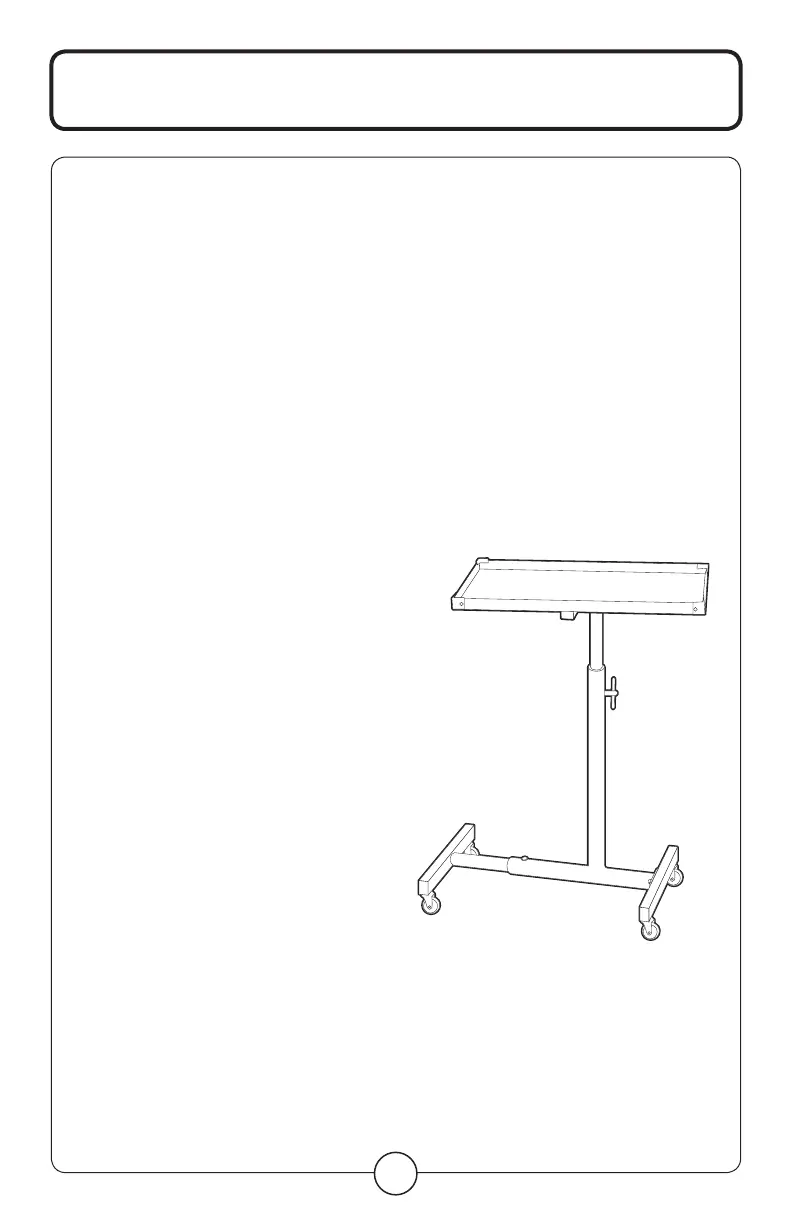
ASSEMBlY
3
STEP 1:
Using four 14 mm bolts, washers and
nuts, install one caster in each square
hole on the bottom edge of both the
right and left support G & K.Besurethe
square bolster on the post of each castor
inserts fully into the square hole in the
support before tightening.
STEP 2:
Using four 14 mm bolts and washers,
attach the bolt plate on the right support
G to the bracket on the tube support
J, ensuring that the castors are facing
down.Besureboltsaresecurely
tightened before proceeding.
STEP 3:
SlideleftsupporttubeK into the tube
support J and secure with 17 mm
boltandcurvedwasherL.Thecurved
washer should lay flat against the tubing.
STEP 4:
LayingthetoptrayA upside down on
the floor, attach the mounting bracket
onsilveradjustingtubeE to the bracket
on the bottom of the tray, being sure the
grooveintheadjustingtubefacesaway
from the center of the top tray.
STEP 5:
Now,slidethesilveradjustingtube
with the top tray attached into the tube
support J and secure at the desired
heightwiththeT-boltF.
STEP 6:
Attach four rubber protector bumpers
B by pushing the black plastic pins
providedintotheholesinthecornersof
the top tray. The pins are inserted from
outside the tray toward the inside, being
suretherubberbumpersoverlapthetop
edge of the tray.
STEP 7:
Install the four small rectangular plastic
inserts C into the reinforcement bars
under the top tray. Then install the
four large rectangular plastic inserts H
into the four holes on the left and right
supports G & K.
Youarenowreadytouseyournew
portable tray.
 Loading...