21. Continue to attach Posts and
Outer Rim Joists until all 8 are
complete. Continue to use Post Spacing
Template to confirm correct spacing.
Remember- Align Post with high side to
the inside.
Toll Free 1-888-658-1658 www.outdoorlivingtoday.com sales@outdoorlivingtoday.com
Page 10
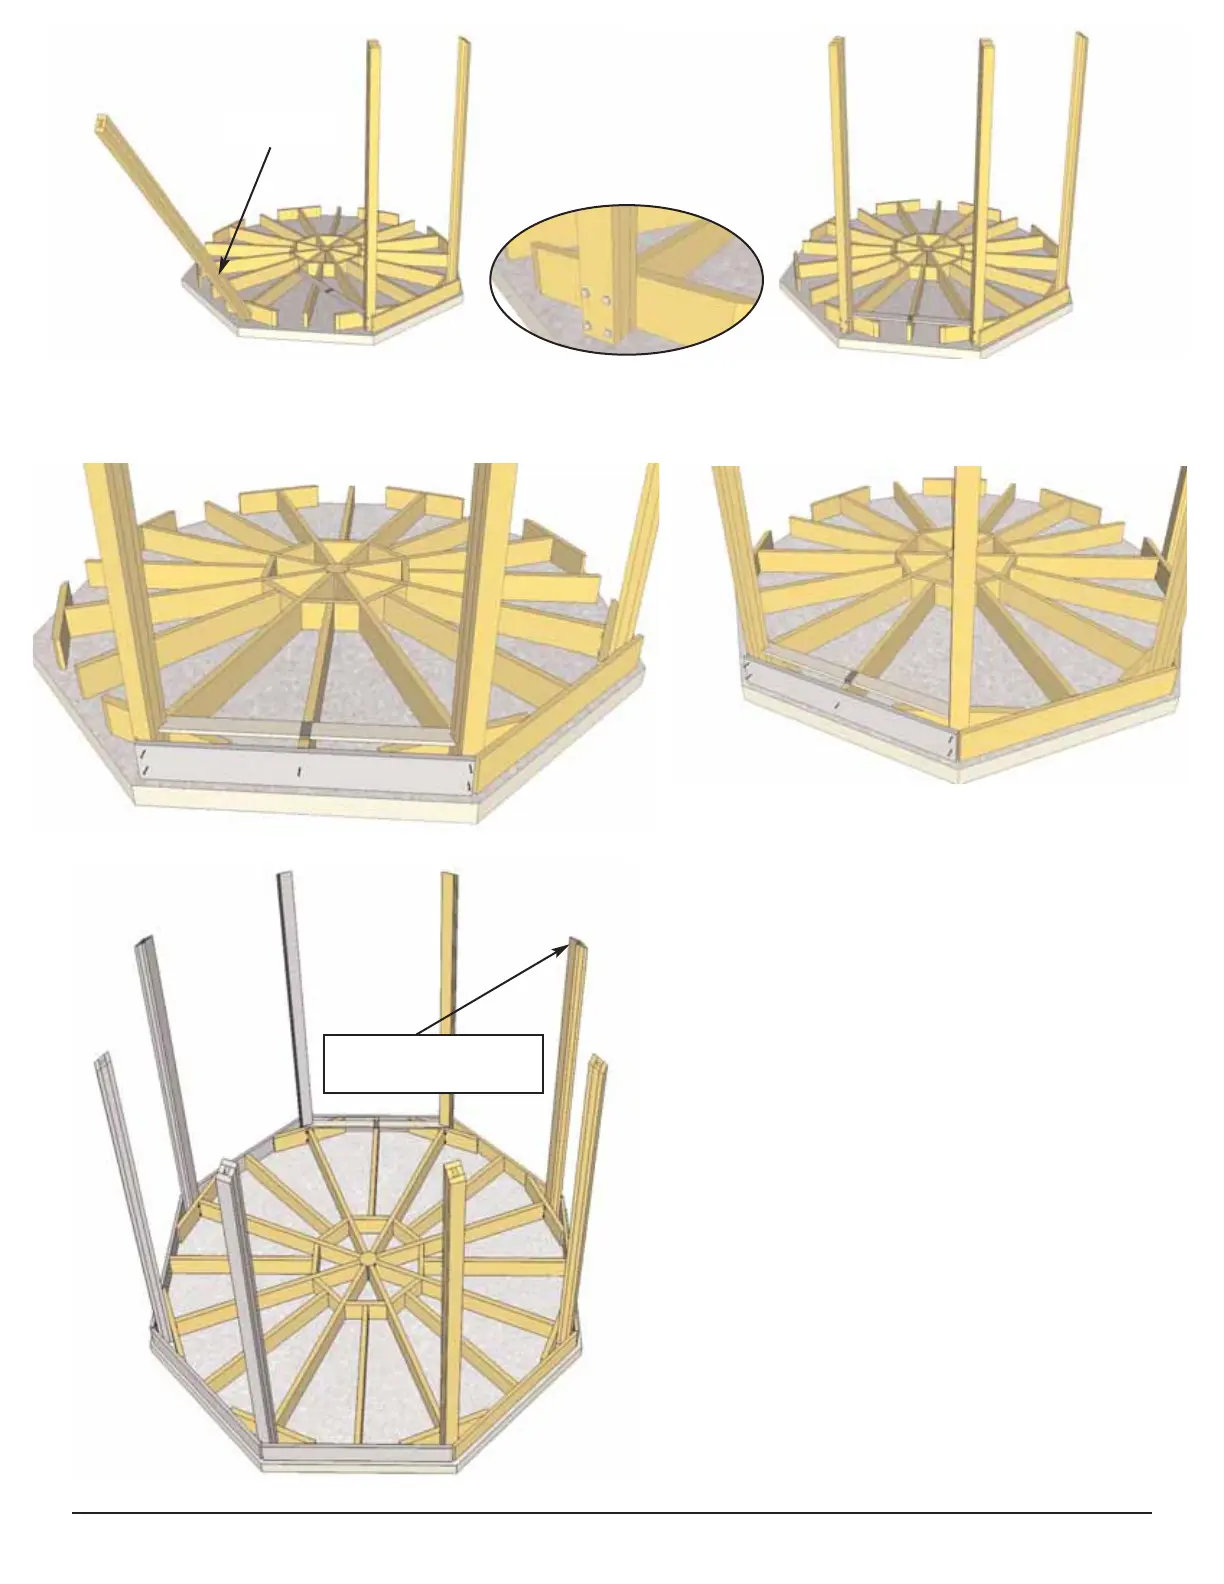
19. Locate 3rd Post. Align and secure Post as per Steps 12-15. Using the Post Spacing Template,
position 3rd Post as per Step 16.
3rd Post
20. With 3rd Post correctly positioned,
align and attach the Outer Rim Joist as per
Step 17 - 18.
Any gaps between the ends Rim Joists
will be covered by Rim Joist Detail
Plates in Step 121.
Angle Cut of Post
(high side = inside)