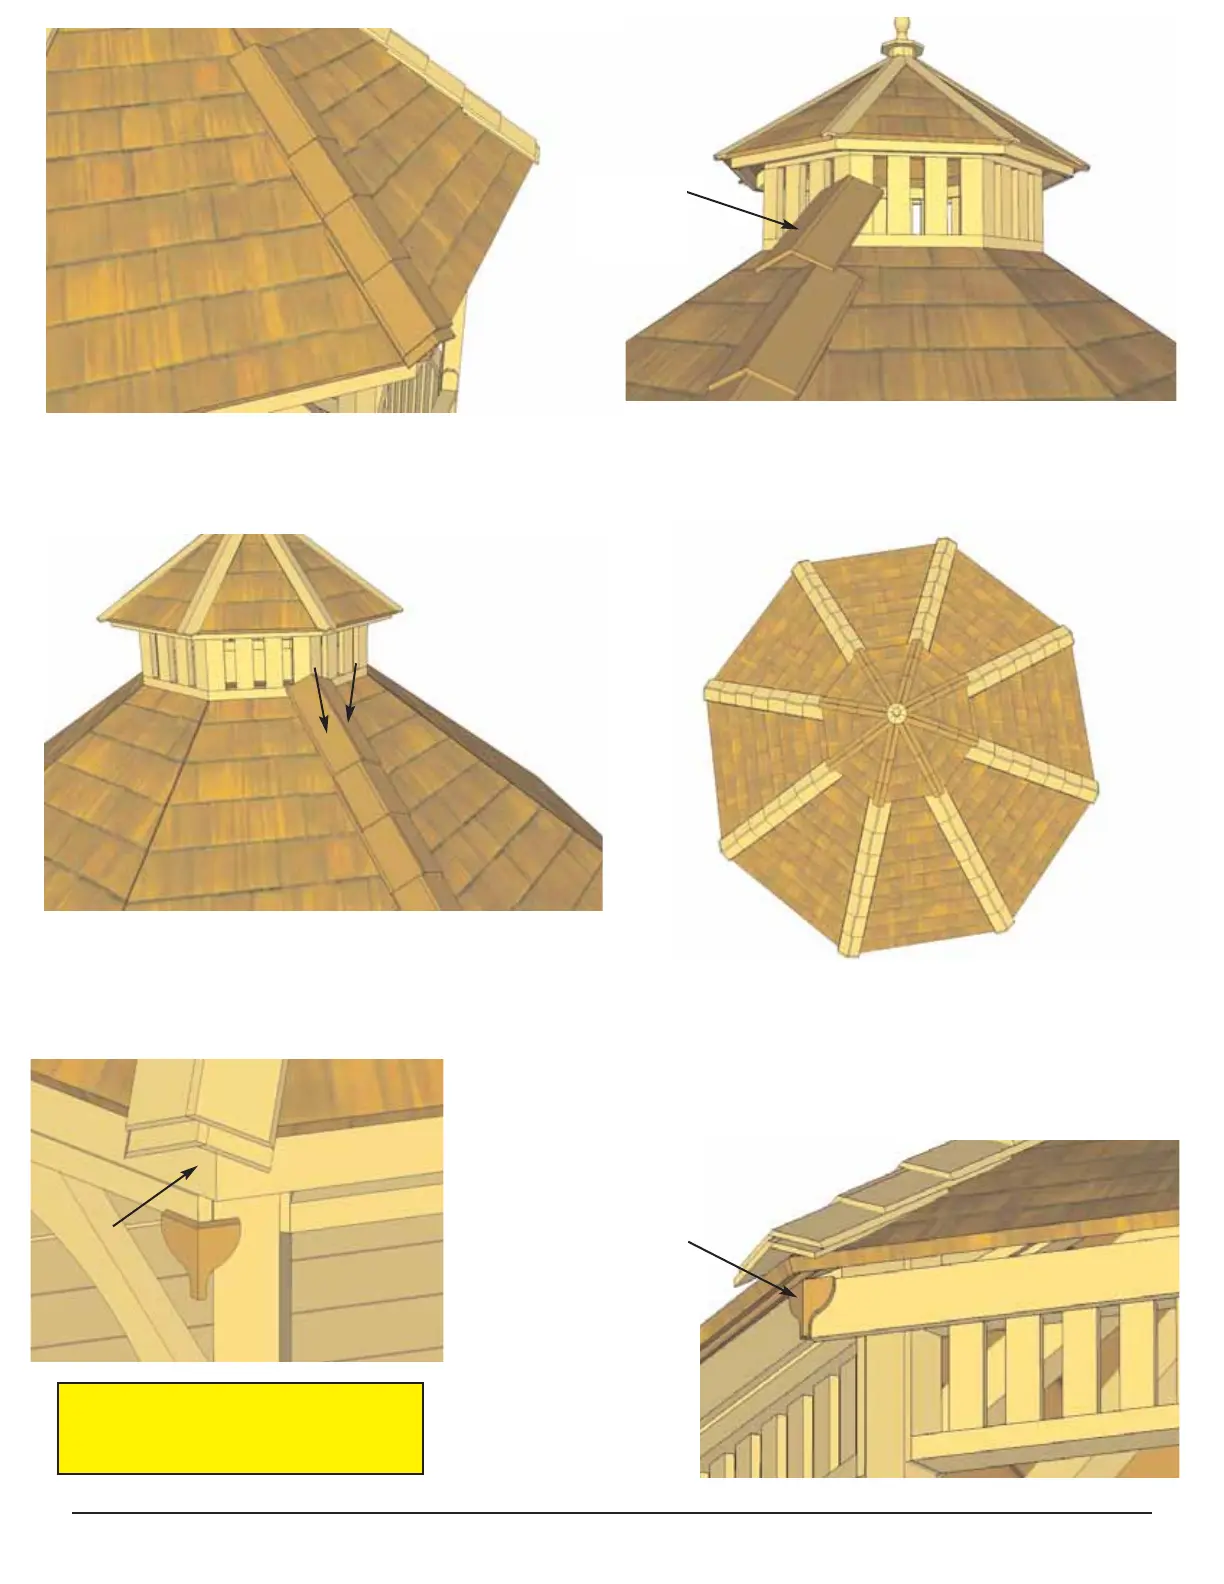
115. Continue to attach Ridge Caps, positioning
and securing as per Step 114.
116. The last Ridge Cap to complete a side
must be cut shorter to fit against the Cupola.
Use a Utility Knife to score cap.
117. Attach final Ridge Cap with 2 - 2” screws.
118. Complete all Ridge Caps to cover all
roof seams.
Cut
slightly
smaller
119. Locate Facia
Corner Detail Plates
and place in each
corner where Facia
Boards come
together. Detail
Plates will hide any
gaps that may exist
between both Facia
Boards
Facia
Toll Free 1-888-658-1658 www.outdoorlivingtoday.com sales@outdoorlivingtoday.com
Page 35
Facia Corner Detail Plates are
smaller than Rim Joist Corner
Detail Plates shown in Step 121.