Toll Free 1-888-658-1658 www.outdoorlivingtoday.com sales@outdoorlivingtoday.com
Page 10
Rear of shed
Rear
Front
Double Window Wall Side
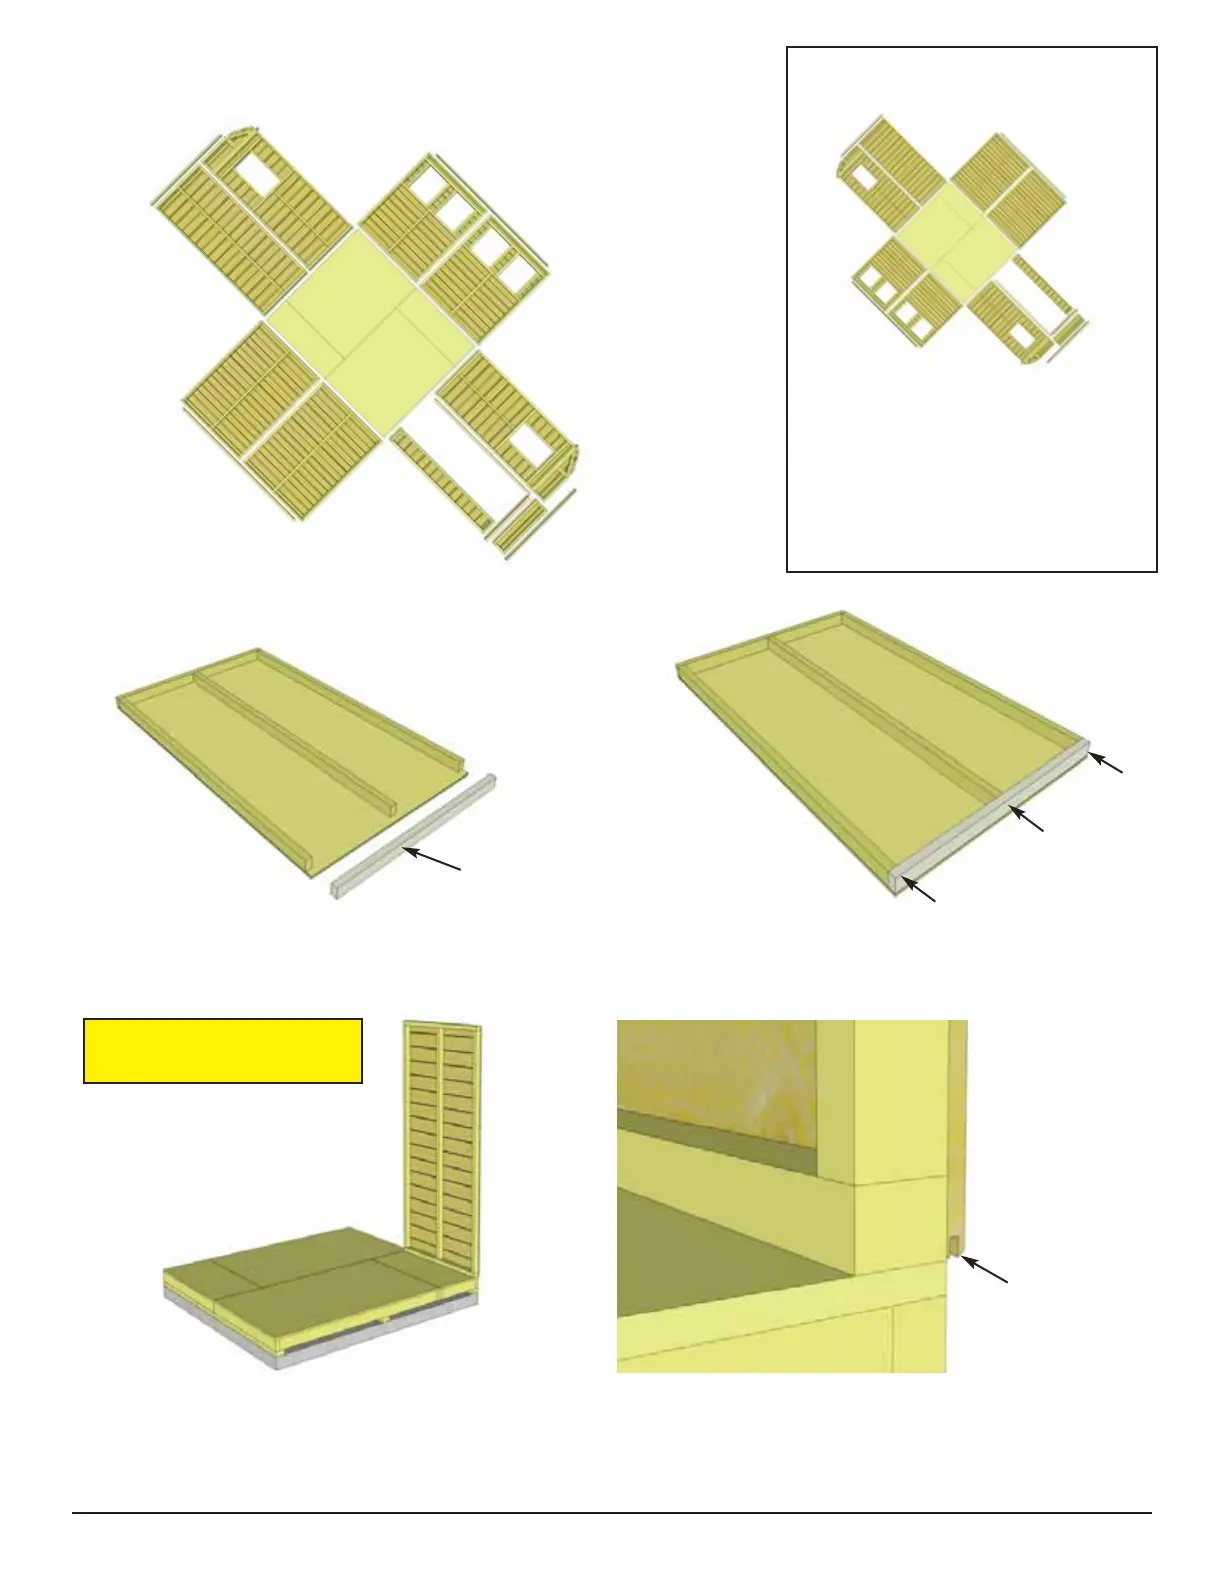
Wall Plate
13. Locate 3 Solid Wall Panels and 3 Wall Plates. Attach Plates to bottom of wall studs of each
wall panel with 3 - 2 1/2” screws. Position so plates are flush with framing.
5/8” overhang
Do Not Attach Walls To
Floor until Step 24.
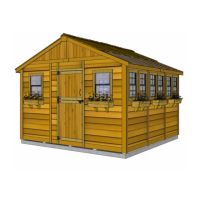
12. Locate and position all wall
panels around the perimeter of
completed Floor Section.
Rear
Front
B. Wall Section
Important: If you prefer Polygal
Roof Panels on left side when
facing front, position wall panels
as illustrated above. Follow
general assembly directions but
note opposite orientations.
Front
Left Side Polygal Roof
Panel Orientation
14. Position a Solid Wall Panel upright on the floor. Make sure wall siding is facing upright with a
groove at the bottom of the wall. See window walls for correct direction of siding. Position panel so
wall framing is flush with floor joist framing. Siding of wall will overhang the floor by approximately 5/8”.
 Loading...