3
EN
Thank you for purchasing an Olympus digital camera.
The camera you purchased is provided with the CD-ROM Instruction Manual. For detailed information
on all features and Provisions of warranty, please refer to the CD-ROM. Adobe Reader is required to
view the Instruction Manual.
Preparing the Camera
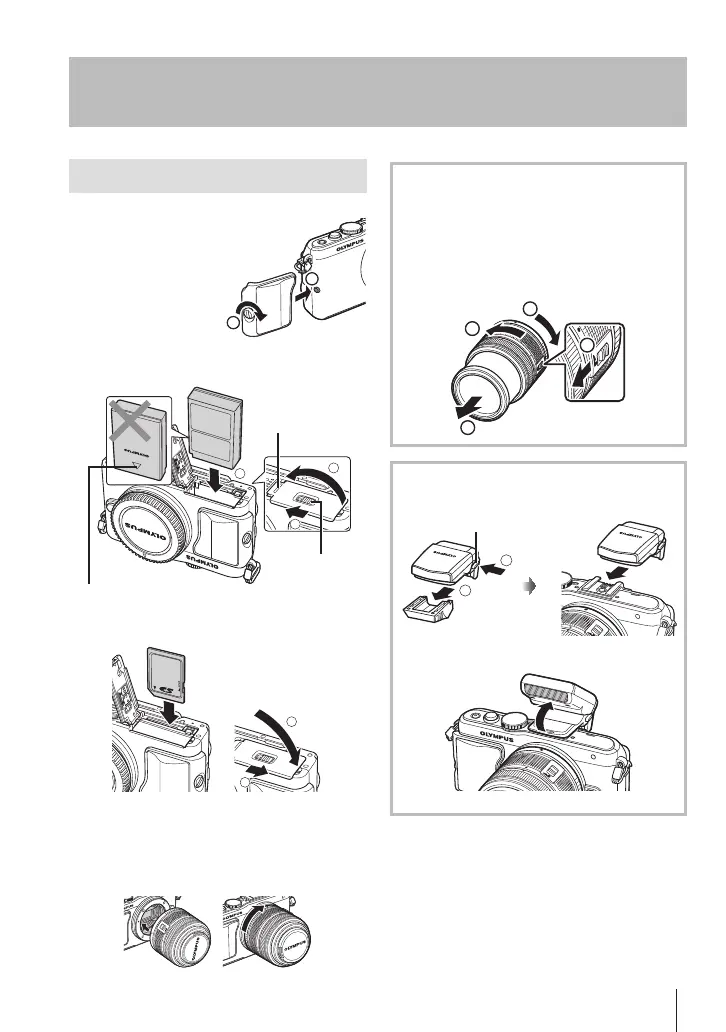
Attaching the grip
Use a coin or similar
object to tighten the
screw.
2
1
1
Loading the battery.
2
1
3
Battery/card
compartment
lock
Battery/card
compartment cover
Direction indicating mark
2
Loading the card.
2
1
3
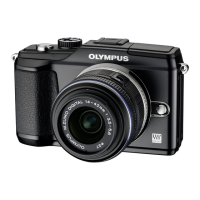
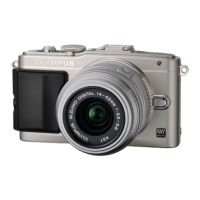
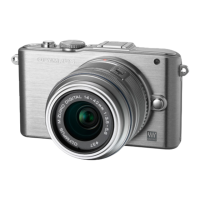
Attach a lens to the camera.
• Align the lens attachment mark (red) on
the camera with the alignment mark (red)
on the lens, then insert the lens into the
camera’s body.
Using lenses with an UNLOCK switch
Retractable lenses with an UNLOCK switch
cannot be used while retracted. Turn the zoom
ring in the direction of arrow (
1
) to extend the
lens (
2
).
To store, turn the zoom ring in the direction of
arrow (
4
) while sliding the UNLOCK switch
(
3
).
4
1
2
3
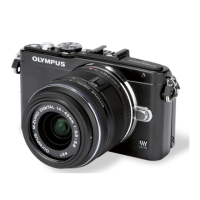
Attaching the flash unit
1
2
1
UNLOCK switch
2
• To use the flash, raise the flash head.
4
Press the ON/OFF button to turn on
the camera.
• When the camera is turned on, the (blue)
power lamp will light and the monitor will
turn on.