DMTA-10026-01EN, Rev. D, January 2015
Chapter 5
96
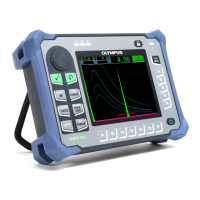
Figure 5-5 Example of a HIGH alarm indicator
The datalogger records an alarm condition in the second status box for all stored
measurements. An A indicates the alarm mode, an L indicates a low alarm condition,
and an H indicates a high alarm condition.
To set the alarm
1. In the measurement screen, press [SET UP], and then highlight ALARM.
2. In the ALARM submenu, select ENABLE, LOW ALARM SET POINT, or HIGH
ALARM SET POINT.
3. In the ALARM SETUP screen (see Figure 5-6 on page 97):
a) Set ENABLE to ON to activate the alarm function.
b) Set the LOW ALARM SET POINT, and then press [ENTER].
c) Set the HIGH ALARM SET POINT.
d) Press [MEAS] to return to the measurement screen.
High alarm indicator
Thickness reading (turns
red during an alarm
condition)

 Loading...


