DMTA-10026-01EN, Rev. D, January 2015
Basic and Multipoint Calibration
85
The target will be attracted to the probe tip by a magnetic field. Once the target is
within range, the Magna-Mike 8600 will begin to display thickness values providing
the probe tip and target are both in contact with the material. The target must be able
to move freely (target disks must be standing on their edges) and the material kept
perpendicular to the probe axis, as shown in Figure 4-13 on page 85. Inaccurate
measurements may result from target or probe tip obstructions, or poor probe
alignment, as shown in Figure 4-14 on page 86, Figure 4-15 on page 86, Figure 4-16 on
page 86 and Figure 4-17 on page 87.
To optimize the gage’s accuracy, be careful to
• Utilize proper measurement techniques
• Measure non-magnetic material
• Maintain gage calibration
Using the probe in the stand is the best method to measure material. This method
allows gravity and probe attraction to work together to ensure good alignment of the
target with the probe tip.
Avoid contact with magnetic metals (excluding the 4.76 mm [3/16 in.] and 6.35 mm
[1/4 in.] magnetic target balls) or alloys (iron, steel, etc.) to ensure accurate operation
of the Magna-Mike 8600.
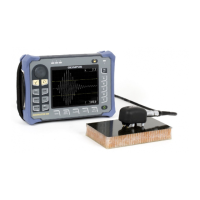
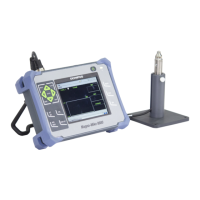
Figure 4-13 Correct method for thickness measurements
 Loading...
