25
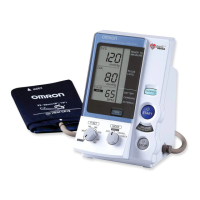
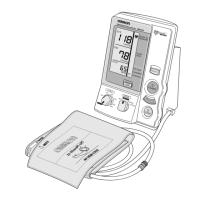
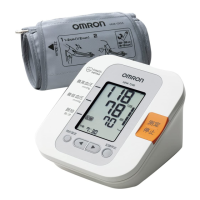
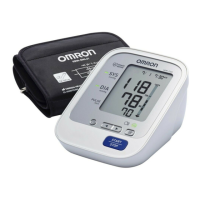
9.Measurement Preparation
EN
3. Turn the patient’s right palm up. [Fig. 5]
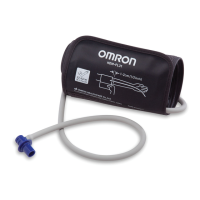
Always wrap the cuff around the upper part of the
patient’s right arm directly on the skin. Wrapping the
cuff around bulky clothing or a rolled-up sleeve can
cause the readings to be inaccurate.
4. Align the brachial artery with the artery position mark
“ ”. [Fig. 6]
5. Wrap firmly with both hands, snug, and make sure to fasten with the hook and loop
fastener. For this step, place the cuff 1 ~ 2 cm (a little less than one inch) above the inside
of the elbow joint. [Figs. 7-10]
* If after wrapping, INDEX, printed on the cuff, is misaligned with RANGE, select a different, more
appropriate size cuff according to the circumference of the arm, and wrap again.
* If not wrapped with appropriate cuff, the arm might become numb, or the HEM-9000AI might not be able to
measure blood pressure correctly.
* Wrapping the cuff at an angle will have no impact on the measurements, so allow the cuff to follow the
shape of the arm.
6. Align the cuff to be at the same height as the heart.
* Maintain the height of the cuff at the same height as the
heart in order to measure accurately.
[Fig. 11]
RANGEMIN
MAX
INDEX
ART.
22
~
32cm
(
9"
~
13"
)
REF
HEM
-
CR19
 Loading...