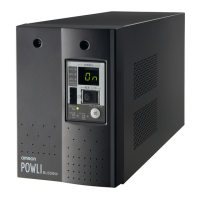
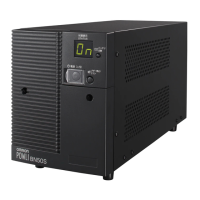
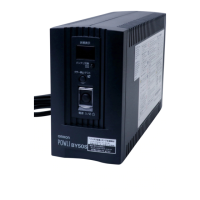
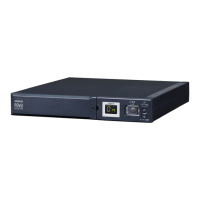
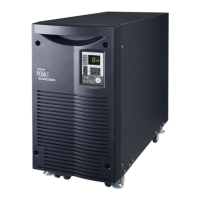
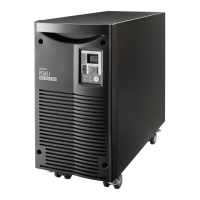
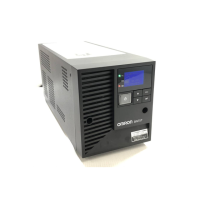
BU75RW/BU100RW/BU200RW/BU300RW
2
21
(1) Remove the terminal-cover at AC input. (Two screws)
Use the new AC input
terminal-cover
attached to the new cable.
(2) Remove screws at terminals (L, N, G) connecting the cable to the terminals and remove the old
AC input cable.
(3) Run the newly connected cable through the included AC input terminal cover.
(4) Connect the new AC input cable to AC input terminals by screws.
Be careful to polarities of L, N, G terminals and connect correctly.
unscrew these
Terminal-cover
(5) Fix the AC input terminal-cover to the console by screws.
Connect to AC input terminals by screws.
Replacing the BU200RW/BU300RW AC input cable
●
The unit was charged before shipment, but it may have self-discharged during shipment,
resulting in a reduced backup time.
We recommend charging the unit before use.
When the AC input plug is connected to commercial power (BU75RW/BU100RW), or
when it is connected to commercial power and the INPUT PROTECTION switch (input
overcurrent protection switch) on the back of the unit is turned ON (BU200RW/BU300RW),
the battery automatically starts charging, taking up to 8 hours to complete (24 hours when
an additional battery unit is connected).
●
You can perform "2-5 Checking the operation" on page 22 also before charging the battery.
Screw
GNL
AC100-120V
●
Securely fasten the screws with a tightening torque
of 2.5 Nm (22 Lb-in) or more.
Connectable wire size 5.0 to 8.0mm
2
Amount of stripped wire 5.5mm
Tightening torque 2.5 Nm(22 Lb-in)
Recommended cable size 8mm
2
(AWG 8)
(6) After connecting to commercial power, turn ON the INPUT PROTECTION switch (input overcur-
rent protection switch) on the back of the unit.
 Loading...