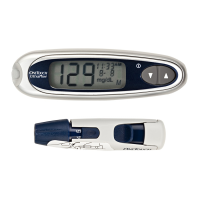
STEP 1
Insert test strip.
a) Push it in until it will go no further. Meter turns on
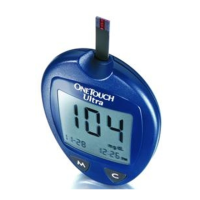
automatically. b) Check that the display looks like the pic-
ture below. Check to make sure the code number on the
meter display matches the code number on the test strip
vial. (Reference Coding the Meter section).
STEP 2
Apply sample. Check that the unit of measure is mg/dL
before applying the sample. If it is incorrect, call LifeScan
Customer Service: English (1 800 227-8862), Español
(1 800 381-7226). When
R
symbol appears, touch and hold
blood drop to the narrow channel in the top edge of test strip
(reference c and d above). WARNING: Use of the wrong
unit of measure may cause you to misinterpret your
blood glucose level, and may lead to incorrect treatment.
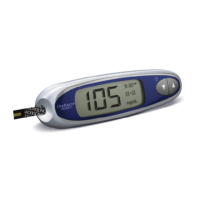
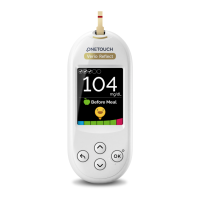
Test Summary
STEP 4
Accurate results in
just 5 seconds.
WARNING: If mg/dL
does not appear
with the test result,
call LifeScan
Customer Service:
English (1 800
227-8862), Español
(1 800 381-7226).
STEP 3
Fill confirmation
window.
Be sure confirma-
tion window is full
before the meter
begins to count
down. If confirma-
tion window is not
full before meter
begins countdown,
do not add more
blood to the test
strip. Repeat test
with new test strip.
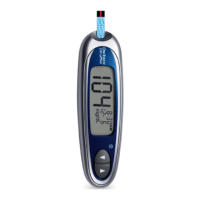
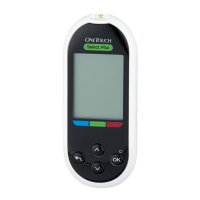
STEP 1
Enter memory mode.
Start with meter turned
off. Press M button. When
you see 14-day average
followed by 30-day
average, you are in
memory mode.
STEP 2
Recall test results.
The most recent test
result with date and time
appears. Press and
release C button and the
next most recent test
result will appear.
Continue pressing C but-
ton to recall last 150 test
results in order.
STEP 3
Exit memory mode.
Press M button to turn
off meter.
Using the Meter’s Memory
Coding the Meter
STEP 3
Code Meter. Immediately
press the C button, while the
code number is displayed on
the meter to select the cor-
rect code. NOTE: If the
symbol is displayed before
the meter is coded correctly, remove the test
strip and repeat steps 1 through 3.
STEP 1
Turn the meter on. Start with the meter turned
off. Insert test strip to turn on meter. All display
segments will appear, followed by code number.
STEP 2
Match code numbers.
Compare code number on
meter display with code
number on test strip vial. If
matching, begin testing. If
not matching, see Step 3.
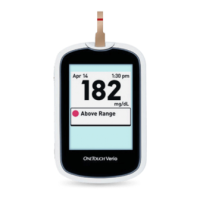
Test result with suggestion
to check ketone levels.
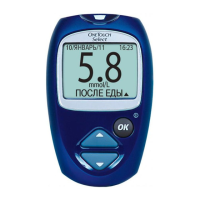
The time flashing on the display indicates
the meter lost power briefly and entered
setting mode. Reset time, time format
and date. After setting meter, insert test
strip. If Q appears on the display,
code the meter. Test results stored in the meter memo-
ry may not be in the order in which they were per-
formed. Do not rely on 14- and 30-day averages.
Call LifeScan Customer Service: English
(1 800 227-8862), Español (1 800 381-7226).
NOTE to users of OneTouch™ Diabetes Management
Software: Do not transfer data from a meter that has
experienced this problem, please call LifeScan
Customer Service: English (1 800 227-8862),
Español (1 800 381-7226).
1) New meter not coded. Code meter;
or 2) Meter lost power briefly and
entered setting mode. Reset code num-
ber. Call LifeScan Customer Service:
English (1 800 227-8862), Español
(1 800 381-7226). Possible meter memory
problem; do not use 14-and 30-day averages.
Display Symbols and Messages
NOTE: Before testing, wash your hands and the puncture
site. To reduce the chance of infection, use warm, soapy
water. Rinse and dry thoroughly.
a)
b)
c)
d)
Code the meter before using it for the first time and every
time you change to another vial of OneTouch
®
Ultra
®
Test
Strips. CAUTION: Matching the code on the meter and the
code on the test strip vial is essential to obtain accurate
results. Each time you test, check to make sure the code
numbers match.
NOTE: Reference the OneTouch
®
Ultra
®
Owner’s
Booklet for a complete detailed list of display sym-
bols and messages.
 Loading...