GENERAL TEST PREPARATION
Two Chambers
EXTERNAL QUALITY CONTROL
OraQuick ADVANCE
®
Rapid HIV-1/2 Antibody Test Kit Controls are
available separately for use only with the OraQuick ADVANCE
®
Rapid HIV-1/2 Antibody Test. The Kit Controls are specifically
formulated and manufactured to ensure performance of the Test,
and are used to verify your ability to properly perform the test
and interpret the results. Refer to the Kit Control Package Insert
for complete instructions.
Run the Kit Controls under the following
circumstances:
• Each new operator prior to performing testing on patient specimens,
• When opening a new test kit lot,
• Whenever a new shipment of test kits is received,
• If the temperature of the test kit storage area falls outside of
2°– 27°C (36°– 80°F),
• If the temperature of the testing area falls outside of 15°– 37°C
(59°– 99°F),
• At periodic intervals as dictated by the user facility.
SET UP YOUR WORKSPACE
• Gather the materials you will need.
• Allow the test kit to come to operating temperature
(15°– 37°C; 59°– 99°F) befor
e use.
• Refer to the External Quality Control section above to determine
when the Kit Controls should be run.
• Cover your workspace with a clean, disposable, absorbent
workspace cover.
• Set an OraQuick ADVANCE
®
Reusable Test Stand (“Stand”) up
on your workspace cover. Use only the Stand provided.
• Put on your disposable gloves if you are planning to perform
the test using a blood specimen. Use of gloves is optional for
oral fluid testing.
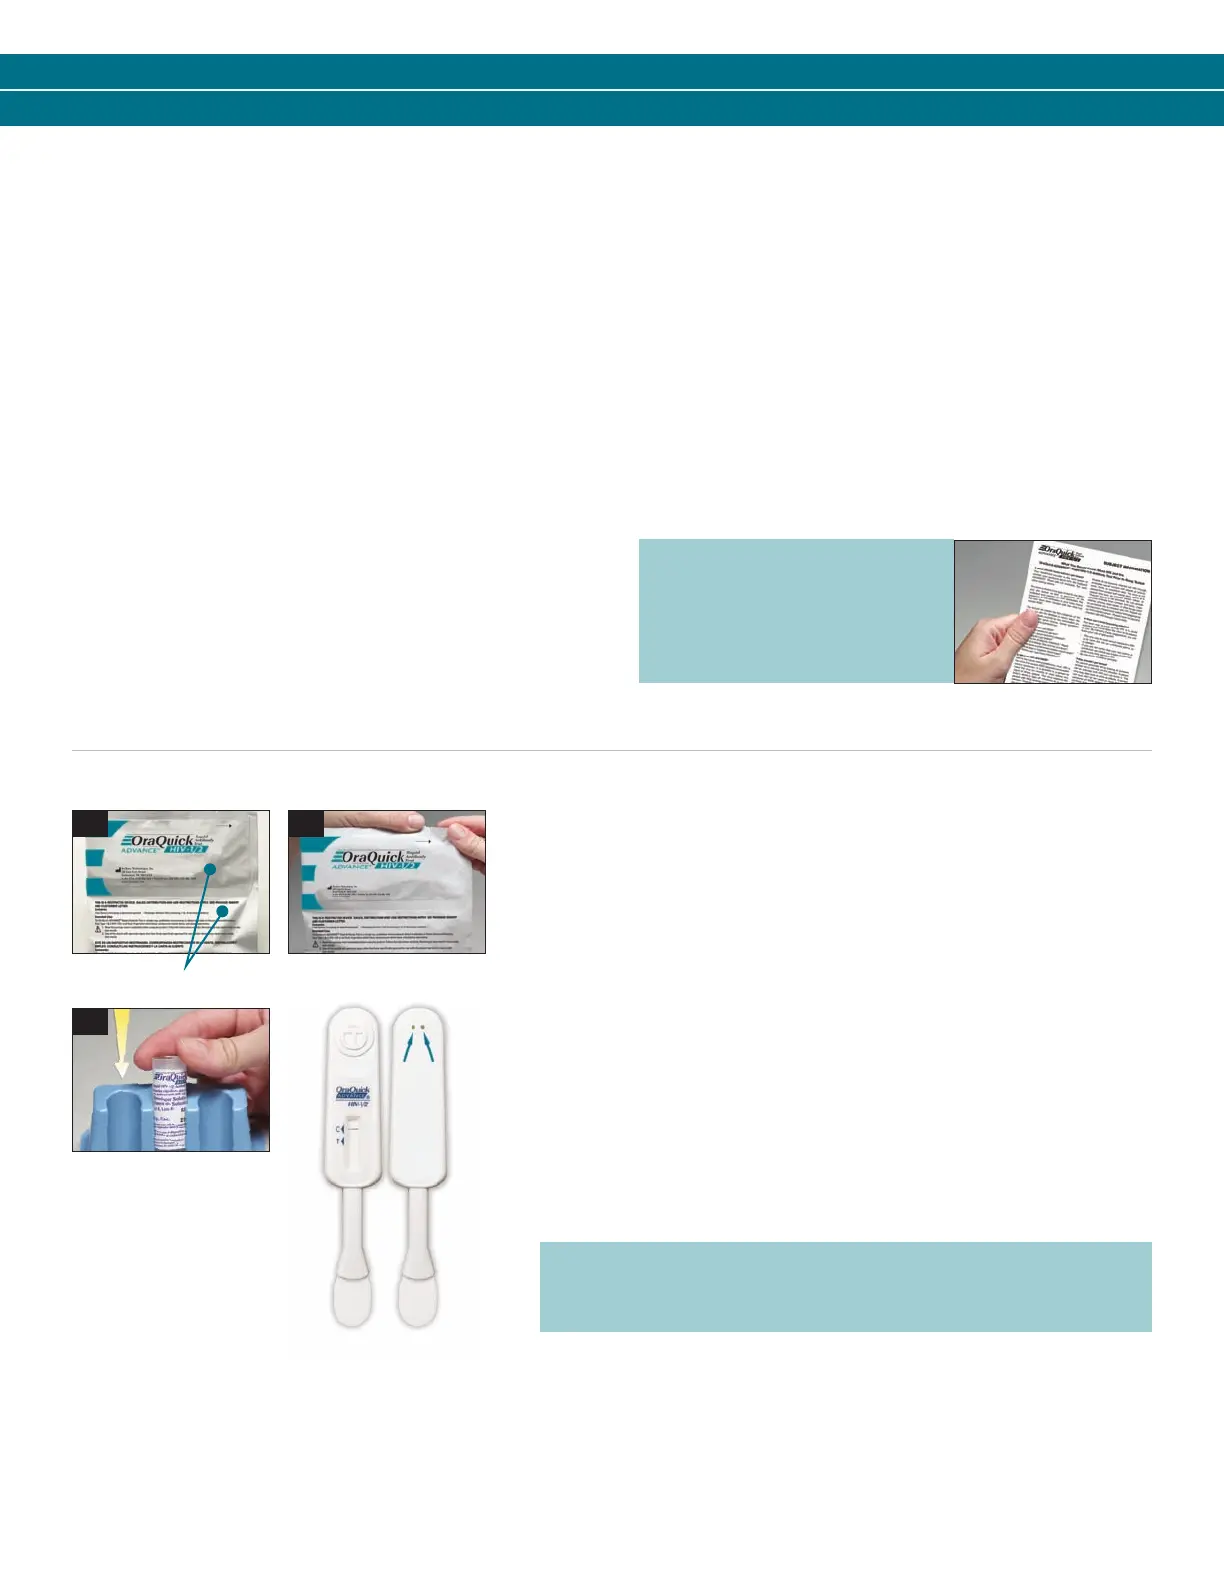
• Open the two chambers of the OraQuick ADV
ANCE
®
Divided Pouch
(“Pouch”) by tearing at the notches on the top of each side of the Pouch
(see pictures a and b).
• To prevent contamination, leave the Test Device (“Device”) in the Pouch until
you ar
e ready to use it.
• Remove the Developer Solution Vial (“Vial”) from the Pouch.
• Hold the Vial firmly in your hand.
• Carefully remove the cap from the Vial by gently rocking the cap back and
forth while pulling it of
f.
• Set the cap on your workspace cover.
• Slide the Vial into the top of one of the slots in the Stand (see picture c).
• DO NOT for
ce the Vial into the stand from the front of the slot as splashing
may occur.
• Make sure the Vial is pushed all the way to the bottom of the slot in the
stand (see picture c).
a b
c
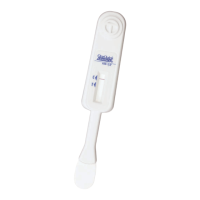
NOTE: DO NOT cover the two holes in the back of the Device
with labels or other materials. Blocking the holes may cause
an Invalid result.
Prior to testing, provide
the “Subject Information”
pamphlet to the person
being tested.
3001-1216_0912 OQA SBS EN-ES_OQA SbS 1/4/13 10:01 AM Page 3
 Loading...