6
5
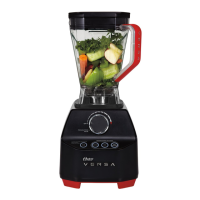
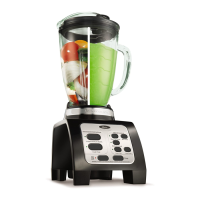
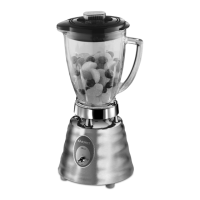
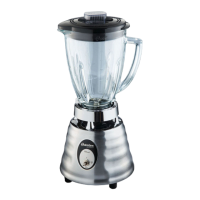
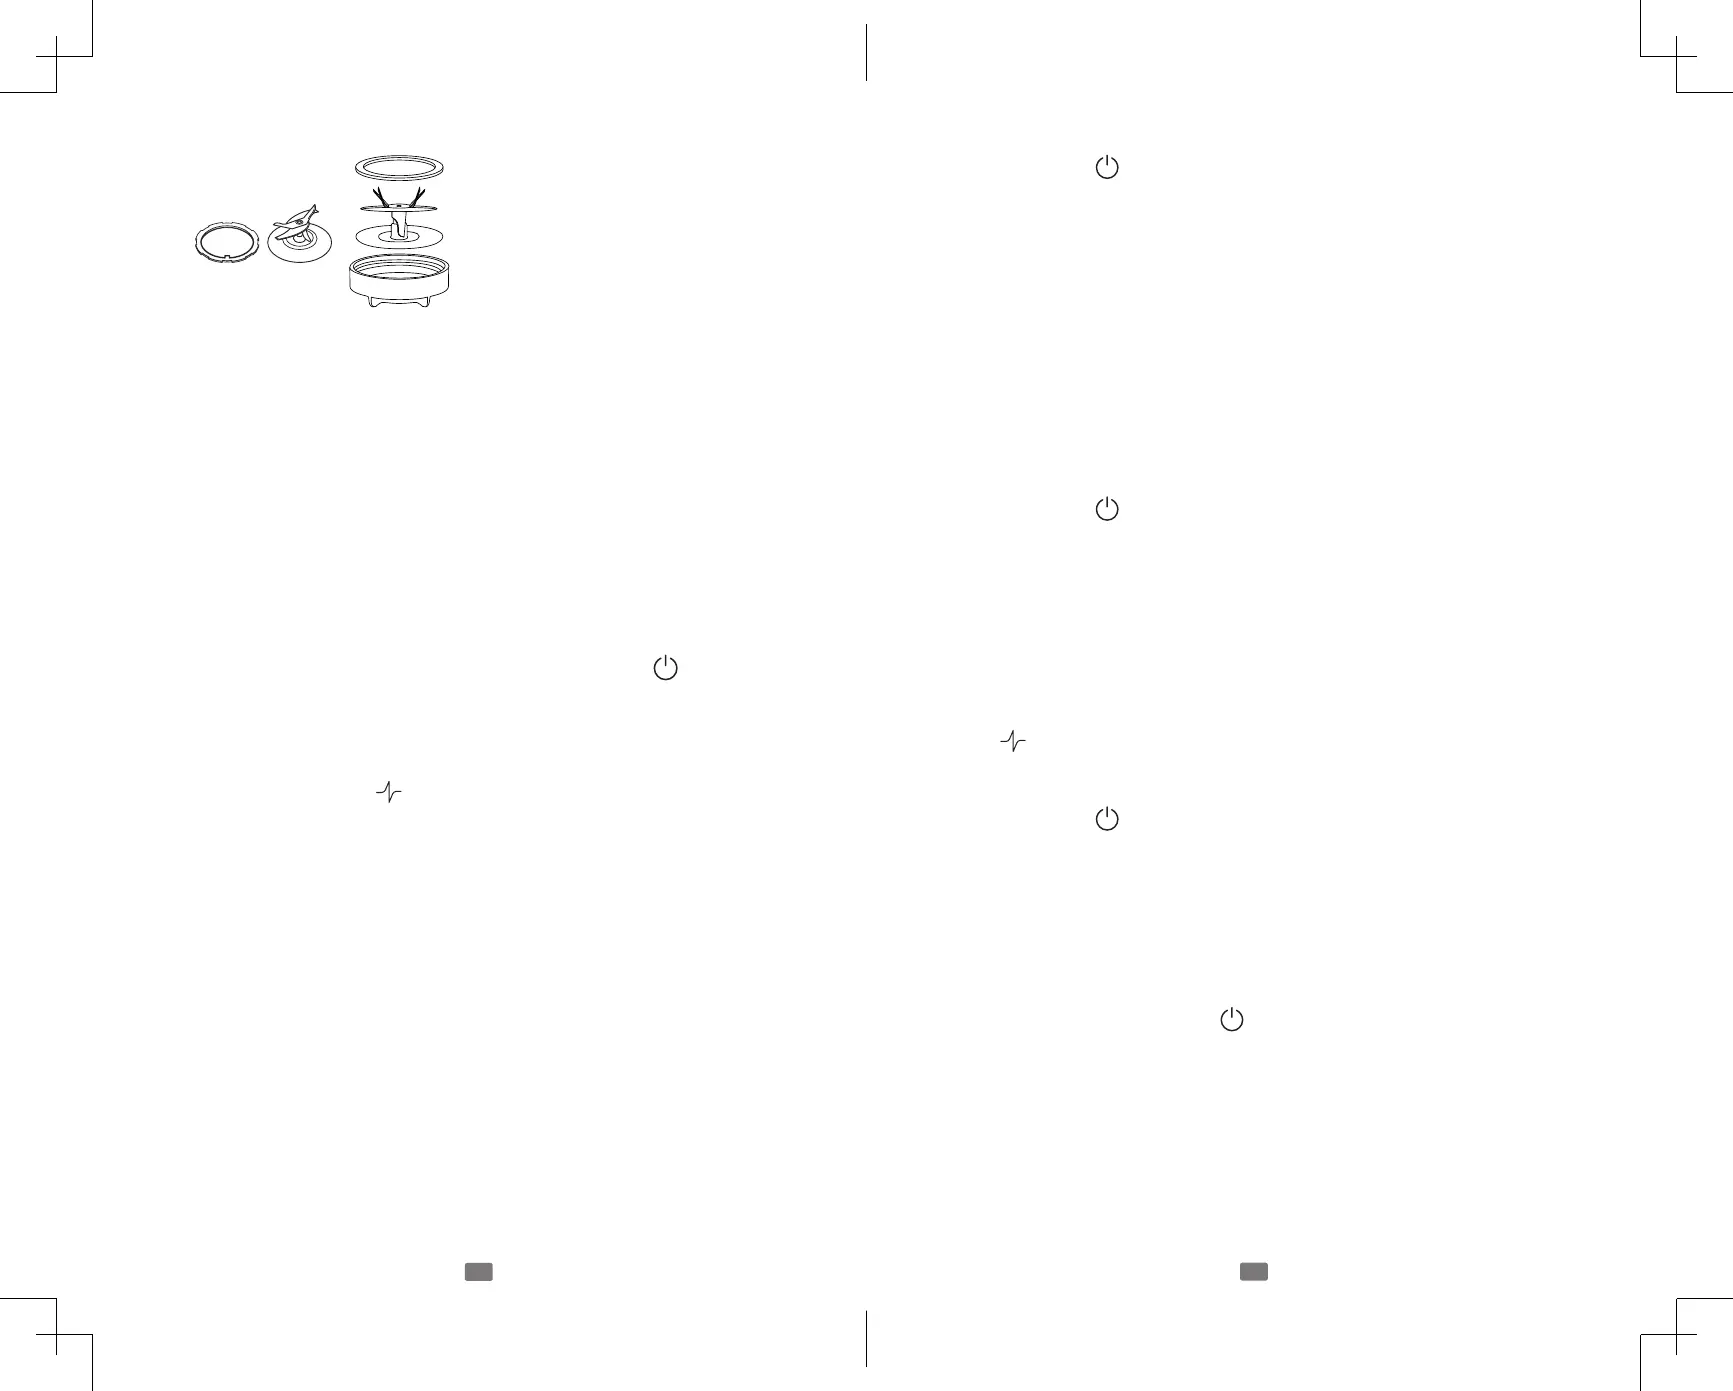
9-Cup XL Tritan Jar Assembly
1. Place the agitator (blade) assembly onto the threaded jar bottom.
2. Place the locking sealing ring on top of the blade assembly. Ensure the
locking tabs fit snugly into the groove at the bottom of the jar bottom.
3. Install the jar nut, seal, and blade assembly onto the jar.
4. Put the ingredients into the jar.
5. Secure the lid and filler cap.
6. Place the jar onto the base.
7. Plug the power cord into a standard household 120/127-volt, 60 hz. AC outlet.
You are now ready to start.
ALWAYS PLACE HAND ON CONTAINER COVER WHILE OPERATING
BLENDER.
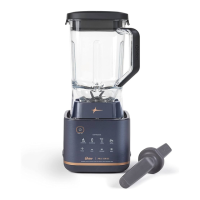
Using the Touchscreen Controls
1. Plug in the blender. Once plugged in, press and hold the “ ” button for one
second to turn the blender on.
2. Select setting and blend ingredients to desired consistency.
NOTE: Control panel lists function as well as desired outcome.
3. Press Power Button to stop and turn off blender.
4. Hold and release PULSE for ice crushing and chopping. Repeat as
needed.
Using the Pre-Programmed Settings
1. Press and hold the button for one second to turn the blender on. The
power light will light up indicating the blender is active and ready to use.
The light will stay on while the motor is running.
2. Order of programs as they appear on the blender
1. Smoothie
2. Milkshake
3. Frozen Drink
4. Salsa
3. To change your selection, select any function on the blender. To stop blender
from operating, select the same function twice.
1. For example, if you are running the Smoothie function and want to the
blender to stop, select the smoothie function again.
4. Once the program is complete the blender will automatically stop.
5. Press and hold the button for one second to turn off the blender. The
blender is pre-programmed to turn off automatically if not used for a period
of several minutes. All lights will turn off when the unit automatically
powers down.
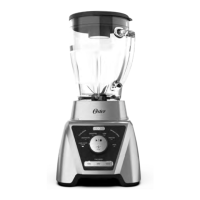
Using the Manual Controls
The Manual Controls include:
LOW
MEDIUM
HIGH
PULSE
Use these controls for personal recipes or to continue blending after a
Programmed Setting is finished.
1. Press and hold the button for one second to turn on the blender. The
power light shines bright indicating the blender is active and ready to use.
The light will stay on when the motor is running.
2. Put the ingredients into the jar.
3. Secure the lid and the filler cap.
Pressing any speed setting will interrupt the active function. e.g. blender is
running on “LOW”, pressing “HIGH” button will change the speed to “HIGH”.
Or pressing “LOW” a second time will turn the blender to the active and ready
to use screen (flashing power button ).
Locking
Sealing Ring
Blade
BLSTEPH-GT0-033_23EFM1.indd 5-6BLSTEPH-GT0-033_23EFM1.indd 5-6 2023/3/10 09:572023/3/10 09:57