BP2000
B2000
BP2000
BP2000
Starter Card
Using time/charging time Total input power
Total output power
Aerial socket (24V) output
Cigarette lighter (12V) output
DC(12V) output
Silent mode
Constant power mode
Fast charging mode
Slow charging mode
Overload protection
USB output
PD output
AC output
Frequency Switching
Battery Expansion Made
High temperature protection
Low temperature protection
Fan status
Power status
UPS mode
Car charger/adapter
charging mode
PV charging mode
X
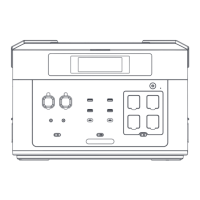
1.Press and hold the power button for 3 seconds, and the LCD screen will light up to start up. Open the AC and DC switches. If there is no
operation, the screen will enter sleep mode and turn off after 30 minutes. If no keys are pressed, the device will shut down after 30 minutes.
User Guide
2.After that,short perss the USB/DC/AC button to turn on the USB/DC/AC output mode.
3.According to the practice of different regions and counteries, freqyebcy specifications are also different. Plaease confirm the frequency of
this productfirst. Press and hold the power button and AC button for 2 seconds to achieve 50Hz/60Hz frequency switching.
1.The device supports hot-plugging. For safety reasons, it is recommended to plug and unplug the battery pack connectors while the device
is powered off.
Battery Pack Connection Guide
2.Battery pack connection method: Connect the main unit to the BATTERY EXPANSION PORT. Insert the battery pack into BATTERY
EXPANSION PORT1. When connecting a second battery pack, insert it into BATTERY EXPANSION PORT2 while the current battery pack is
inserted into BATTERY EXPANSION PORT1, and so on.
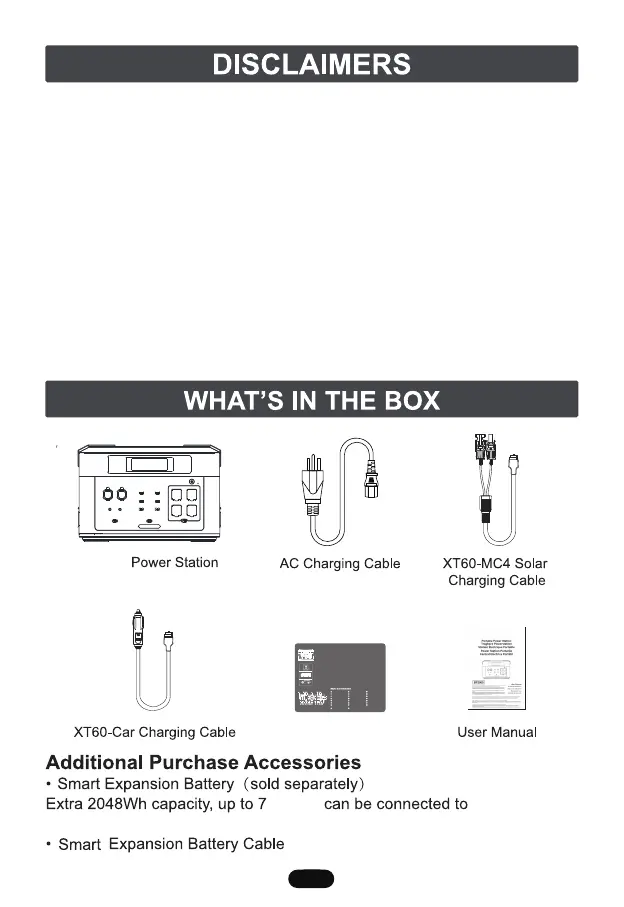
1.AC Socket: lnsert the AC cable plug dedicated to this product into the AC wall outlet or other generator AC socket (Note: the output power
of slow charging mode needs to be greater than 15A) and then plug the other end of the cable into the AC charging port of this product.
Machine charging is automatically activated in charging mode even if the device is powered off.
Charging method
2.Solar panels: Please make sure that the voltage of the solar panels is in the range of DC 12V-120V, and that the voltage of a single solar
panel is DC 22V-24V. Multiple solar panels can be connected in series or parallel. The maximum charging current of this product is 15A.
The maximumcharging power of solar panels is 1000W. Please do not use solar panels with voltages exceeding DC 120V, otherwise, it may
cause chargingerrors or damage to this product.
3.Car charger: Plug the car charging cable into the XT60 charging socket, and the other end into the car cigar lighter socket. On-board DC
12V, maximum current 8A. Truck DC 24V maximum current 10A.
Before using the product, please read the user manual carefully to
ensure that you fully understand it before use. After reading, please
keep the user's manual in a safe place for future reference. If you use
this product incorrectly, you may cause serious injury to yourself or
others, as well as product damage and property damage.
Once you use this product, you can be deemed to have understood,
recognized and accepted all the terms of this manual. Users undertake
responsibility for their own actions and all the consequences that may
arise therefrom.
The Company does not assume any responsibility for any loss caused
by users' failure to use the product in accordance with the User Guide.
In order to comply with laws and regulations, The Company has the
final interpretation of this document and all related documents of this
product.
 Loading...