44
Installing
Tools required:
• Phillips screwdriver (if using rack-mount brackets)
• Computer with Ethernet interface and a modern web browser
• Ethernet cable
• Optional: A USB Micro-B adapter (not included) is necessary to use the console
interface.
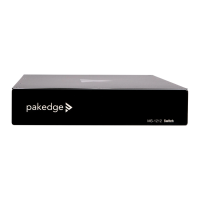
To set up any of these switches:
1 Remove the switch from the box.
2 Optional: Install the rack-mount brackets. (See next pages for diagrams.)
If mounting the switch in a standard 19" AV rack, attach the switch’s rack-mount
brackets. If not mounting to a rack, make sure that the switch is physically
mounted near power and network connections (for example, a backbone switch
or firewall/router).
3 Connect power to the switch.
4 Connect any port on the switch to your network where a DHCP server and the
internet can be accessed. You are now ready to configure the switch with an IP
address in your network range.

 Loading...