During Assembly
Make sure the base is square by
measuring the diagonals and level by using a spirit level.
You may use silicone lubricant spray
in order to help you slide the panels into the profiles.
Do not spray the polycarbonate
panels.
Use a rubber mallet if necessary.
All panels with the stamped words
"THIS SIDE OUT" must be facing out to create
full UV protection. Remove plastic
sticker as panels are locked in place.
When encountering the
information icon, please refer to the relevant
assembly step for additional
comments and assistance.
This icon indicates
that the installer should
be inside the product.
This icon indicates that
11 the installer should be
outside the product.
In Attention
During assembly use a soft surface
below the parts to avoid scratches and damages.
Steps
Step 3: Refers only for the extension
kit! The extension kit contains a base connector, either part
#8447 or #7601
Step 9: Please make sure the screw
connection is made exactly as illustrated.
A - Connect the screw in the left hole.
B - Connect the screw in the right hole.
Step 10: Peel the film covering the
panel. Make sure you install it with the UV protected side out.
Step 12: The screws inserted as shown
in drawing b are to be used with the anchoring parts at
the end of the assembly.
Step 18: The screws inserted as shown
in drawing c are to be used with the anchoring parts at the
end of the assembly.
Step 20: Side Louver Window: can be
located only on one of the two central panels.
* If you assemble the greenhouse with
an extension module, the window can be placed on all
panels, except for the last two end
panels.
* Note: The selected placing will affect
the next assembly steps.
Step 22: If there are screws in the rail as
preparation for the anchoring stage, they can be used for
the side louvre window instead of part
# 461.
It is not be possible to connect the
anchoring part here.
Step 28: It is highly recommended to
paste the sealing tape at the bottom edge of
panels 7903 + 7904 is order to prevent
moisture seepage.
Step 35: Roof window can be located
only on one of the two central roof panels.
* If you assemble the greenhouse with
an extension module, the roof windows must be placed on
panels only as specified in the manual.
* Note: The selected placing will affect
the next assembly steps.
Step 40: Please tighten screws from
inside the greenhouse. In addition, please tighten the
remaining loose screws.
Step 45: As mentioned at the 'Before Assembly'
section, prior to fitting the Automatic
Vent Opener, the power-tube has to be cooled by
placing it in a refrigerator for
approximately 30 minutes.
Step 54: Door can be installed as a left hand door or
right hand door as per your decision.
These instructions show a right hand door assembly.
Please determine door opening
direction. This decision will affect the next assembly
steps.
Step 56: Please adjust the hinges height in accordance
with the upper post and lower ramp
of the door aperture, as specified in Level C.
Step 60:Threading parts 7888 exactly as specified in
Level B, is very important in order to
create good drainage.
Step 64: Anchor the greenhouse on to a solid surface
such as concrete or asphalt, use
suitable screws and plugs. (Screws and plugs are not
supplied).
* Please tighten all screws when completing assembly.
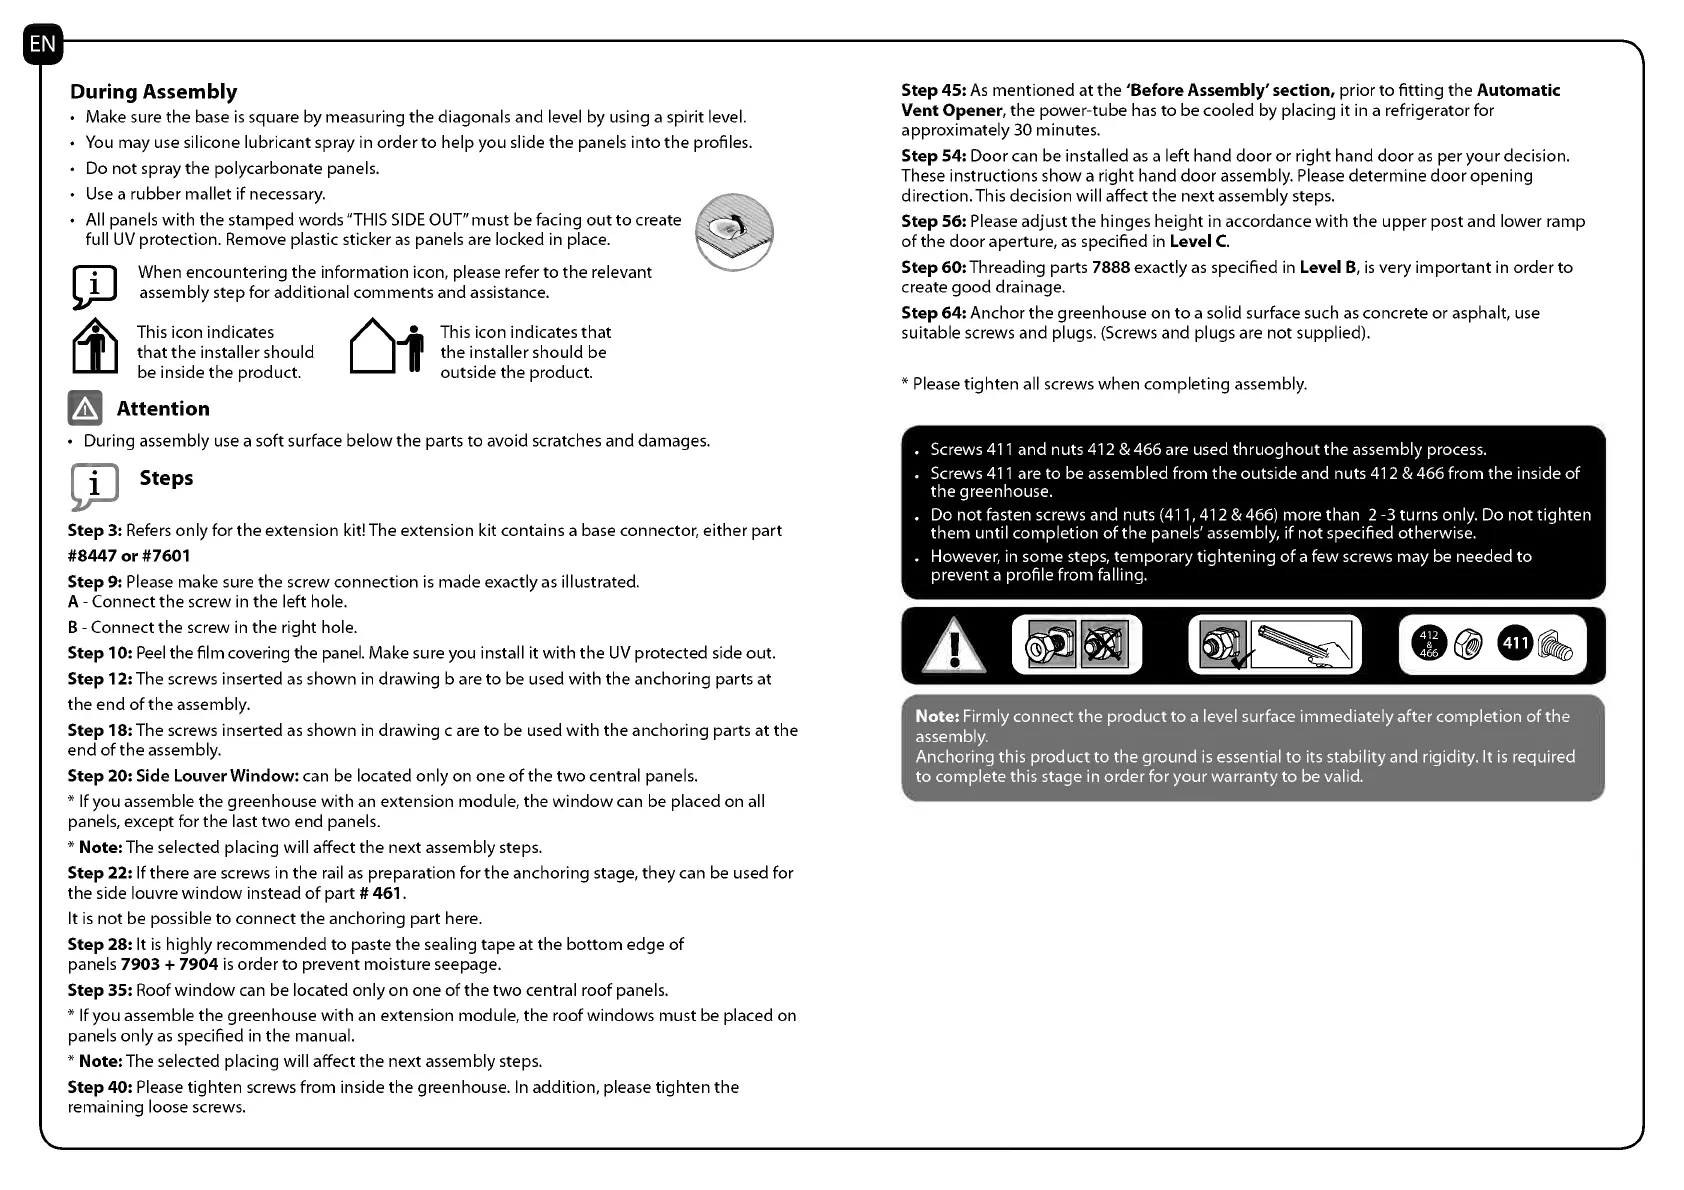
Screws 411 and nuts 412 & 466 are used thruoghout
the assembly process.
Screws 411 are to be assembled from the outside
and nuts 412 & 466 from the inside of
the greenhouse.
Do not fasten screws and nuts (411,412 & 466) more
than 2-3 turns only. Do not tighten
them until completion of the panels' assembly, if not
specified otherwise.
However, in some steps, temporary tightening of a
few screws may be needed to
prevent a profile from falling.
Note: Firmly connect the product to a leve surface
immediately after completion of the
assembly.
Anchoring this product to the ground is essential to its
stability and rigidity. It is required
to complete this stage in order for your warranty to be
valid.
 Loading...