DE
» Notes During Assembly
•
You may use silicon lubricant spray in order to help you slide the rubber seal
(Steps 14a+18b) into the proles.
•
Do not spray the Polycarbonate panels.
During assembly you will encounter the information icon, please refer to
the relevant assembly step for additional comments and assistance.
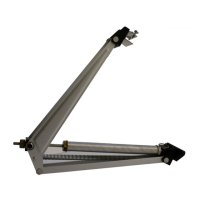
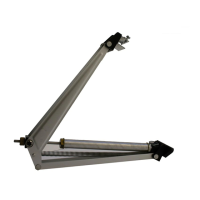
Step 7: Please note the assembly direction of prole #7857.
Step 17: A 7mm hole (3/8”) must be drilled through the pre-drilled hole in
prole #7857 (detail a) and through the Polycarbonate panel.
Step 20: Nut (#466) should be fully tightened and then slightly loosened in
order to allow smoother motion of the pulley.
Step 21: Please note, while assembling the door, make sure it is parallel to the
upper rail thus allowing easier motion. If it is not parallel, the nuts should be a
bit loosened, repositioned and tightened again.
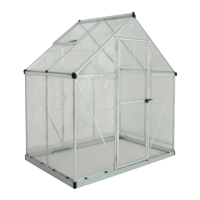
Step 24: Anchoring the product to the wall (details a, b & c).
Choose the appropriate screws for the type of wall you want to attach the
product to. (Screws and screw anchors are not supplied with the product).
Tighten all screws once assembly is completed.
» IMPORTANT
•
Please read these instructions carefully before you start to assemble this product.
•
Please carry out the steps in the order set out in these instructions.
•
Keep these instructions in a safe place for future reference
•
Once assembly is completed the product must be attached to the wall.
Customer Service
For assistance with assembly or for replacement parts – please log onto our website or
call our service line (number is on the title page).
Additional information can be found at our website: www.palramapplications.com
T001 (supplied)
Care & Maintenance
•
When your Lean To - Grow House needs to be cleaned, use a mild detergent
solution and rinse with cold clean water.
•
DO NOT use acetone, abrasive cleaners or other special detergents to clean
the clear panels.
Before Assembly
Sort the parts and check according to the contents parts list.
Some parts may have sharp edges. Please be careful when handling components.
15_06_RF_V2
Do not tighten screws and nuts (411 & 412) until completion of assembly process.
These 2 icons indicate if screws’ tightening is required or not.