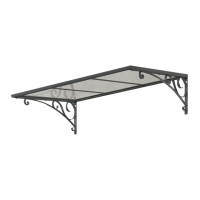
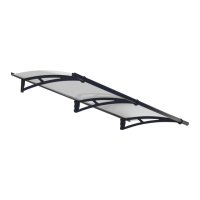
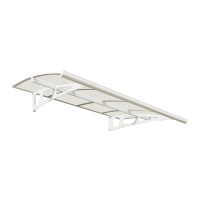
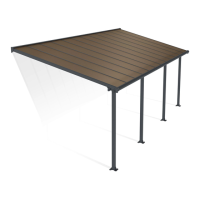
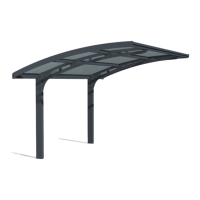
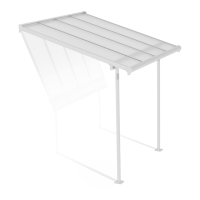
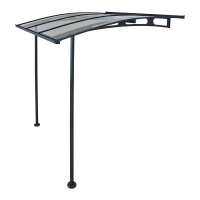
Door Cover
Safety Advice
• Sortthepartsandcheckagainstthecontentlist.
• Forsafetypurposeswestronglyrecommendtheproductbeassembledbytwopeople.
• Westronglyrecommendtheuseofworkglovesduringassembly.
• DonotattempttoassembletheDoorCoverinwindyorwetconditions.
• Alwayswearshoesandsafetygoggles.
• Disposeofallplasticbagssafely-keepthemoutofreachofsmallchildren.
• Keepchildrenawayfromtheassemblyarea.
• DonotattempttoassembletheDoorCoverifyouaretired,havetakendrugs,medication
oralcohol,orifyouarepronetodizzyspells.
• Whenusingastepladderorpowertools,makesurethatyoufollowthemanufacturers
safetyadvice.
• Besuretocheckthattherearenohiddenpipesorcablesinthewallbeforedrilling.
• PleaseconsultyourlocalauthoritiesifanypermitsarerequiredtoinstallaDoorCover.
• Beforeassembly,considerthedoor’sopening(insideoroutside).
• Pleaseapplysiliconesealanttotherearedgeinordertopreventwaterseepage.
• Tightenallscrewswhencompletingassembly.
• Keeproofandgutterclearofsnow,dirt&leaves.
• Heavysnowloadonroofcandamagetheproductmakingitunsafetostandbelowor
nearby.
Cleaning instructions
•Cleantheproductonceassemblyiscomplete.
• WhenyourDoorCoverneedscleaning,useamilddetergentsolutionandrinsewithcold
cleanwater.
• Donotuseacetone,abrasivecleanersorotherspecialdetergenttocleanthepanel.
Additional information
• Theanchoringwallandgroundkitssuppliedwiththisproductaresuitableonlyforconcrete.
Otherwall/groundtypesneedanaccordantwallxationkit.(Contactyoursupplier)
• Pleaseapplysiliconesealantifneeded
• Youaresolelyresponsiblefordeterminingwhetherthehandling,storage,assembly,
installationoruseofthisproductissafeandappropriateinanylocationorforanygiven
application.Palramisnotresponsibleforanydamagesorinjurytoyou,anyotherpersonor
anypropertyresultingfromtheimproperhandling,storage,installation,assemblyoruse
ofthisproduct,orthefailuretofollowPalram’swritteninstructionsregardingthehandling,
storage,installation,assemblyanduseofthisproduct.Thisproductisintendedfornormal
residentialuseonly.Donotusethisproductforanyapplicationthatisnotrecommended
intheseinstructionsorbuildingcodesineectinlocationwherethisproductwillbeused.
Alwaystakecareanduseappropriatesafetyequipment(includingeyeprotection)when
assemblingorinstallingthisproduct.
During Assembly
Step 1: Beforeassemblingthisproduct,chooseoneofthe7assemblyoptionsandrefertosizes
A&Bofthechosenoption.
Step 3: Important!Pleasemakesuretheback beamisperfectlycenteredbeforexing,height
A should be in accordance with your chosen option from step 1.
Step 4: Pleaseapplysiliconesealantsabovebeam8158,inordertopreventwaterfromseeping
in.
Step 7: Assemblediagramainaccordancewithyourchosenoptionfromstep1.
Step 8: Bracketscanbeadjustedfrom5to30cm(2’’to12”)assuggestedindiagrama.
Step 10:Beforeanchoring,please tighten all screws (as shown in the close up diagrams
b & c),leveltheproles’legs(diagram a)andadaptscrewsandplugstoyourspecicground
type.
Please note: Anchoringthisproducttothegroundisessentialtoitsstabilityandrigidity.Itis
requiredtocompletethisstage(Step 10)inorderforyourwarrantytobevalid.
Step 19: Pleaseapplysiliconesealantsontheinnerpartof Prole 8157, andconnectpart8167
asdepictedindrawinga.
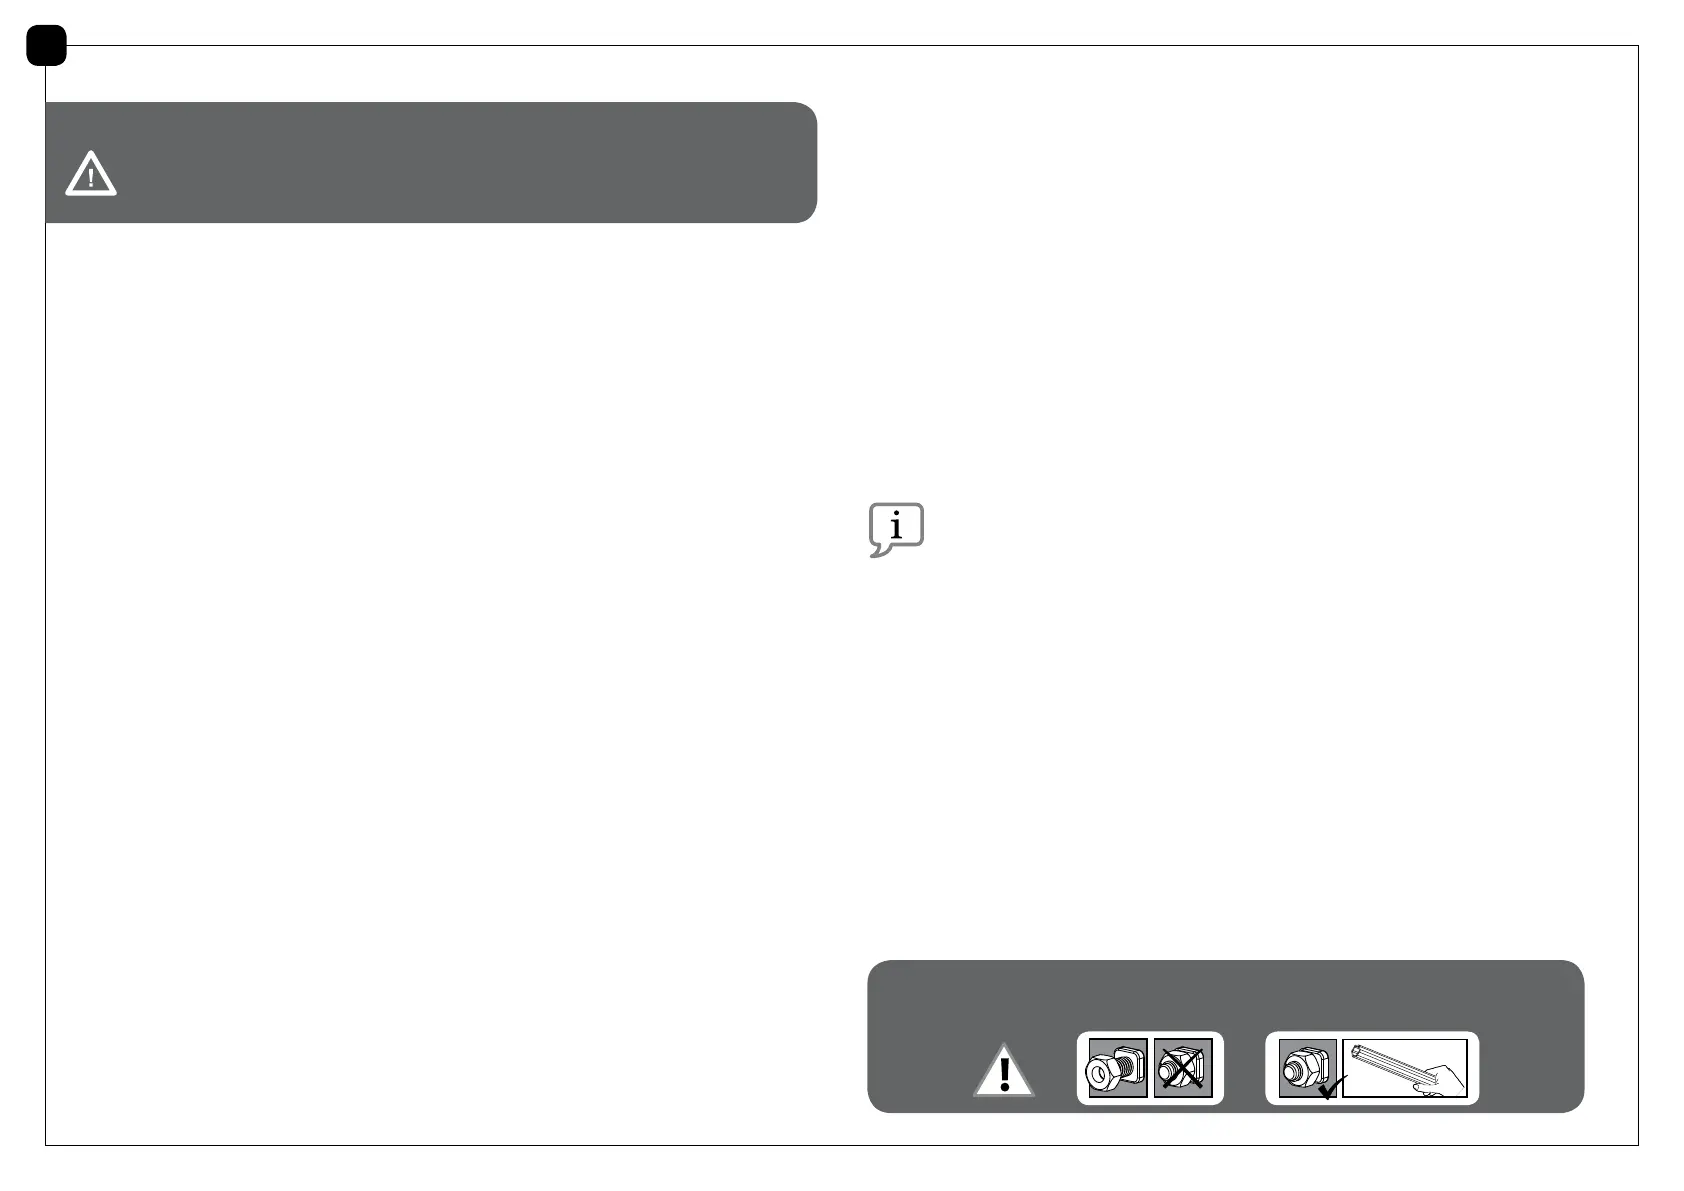
Attention!
Pleasereadtheseinstructionscarefullybeforeyoustarttoassemblethisproduct.
Pleasecarryoutthestepsintheordersetoutintheseinstructions.
Keeptheseinstructionsinasafeplaceforfuturereference.
EN
Whenencounteringtheinformationicon,pleaserefertotherelevant
assemblystepforadditionalcommentsandassistance.
15.10_V2
Donottightenscrewsandnutsuntilcompletionofassemblyprocess.
These2iconsindicateifscrews’tighteningisrequiredornot.
 Loading...