33
Preparation
The [CLOCK SET] value is recorded in the
contents (clip) and affects the playback sequence
of the thumbnails. Before shooting, be sure to
check/setthe[TIMEZONE]and[CLOCKSET].
Thissectionwillexplainthestepsonhowtosetthe
calendar to September 22, 2011, 17:20.
1
Turn the camera’s POWER/MODE switch
<ON>. (Page 30)
2
Press the <MENU> button.
•
Menu operation (Page 31)
•
Operations can also be performed using
buttons on the remote control that correspond
to those on the camera. For details, see
“
Remote control
”
(Page 24).
3
Select the [TIME ZONE] item on the setup
menu [OTHER FUNCTIONS] screen and
press the OPERATION lever (or tilt it to the
<
> direction).
4
Since pressing the OPERATION lever
will display the settings screen, tilt the
OPERATION lever in the <
>< > directions
to set the time difference from Greenwich
Mean Time, then press the OPERATION
lever again.
Factory default setting is [0:00].
5
Tilt the OPERATION lever in the < >
direction and select [YES] in the [CLOCK
SET] item on the setup menu [OTHER
FUNCTIONS] screen.
6
Tilt the OPERATION lever in the < >< >
directions to set to [2011].
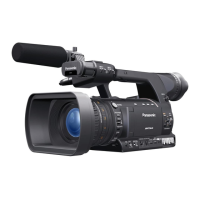
Example: AG-AC160P
7
Tilt the OPERATION lever in the < >
direction to change to the next item, then tilt
the lever in the <
>< > directions to set to
[09].
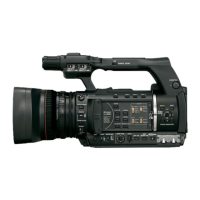
Example: AG-AC160P
Setting the calendar

 Loading...