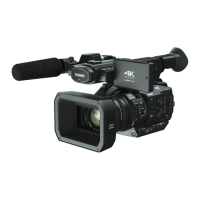
43
Setup example:
Settings on the Camera side
1. Set following USB related menu items to enable the USB3.0 port for AG ROP connection.
MENU > OTHER FUNCTIONS > USB MODE SELECT > HOST
MENU > OTHER FUNCTIONS > USB MODE > ON
2. Set network related menu items (MENU > NETWORK SETUP > ) below.
Choose “DIRECT” and set followings
SSID: Enter SSID name (Default: UX180, UX90)
BAND: Choose “2.4GHz” or “5GHz” depends on Wi-Fi adaptor
type.
CHANNEL(2.4GH): Choose “AUTO”
CHANNEL(5GH): Choose “AUTO”
Password: (Default:01234567890123456789abcdef)
Settings on iPad
1. Install the Panasonic AG ROP app from App Store.
2. Open “Settings > Wi-Fi > ”, and choose an SSID of the camera (example: UX180) to be
connected.
3. Enter connection password (factory default: 01234567890123456789abcdef) to connect to the
camera via Wi-Fi network.
4. Open the AG ROP app and confirm that the connection status on the camera is shown as
(ready to be controlled from the app).
5. Operate the camera from the AG ROP app.
Connection status on the camera
* App Store is a service mark of Apple Inc.
* Apple, the Apple logo, and iPad are trademarks of Apple Inc., registered in the U.S. and other
countries.
Connected to a wireless LAN device (iPad, router etc.)
Connected to a wireless LAN device and under controlled from AG ROP app
4. Understanding advanced features
 Loading...