AIR C I: TION
INSTALACIO OR DE AIRE
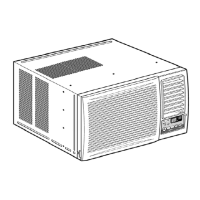
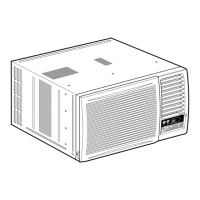
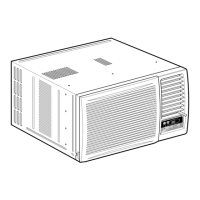
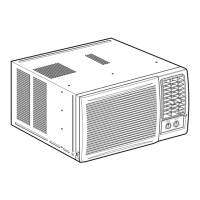
_) Remove the front grille
Front grille
ReiiUafronta__ __
Quite la rejilla frontal ii._ - 1_
,_a_Remove the adhesive tape from all sides of (_ Quite las cintas adhesivas de los llt|_,_ I1_| _!_
the front g,'ille, lados dela reilla frontal. 'I ,, I_ _'" _ ll }I_
(6y Atbottom rightsideofthefrontgrille,press (_ En aparteinferiorde_-_:hade arejilla '_ _,3_: _1 _'_
frontal, presione hacia dentro en el (_ ,= , _
mueble al lado del cord6n de
alimentacibn y tire de la rejiHa hacia _i:
®
inward on cabinet near the power cord,and
pull the grille outward to the right until right
tab releases.
c_ At the bottom left side, push inward on
cabinet and pull the grille outward to the
left to release the left tab.
E)o not pull the bottom edge t_
more than 3 inches to prevent _e two top
tabs from damage.
_d_ Slide the front grille upwards to free the two
top tabs from slots at the top of the cabinet.
f
Remove the chassis locking bracket
Quite los soportes que cierran
el cbasis
Coun[er clockwise.
Ensentido conb-ario
al reIoi.
Chassis locking bracket
Soportes que cierran
el chasis
Unscrew and remove the chassis locking
brackets. Keep for later use.
Desatornille y quite los soportes que
cierran el chasis. Guardelos para futuro
USO.
fuera, hacia la derecha, hasta
desenganchar la lengLieta derecha.
® En el lado inferior izquierdo, presione hacia dentro en el mueble y tire
de la rejilla hacia fuera, hacia la kquierda, para desenganchar la leng0eta
izquierda.
No tire del horde inferior, hacia usted, m_s de 3 oul_adas 0ara imoedir
aue las dos lenL_ietas superiores _e da_en,
(_ Deslice la rejilla frontal hacia arriba para liberar las dos lengLietas
supeHores de las ranuras en la parte superior del mueble.
Unscrew and
_ _ _* remove from rear
cabinet.
DesmrniUey
t_J_* remuevadesdela
• .. parre de atJ'_ del
_f
Removethe chassisgroundingscrewand savefor lateruse.
Retire el tornillo de puestaa derra delchasisy gugrdelo
parausoposterior. J
Slide the chassis out from the cabinet
II
HOWTO ASSEMBLETHE EXPANDABLE PANELS (LEFT & RIGHT)
COMO ARMAR LOS PANELES EXPANSIBLES (IZQUIERDOY DERECHO)
Attach the top angle to the cabinet
using screw type B (3 pcs).
Fije el _ngulo superior a la caja --
utihzando tornillos de tipo B
(3 piezas).
Top angle ._
Angulo superior
m
insert e) pandable panels to
cabinet sides as snown
in_erl-e los paReles expanslbles
Jos costado_ de la c_la como
se muestra.
Attach a Danel retainer on the first
fold of each exDansion Danel aria
Panel retainer
(The panel retainers are packed In the folds of the expansion oanels.i
Retenedor del panel
(Las placas de retenci6n del panel estan empacadas en los pliegues de
los paneles expansibles.) _ _" _
secLir_ D,3nel r_tal_ers _o C_Dlne_
using screw type C (2 each
Inserte _aplacade re_enci6n del
panel dentro del primer pliegue de
cadauno delos panelesexpansibles
y retenedor del panelal cajausando
los tornillos tipo C (2 cada uno).
 Loading...