Do you have a question about the Panasonic CX-DP801 and is the answer not in the manual?
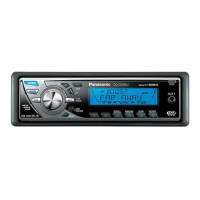
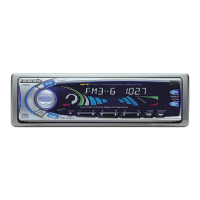
Requires a separately purchased control unit (CQ-R825EUC, CQ-DP875EUC etc.) for operation.
Provides advice for driving, car washing, parking, power supply, disc mechanism protection, and authorized servicers.
Warns that improper use of the laser can lead to hazardous radiation exposure.
Details the locations of identification and certification labels found on the unit.
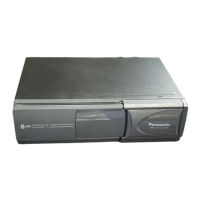
Identifies the unit's door, reset switch, disc magazine slot, eject button, and V-H screw.
Illustrates the disc magazine and tray slot, noting restrictions on disc size (8 cm).
Step-by-step guide for placing a CD disc into the magazine tray.
Instructions for safely removing a CD disc from the magazine tray.
Steps for inserting the disc magazine into the unit, ensuring correct orientation and secure fit.
Procedure for ejecting and removing the disc magazine from the unit.
Provides operational temperature range, installation tips, and warranty card information.
Instructions for routine exterior cleaning using a soft cloth, avoiding solvents like benzine or thinner.
Guidance on seeking help from authorized service centers for unresolved issues.
Procedure for replacing a blown fuse with the correct rating to prevent fire or damage.
Explains common error codes displayed by the unit and their meanings for quick diagnosis.
Addresses issues with no sound when a CD is in the magazine due to disc placement or connection.
Solutions for music skipping caused by vehicle vibration or incorrect unit mounting.
Troubleshooting tips for occasional sound skipping related to disc condition (dirt or defects).
What to do if the CD magazine cannot be ejected due to insertion issues or defects.
Addresses no sound even when the play button is pressed, checking connections and disc insertion.
Illustrates connection of the CD changer with a cassette receiver and speakers.
Shows connection with a CD player receiver and speakers, including subwoofer output.
Essential safety warnings and advice before installing the unit, including battery disconnection.
Lists the necessary hardware components for mounting the unit, such as bolts, brackets, and tape.
Recommendations for selecting a suitable and stable installation site within the vehicle.
General instructions for installing the unit and setting the angle adjustment mechanism.
Details how to set the angle-adjusting hole for various installation orientations (horizontal, vertical, angled).
Step-by-step guide for mounting the unit horizontally using brackets and adhesive tape.
Step-by-step guide for mounting the unit vertically using brackets.
Explains how to use mounting brackets and select holes for desired mounting angles.
Provides a wiring diagram for connecting the CD changer to the receiver and speakers, detailing power and audio.
Guidance on proper handling, cleaning, and storage of CDs to prevent damage and ensure longevity.
Advice on how to smooth rough edges on new discs to ensure correct playback by the unit.
Instructions for resetting the unit when it is unresponsive using the reset switch.
Lists items included with the CD changer unit and optional accessories available from dealers.
Provides detailed technical data for the CD changer unit, including dimensions, power, and performance metrics.
| DIN Size | 1 DIN |
|---|---|
| Number of Channels | 4 |
| CD-R Playback | Yes |
| CD-RW Playback | Yes |
| Preset Stations | 24 |
| Display Type | LCD |
| Remote Control | Yes |
| Preamp Output | Yes |
| Detachable Face | Yes |
| Tuner Bands | AM/FM |