14
VQT3W07
After connecting your new player for the first time
and pressing [Í], a screen for the basic settings
will appear.
Preparation
Turn on the television and select the
appropriate video input on the television.
1 Press [Í].
Setup screen appears.
2 Follow the on-screen instructions and
apply the settings.
≥ About “Analog Audio Output” setting:
Initial setting is set to “2ch (Downmix) + 5.1ch”, so you will
need to select “7.1ch” if using the 7.1ch output.
STEP 5 : Settings
Easy Setting
≥ You can perform this setup anytime by selecting “Easy
Setting” in the Setup menu. (> 34)
≥ If this unit is connected to a Panasonic TV (VIERA)
supporting HDAVI Control 2 or later via an HDMI cable,
then setting information on the TV such as “On-Screen
Language” is acquired by this unit.
Easy Network Setting
After completing “Easy Setting”, you can perform
“Easy Network Setting”.
Select “Wired” or “Wireless”.
∫ “Wired” connection
Follow the on-screen instructions to apply your
connection settings.
∫ “Wireless” connection
Before beginning wireless connection setup
≥ Obtain your network name (SSID*
1
).
≥ If your wireless connection is encrypted,
please be sure that you know your
encryption key.
Select “Search for wireless network” or “WPS
(PUSH button)”, then follow the on-screen
instructions and apply the settings.
WPS (PUSH button):
If your wireless router supports
WPS (PUSH button), you can
easily perform the settings by
pressing WPS button on it.
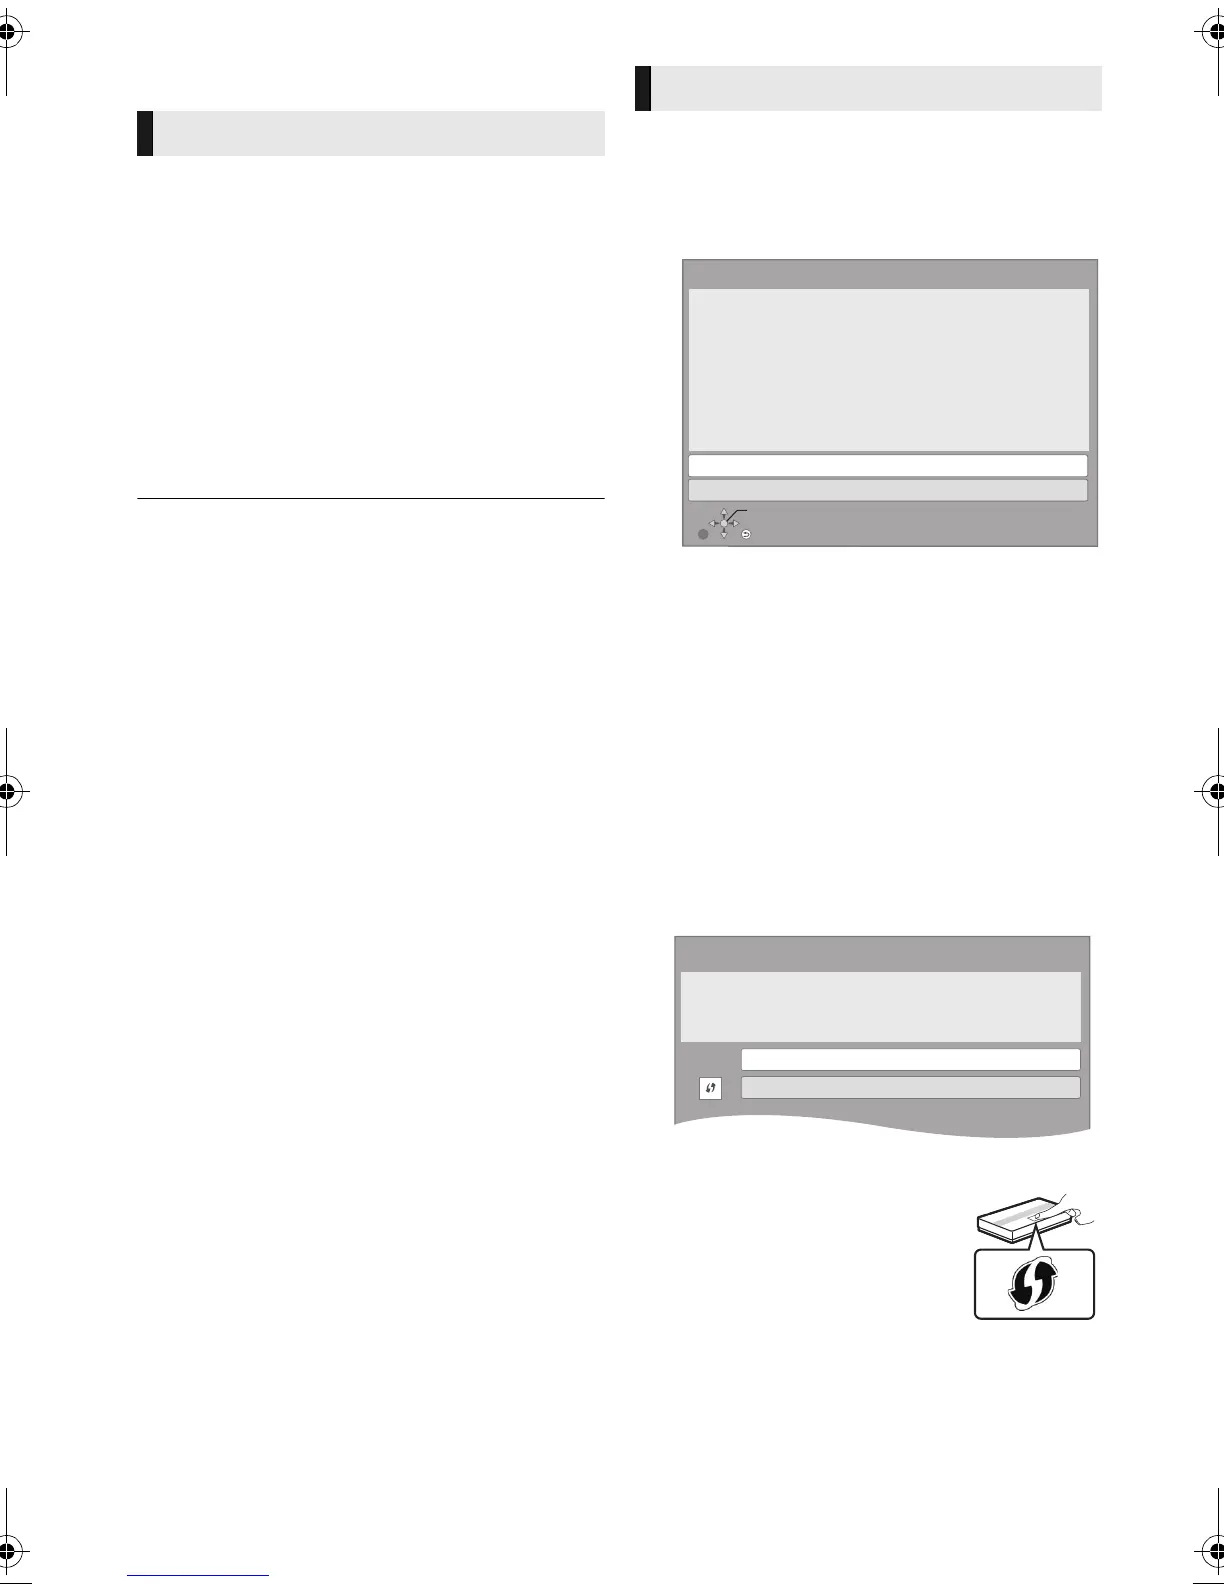
RETURN
Easy Network Setting
Wired
Wireless
Select a connection mode.
Current setting : Wired
OK
Wireless Settings
Select a connection method to wireless access point.
Please refer to the operating instructions of your wireless
access point about connection methods.
Search for wireless network
WPS (PUSH button)
DMP-BDT500EB-VQT3W07.book 14 ページ 2012年2月24日 金曜日 午後4時17分
 Loading...