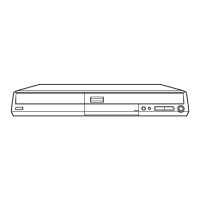
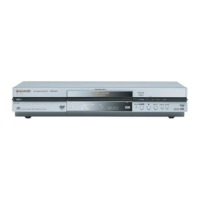
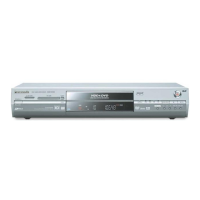
16.3. CHECKING AND REPAIRING OF MAIN P.C.B.
1. Top Case
· Remove 4 Screws (A) on side and 3 Screws (B) on rear side and the Top Case
2. Front Panel
· Remove one Screw (A) on center
· Unlock 2 Locking Tabs (A), (D) on Front Panel side and unlock 2 Locking Tabs (B), (C) on Front Panel topside
· Unlock 3 Locking Tabs (E) on Front Panel bottom side and remove Front Panel
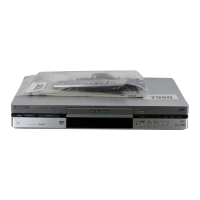
3. Power Unit and Rear Panel
· Disconnect 3 Connectors from Power P.C.B.
· Remove all Screws from Rear Panel and Fan Unit (Screws for Fan Motor not necessary)
· Remove 1 Srews Power P.C.B. Angle and lift up Power Unit vertically out of Tabs
· Remove Rear Panel with Fan Motor Unit
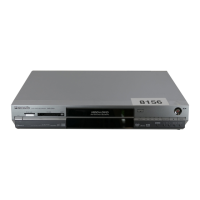
4. Main P.C.B. and VTR Mechanism
· Remove 3 black Screws (A) and 3 Screws (B), (C), (D)
· Disconnect 5 Connectors from Digital I/F P.C.B.
· Remove 2 Screws (A) from Main P.C.B.
· Lift up Main P.C.B. together with VCR Mechanism and put it upside down on the insulation sheet
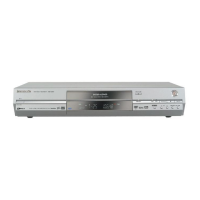
5. Attach the Rear Panel to Chassis and the Power Unit to the Rear Panel
6. Connect Main P.C.B.
· Connect Cables:
− between Power P.C.B. and Fan Motor (2x)
− between Power P.C.B. and Digital I/F P.C.B. (1x)
− between Main P.C.B. and Digital I/F: P.C.B. RFKZ0178 (1x), RFKZ0240 (2x), VKF1729 (2x)
− between Main P.C.B. and Front Jack P.C.B.: RFKZ0215 (1x)
− between Main P.C.B. and FL Drive P.C.B.: RFKZ0238 (1x)
− between Digital I/F P.C.B. and FL Drive P.C.B.: RFKZ0239 (1x) and RFKZ0238 (1x)
44
DMR-EH80VEG / DMR-EH80VEB
 Loading...