11.1.2. CHECKING AND REPAIRING OF MAIN P.C.B.
1. Top Case
· Remove 2 Screws (A) on side and 3 rear Screws (B)
· Remove Top Case
2. Front Panel
· Unlock 2 Locking Tabs on the side and 3 Locking Tabs on bottom
· Remove Front Panel
3. Rear Panel with Fan Motor
· Remove 7 Screws (A) and 2 Screws (B)
· Unlock 2 Locking Tabs to remove Rear Panel
4. Power P.C.B.
· Remove 3 Screws fixing Power P.C.B.
· Unlock Connector to Main P.C.B.
· Remove Power P.C.B. together with Rear Panel
5. Hard Disc Drive
· Remove 4 Screws fixing Hard Disc Drive Angle
6. Digital P.C.B. with SD Card P.C.B. and DV IN P.C.B.
· Remove 2 Screws fixing Digital P.C.B. Angle
7. Main P.C.B.
· Remove 2 Screws from Main P.C.B.
· Remove Screw from Front P.C.B.
· Unlock Main P.C.B. and Front P.C.B. from Bottom Plate
· Hold Hard Disc Drive and Digital P.C.B. carefully and put it together with Main P.C.B. up side down on the Insulation Board.
· Connect the Extension Cable:
− between Main P.C.B. and Power P.C.B. with RFKZ0216
Caution 1
Red wire in the extension cable should be connected to (1) pin.
Caution2
Orginal screws should be used.
38
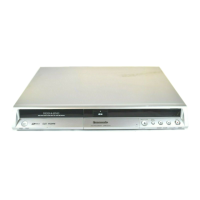
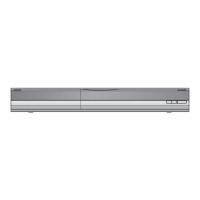
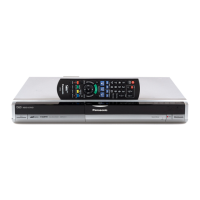
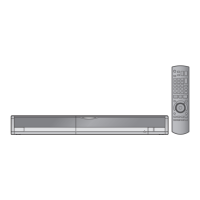
DMR-EX75EG / DMR-EX75EC / DMR-EX75EB / DMR-EX85EG / DMR-EX85EB
 Loading...